Cloth Simulator
UC Berkeley - Summer 2020
Overview
The cloth simulation program can simulate realistic behavior of 3D cloths using various math equations. The cloths are built from 3D meshes of point masses that are held together by different kinds of springs. A combination of Newton's second law of motion (F=ma), verlet integration (to compute the positions, velocity, and acceleration of the point masses), and the force of the connected springs simulates the behavior of how the cloth reacts to external and internal forces. In addition, the program uses corrective functions to adjust the point masses' positions if they are going to collide with each or with another object so that the cloth doesn't go through itself or other objects. Lastly, the program uses different shaders to give the cloth realistic lighting based on the light source, viewing direction, and type of material of the cloth in the 3D scene.
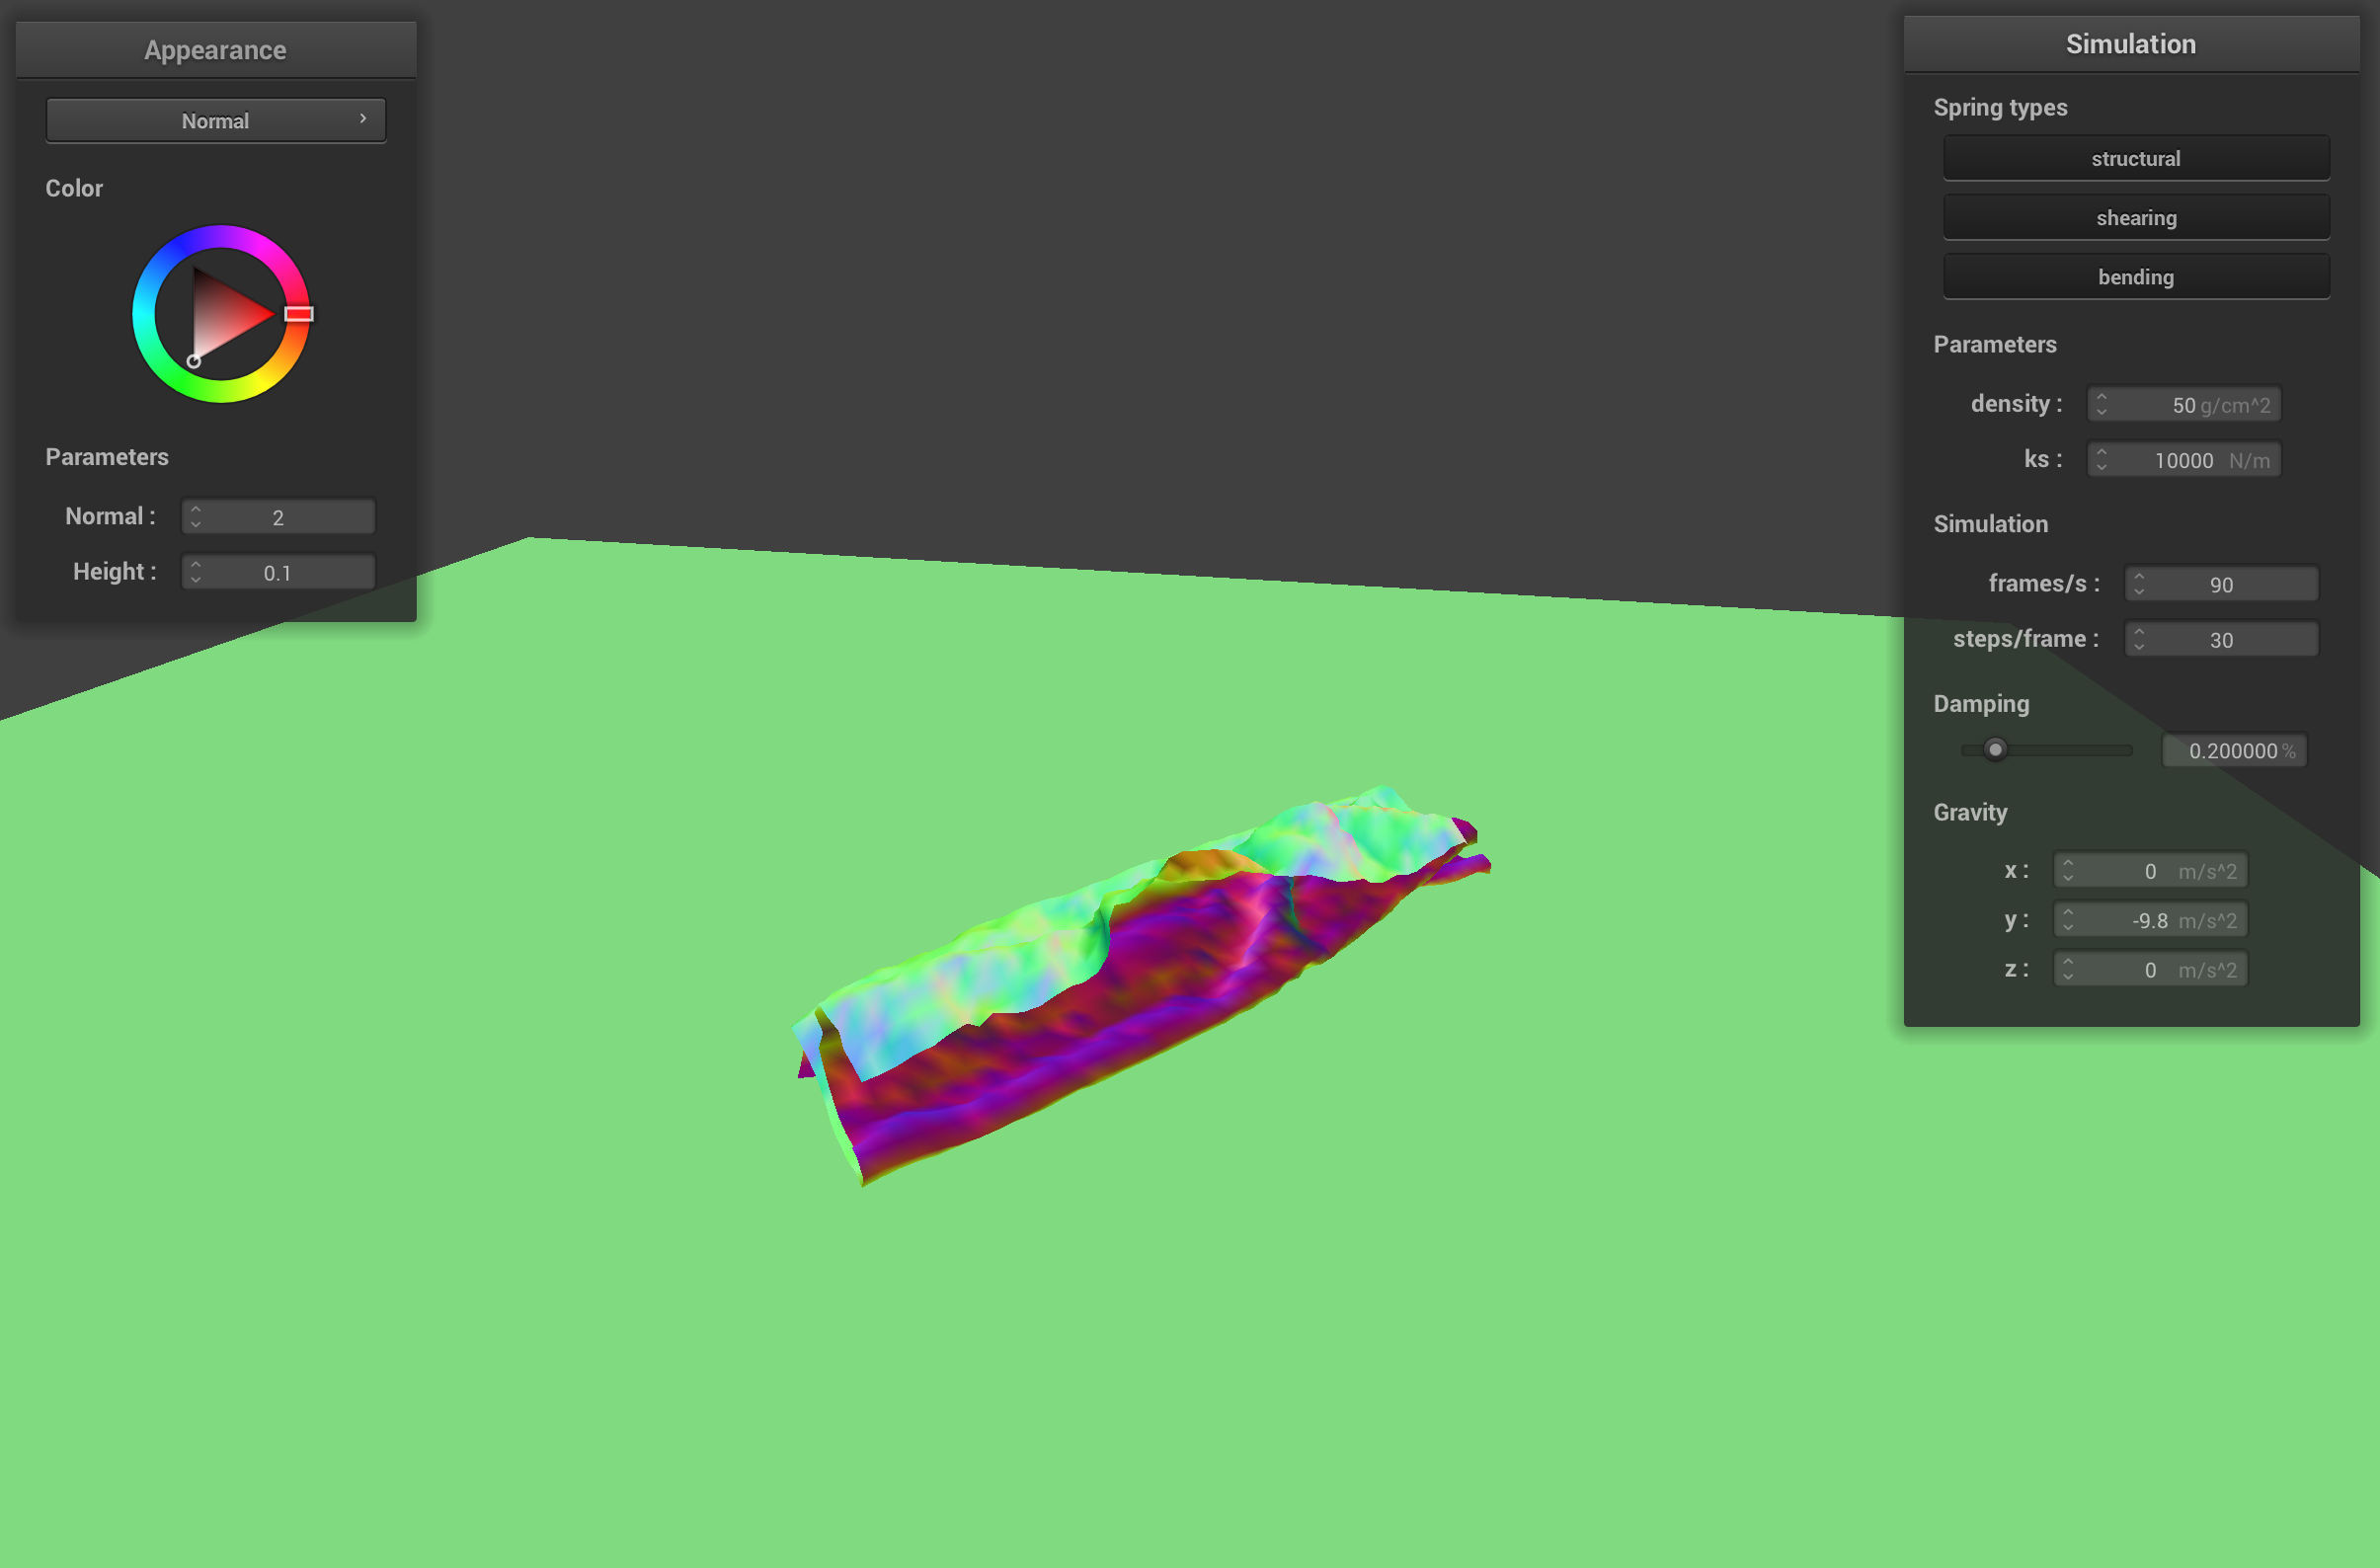
Part I: Masses and springs
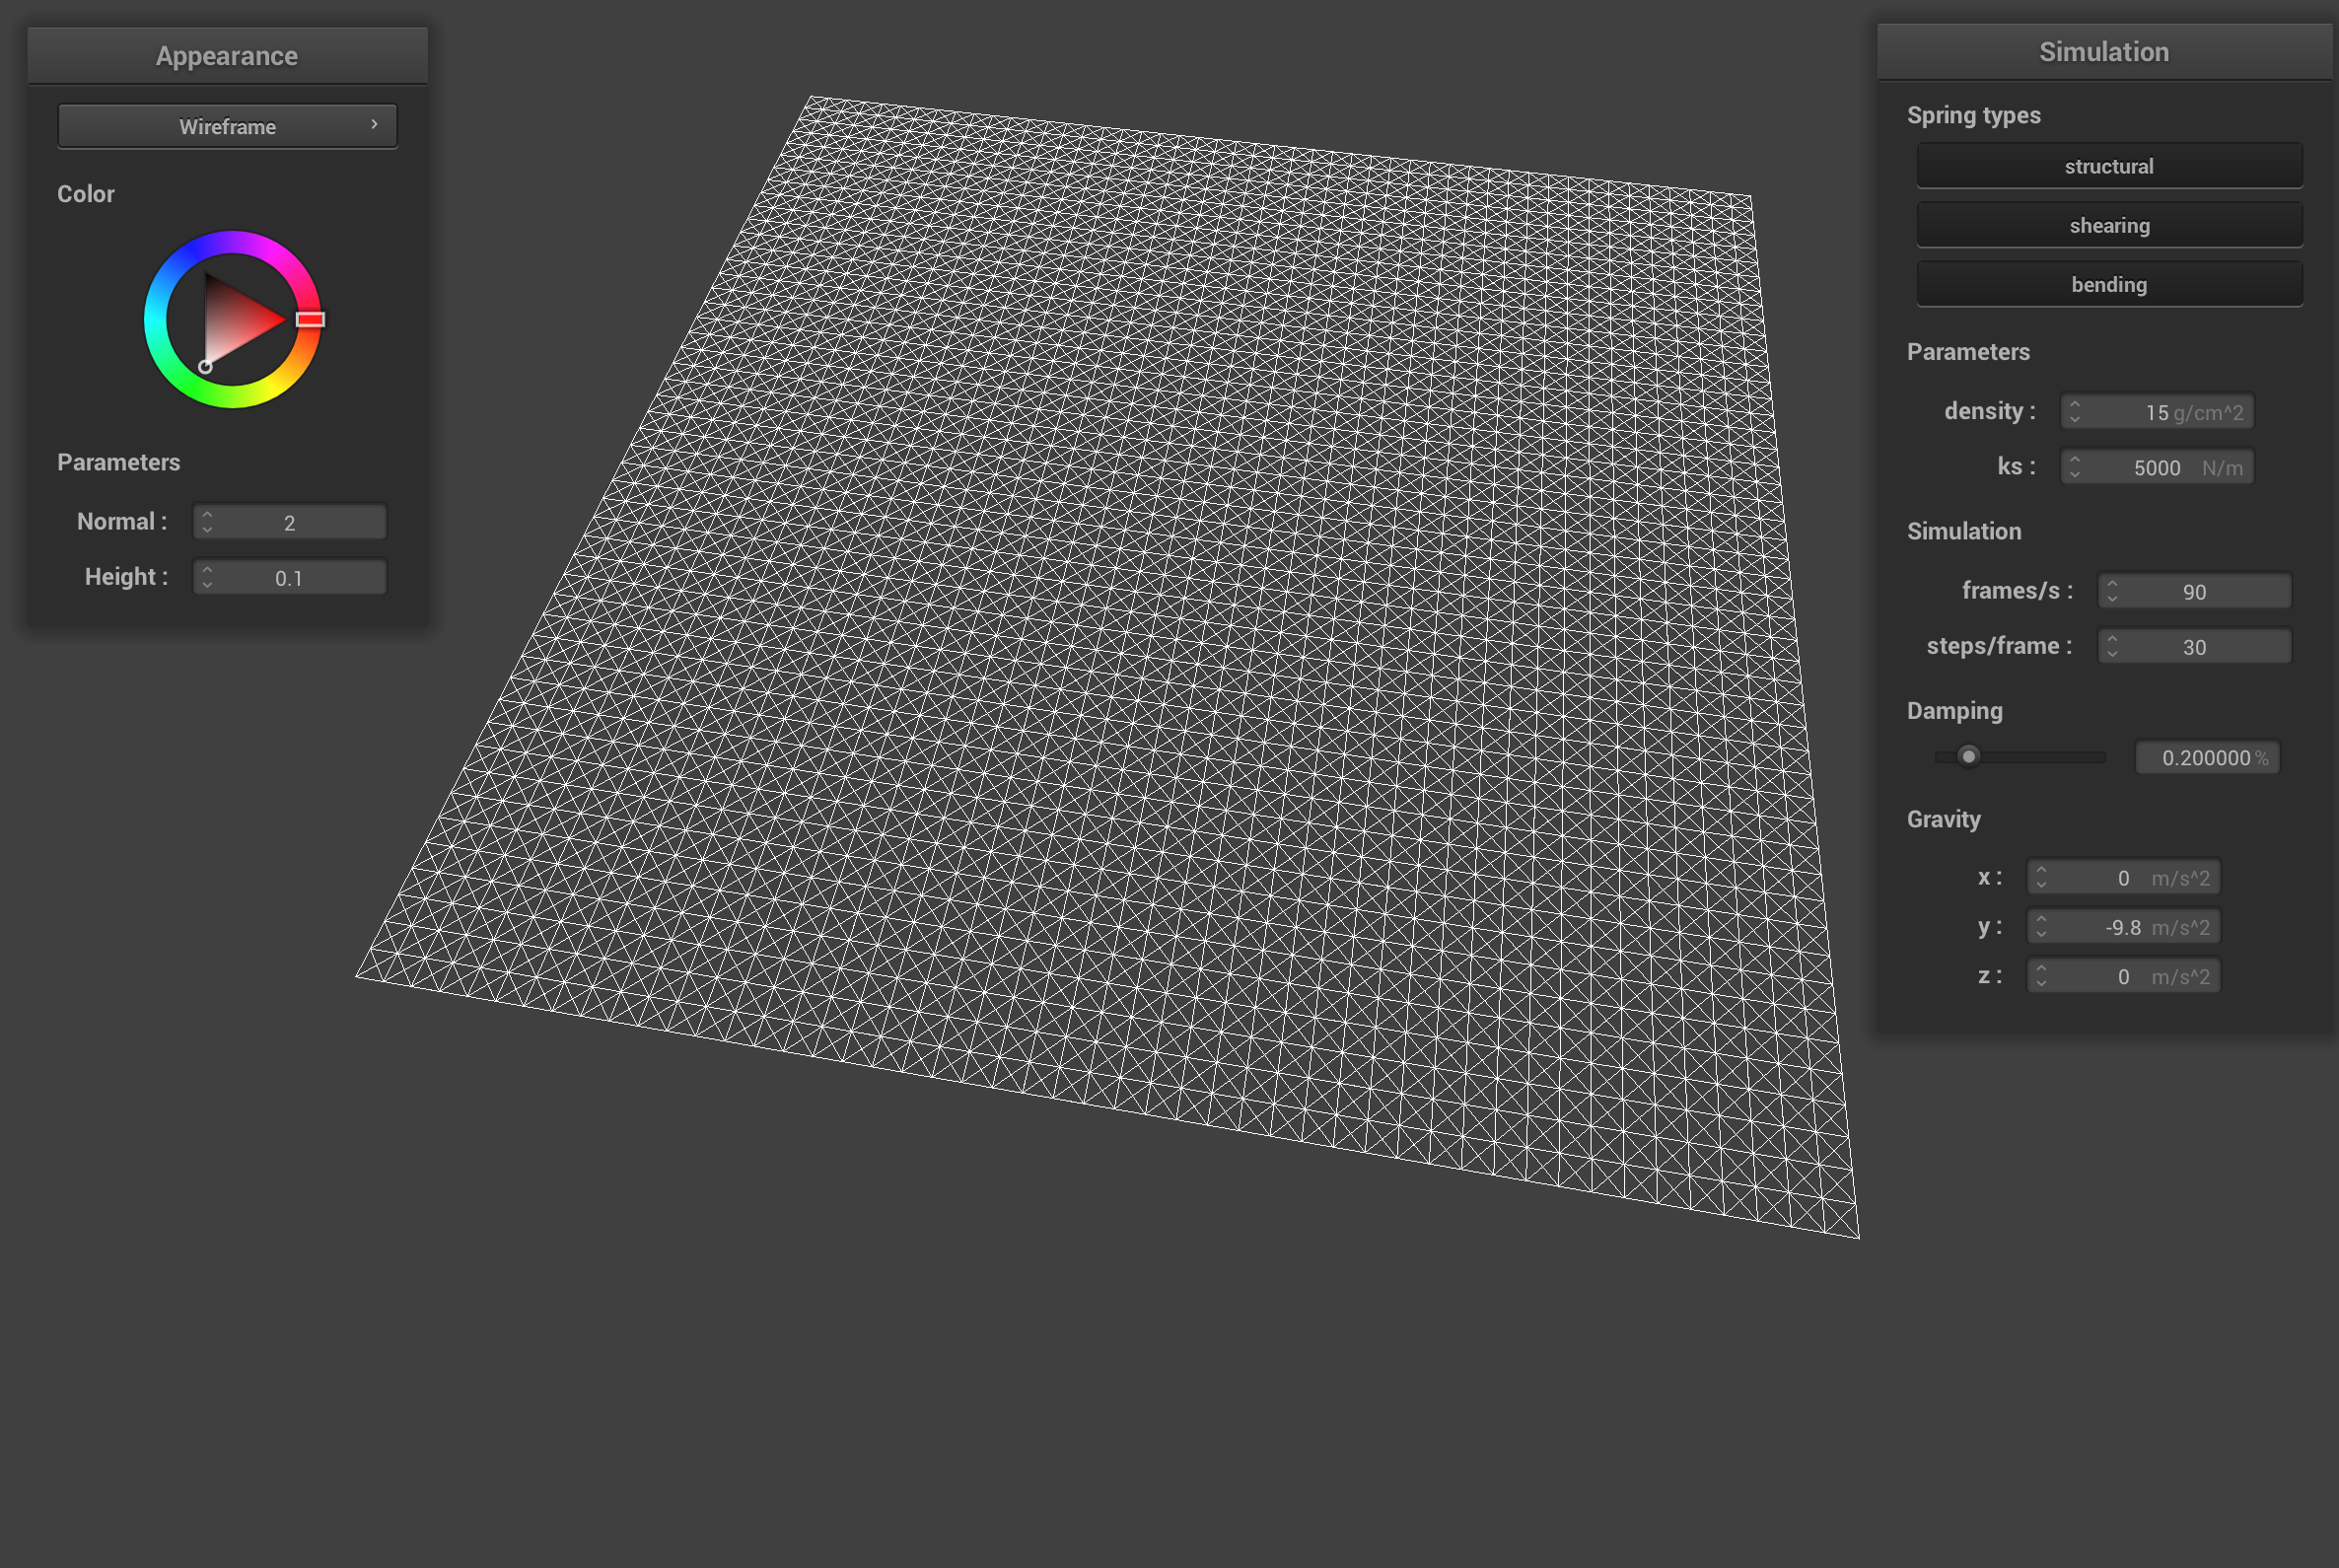
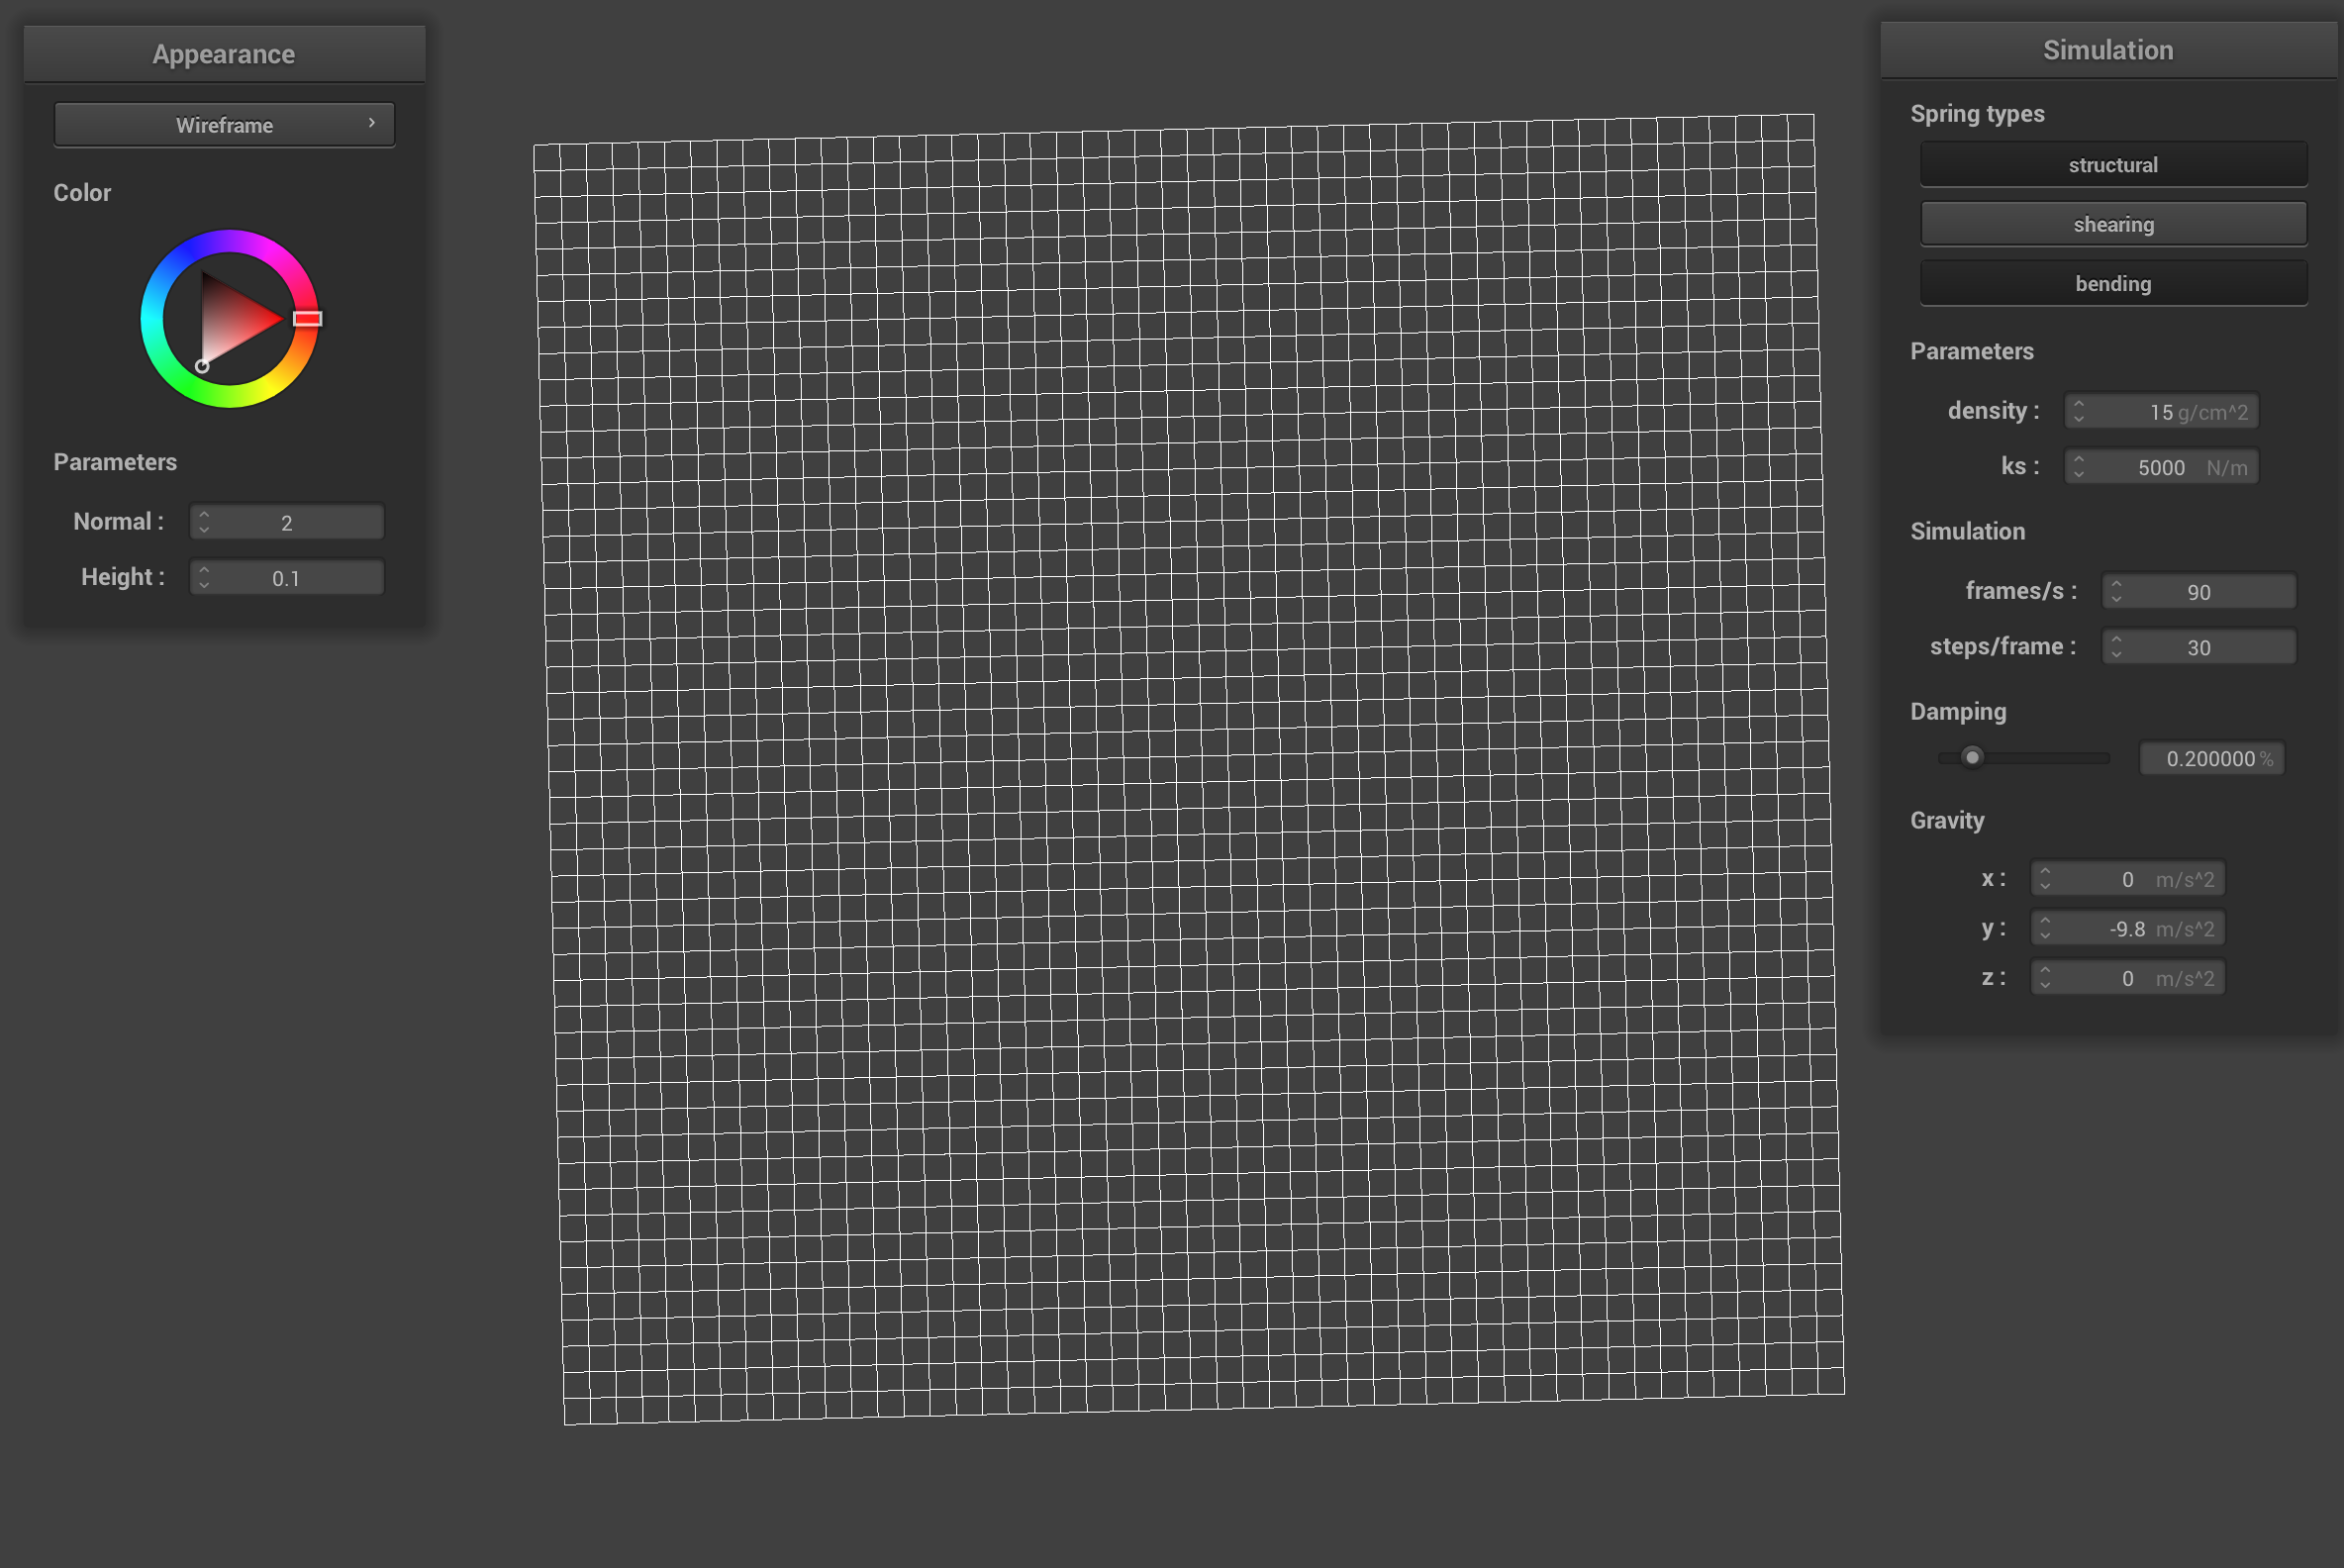
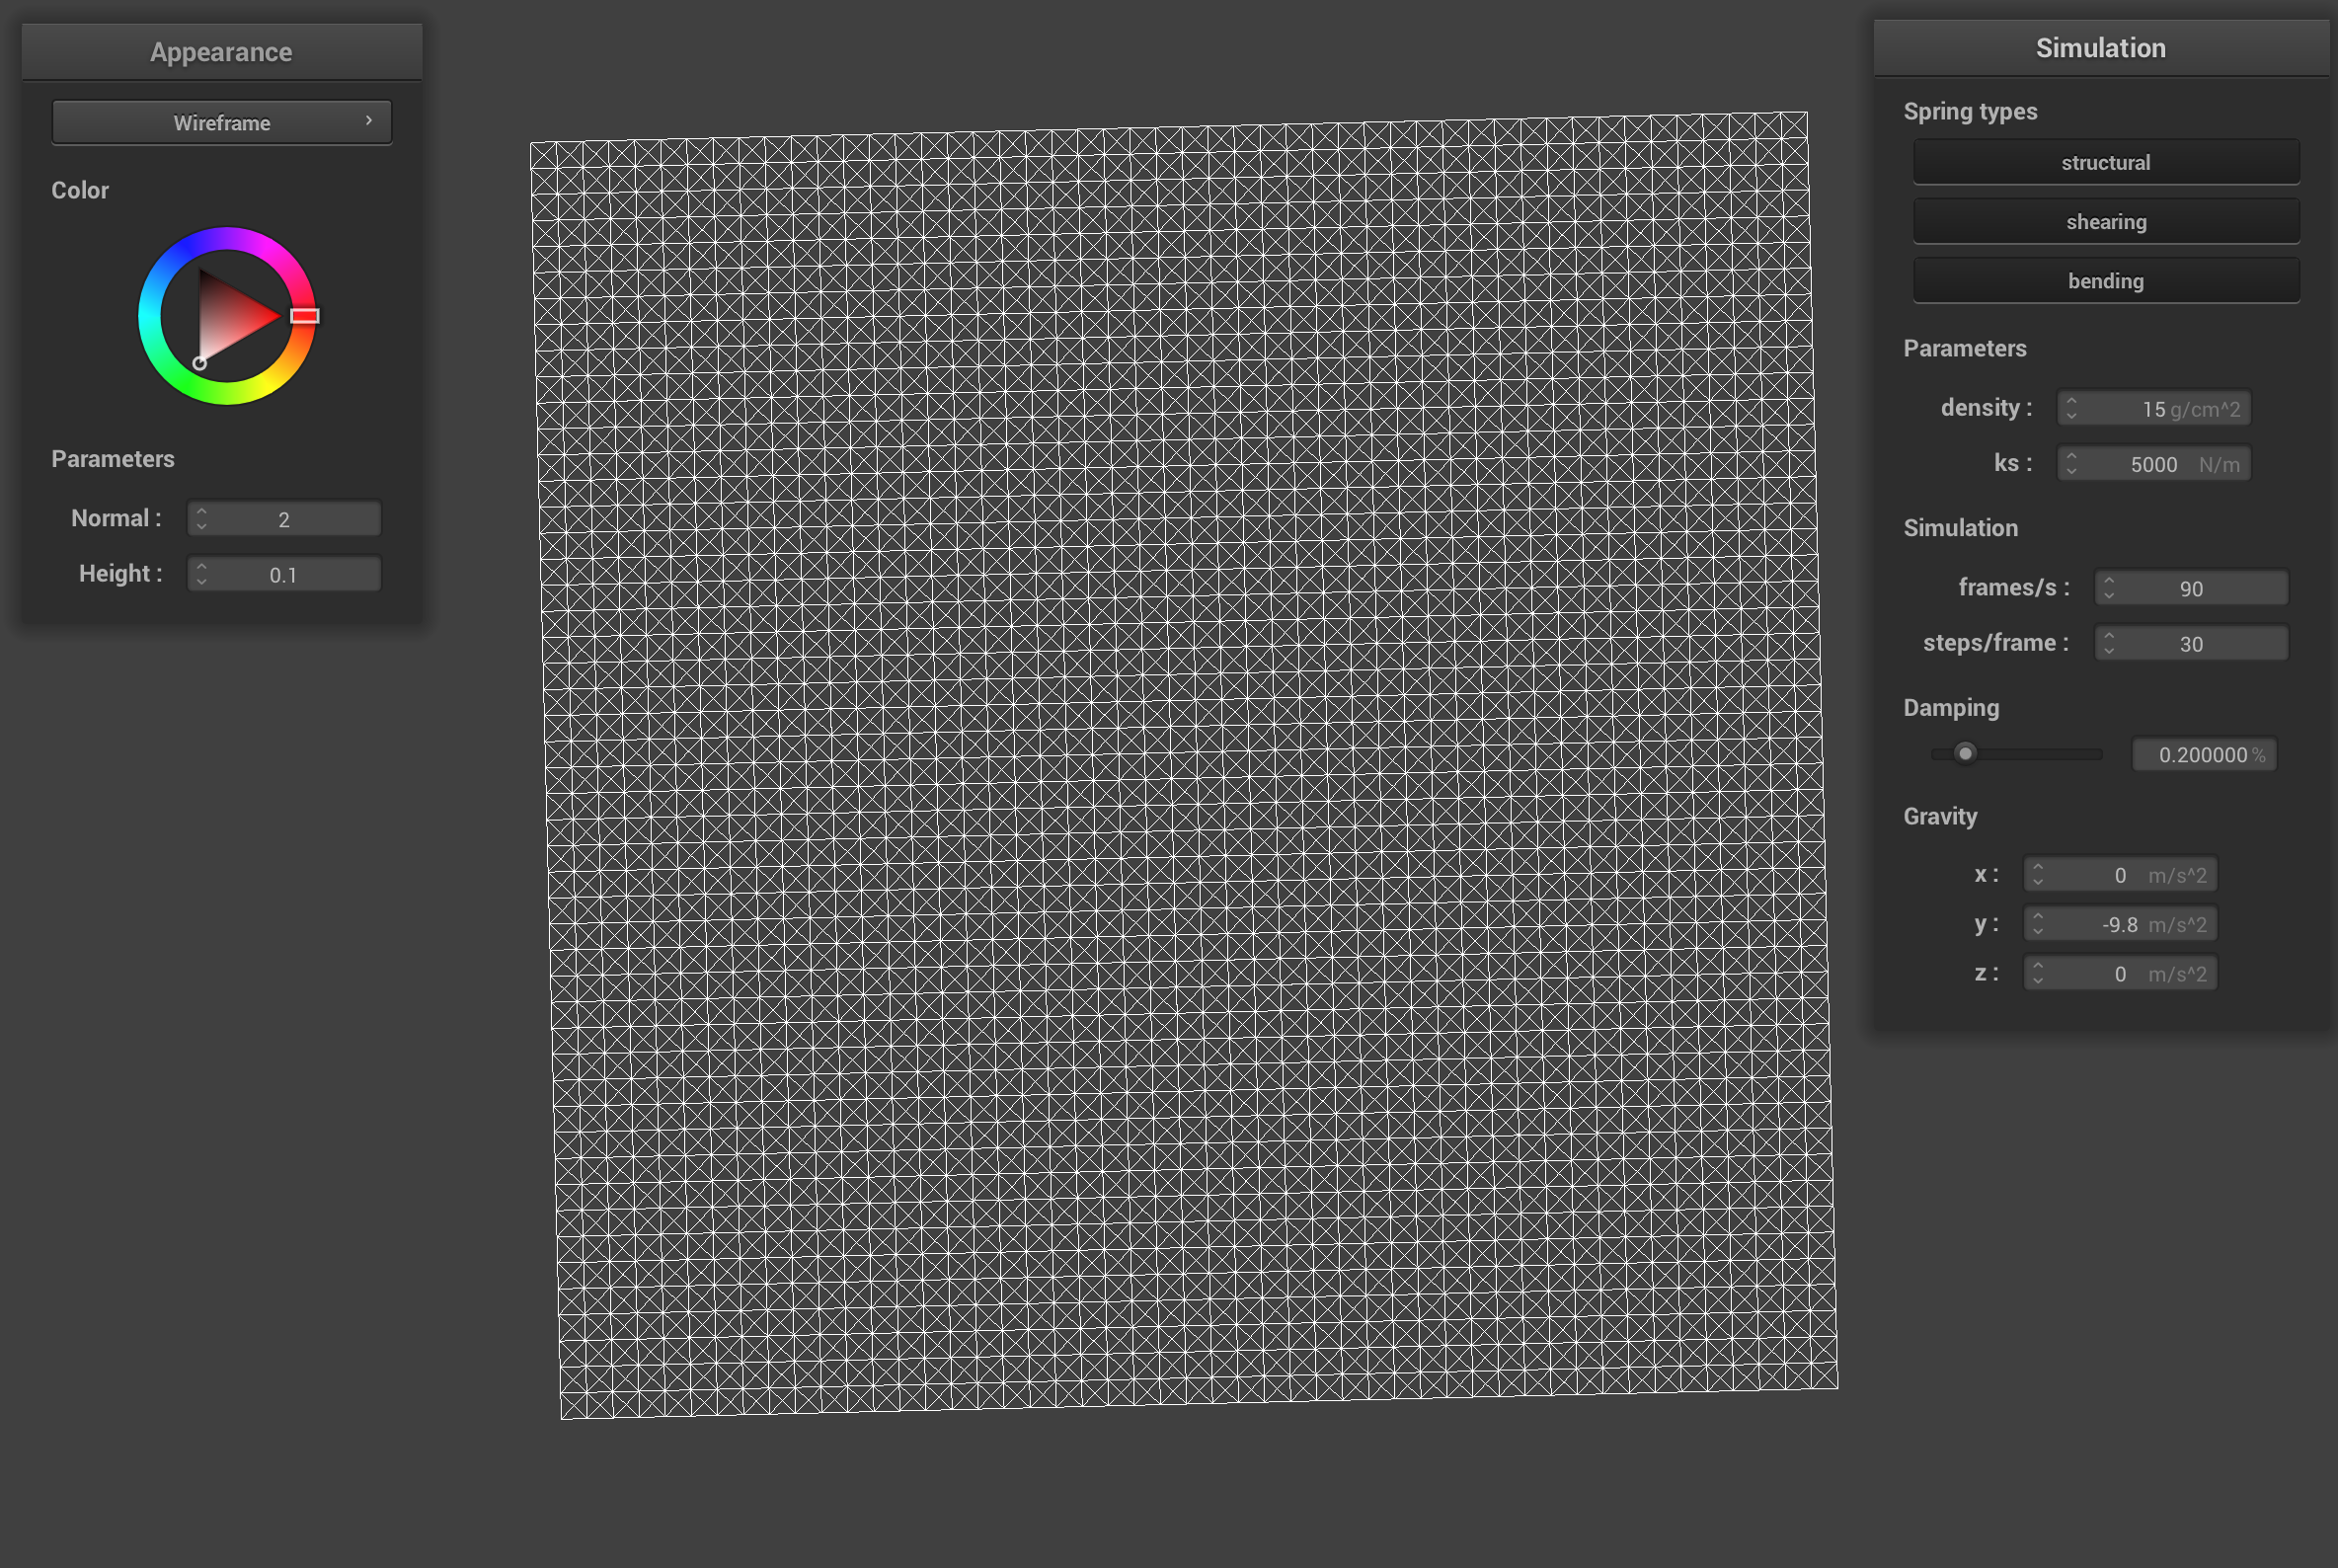
pinned2.json structure
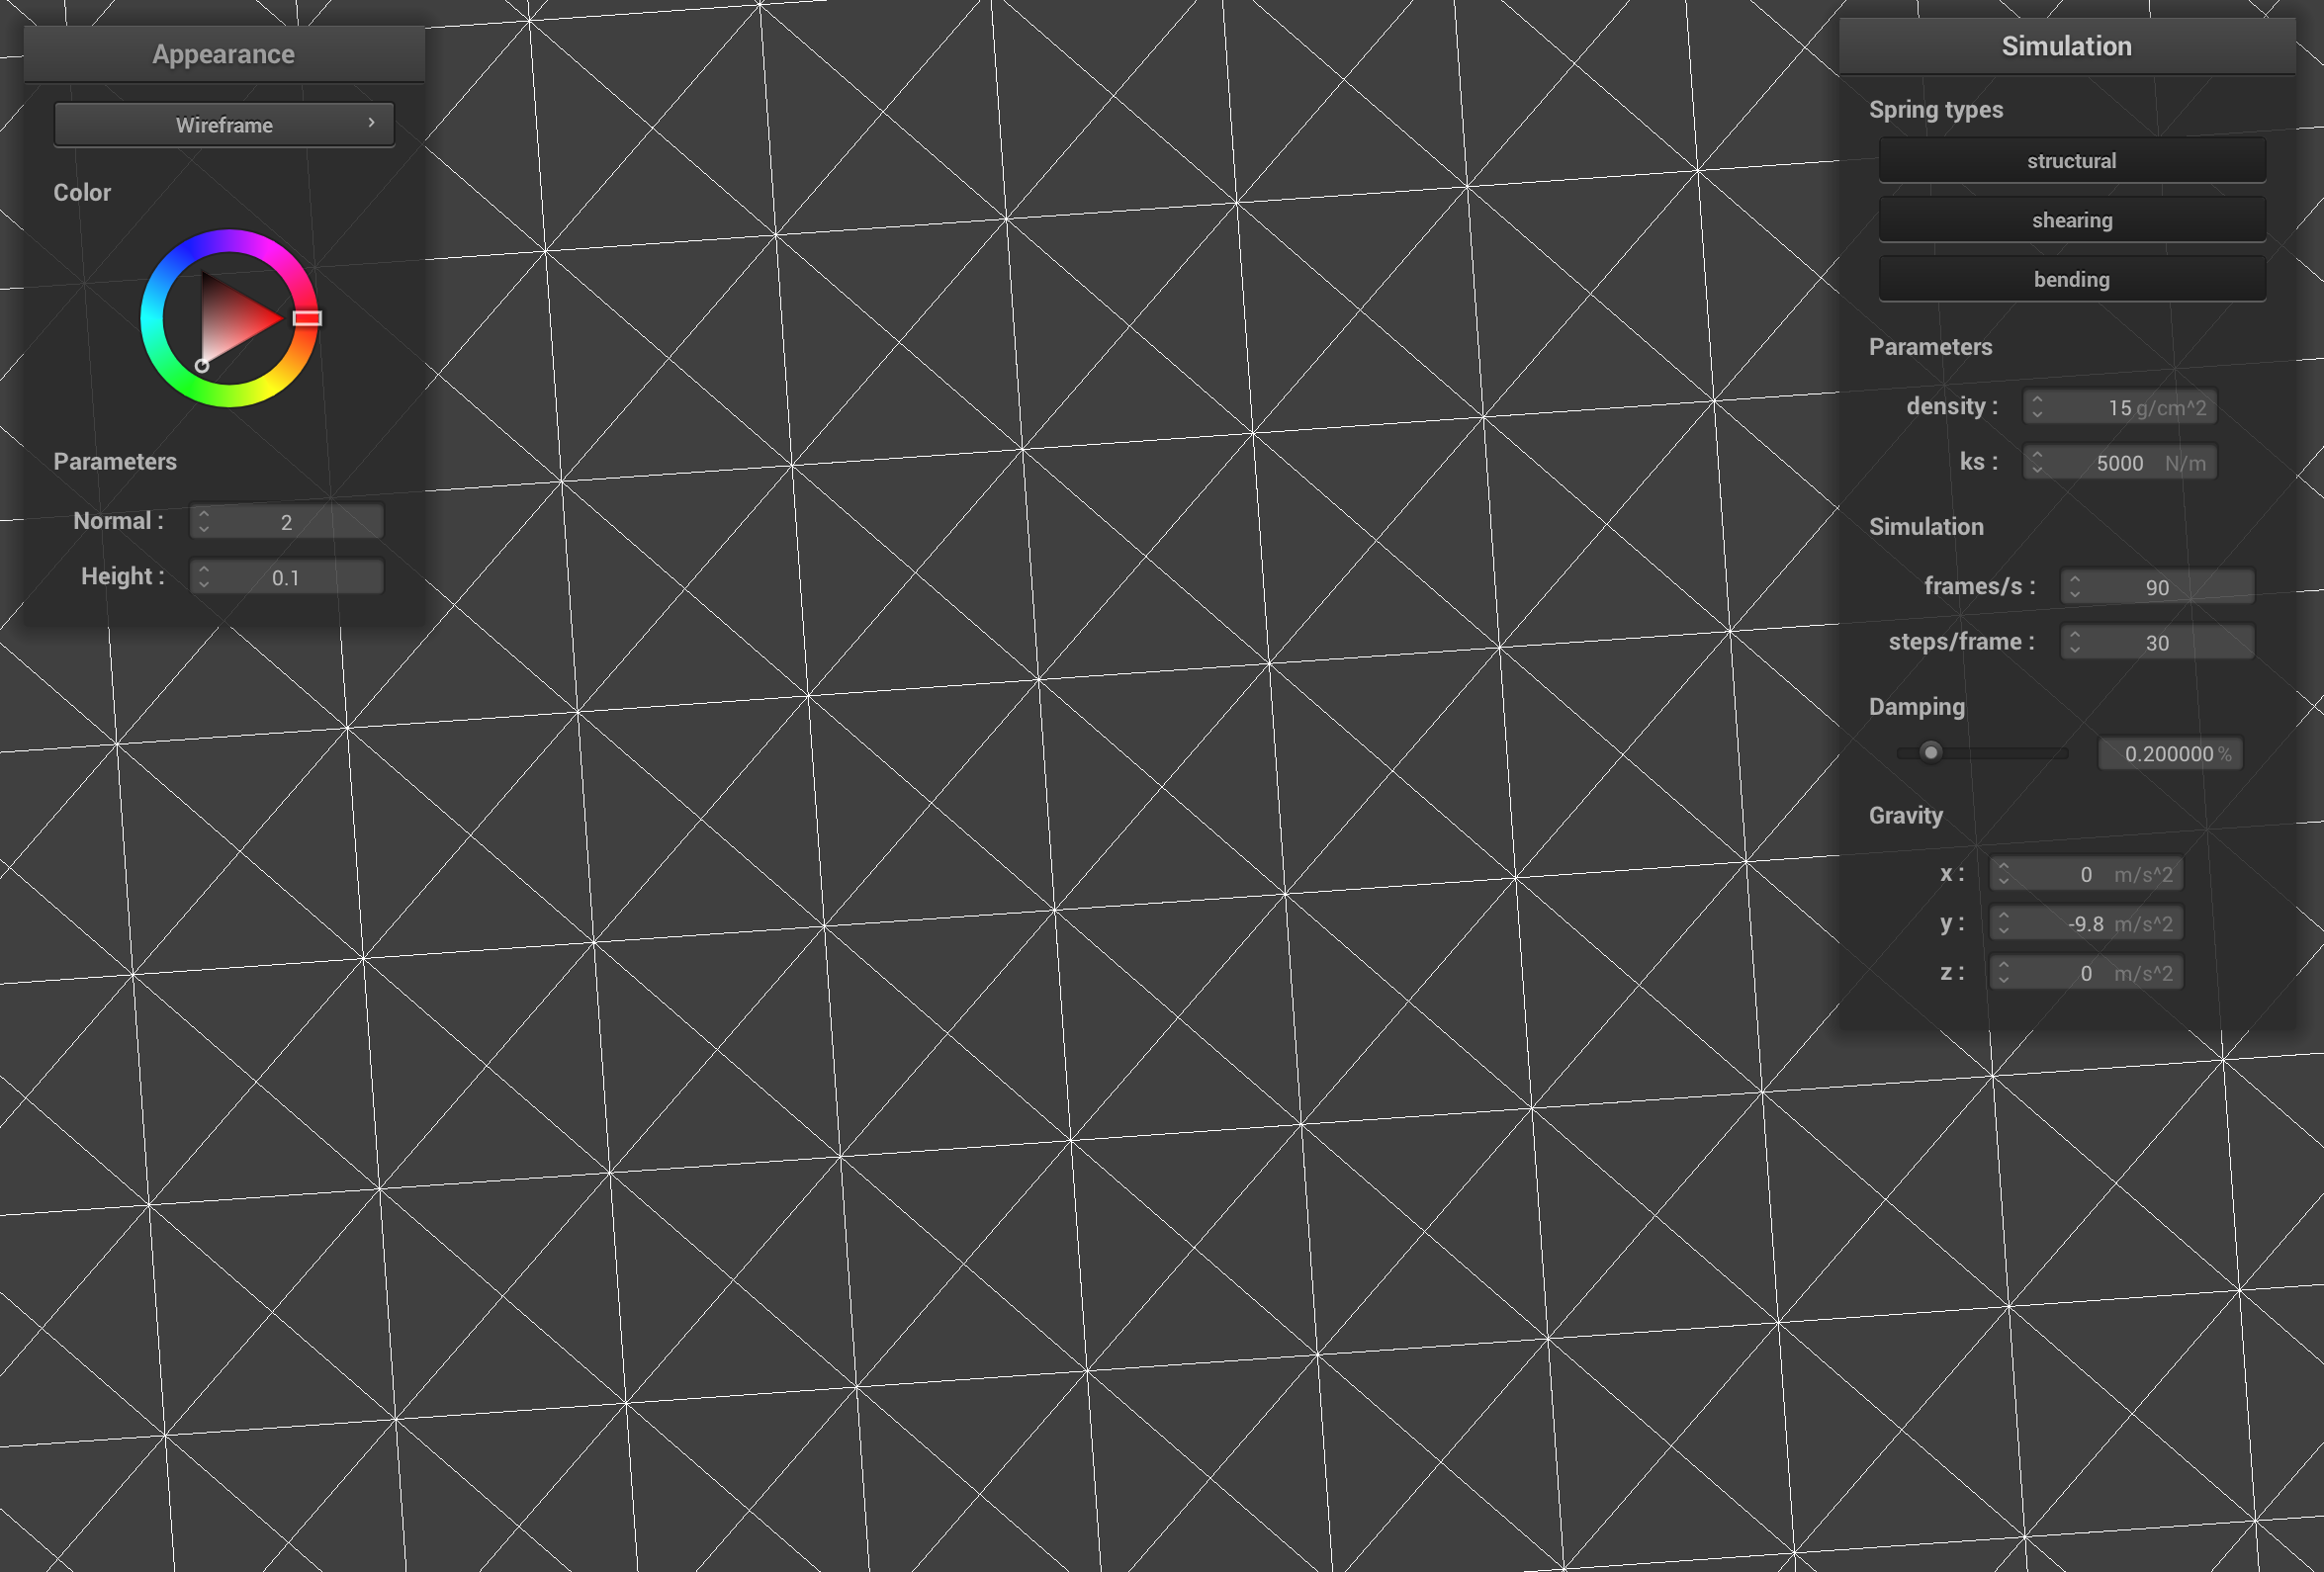
pinned2.json close up
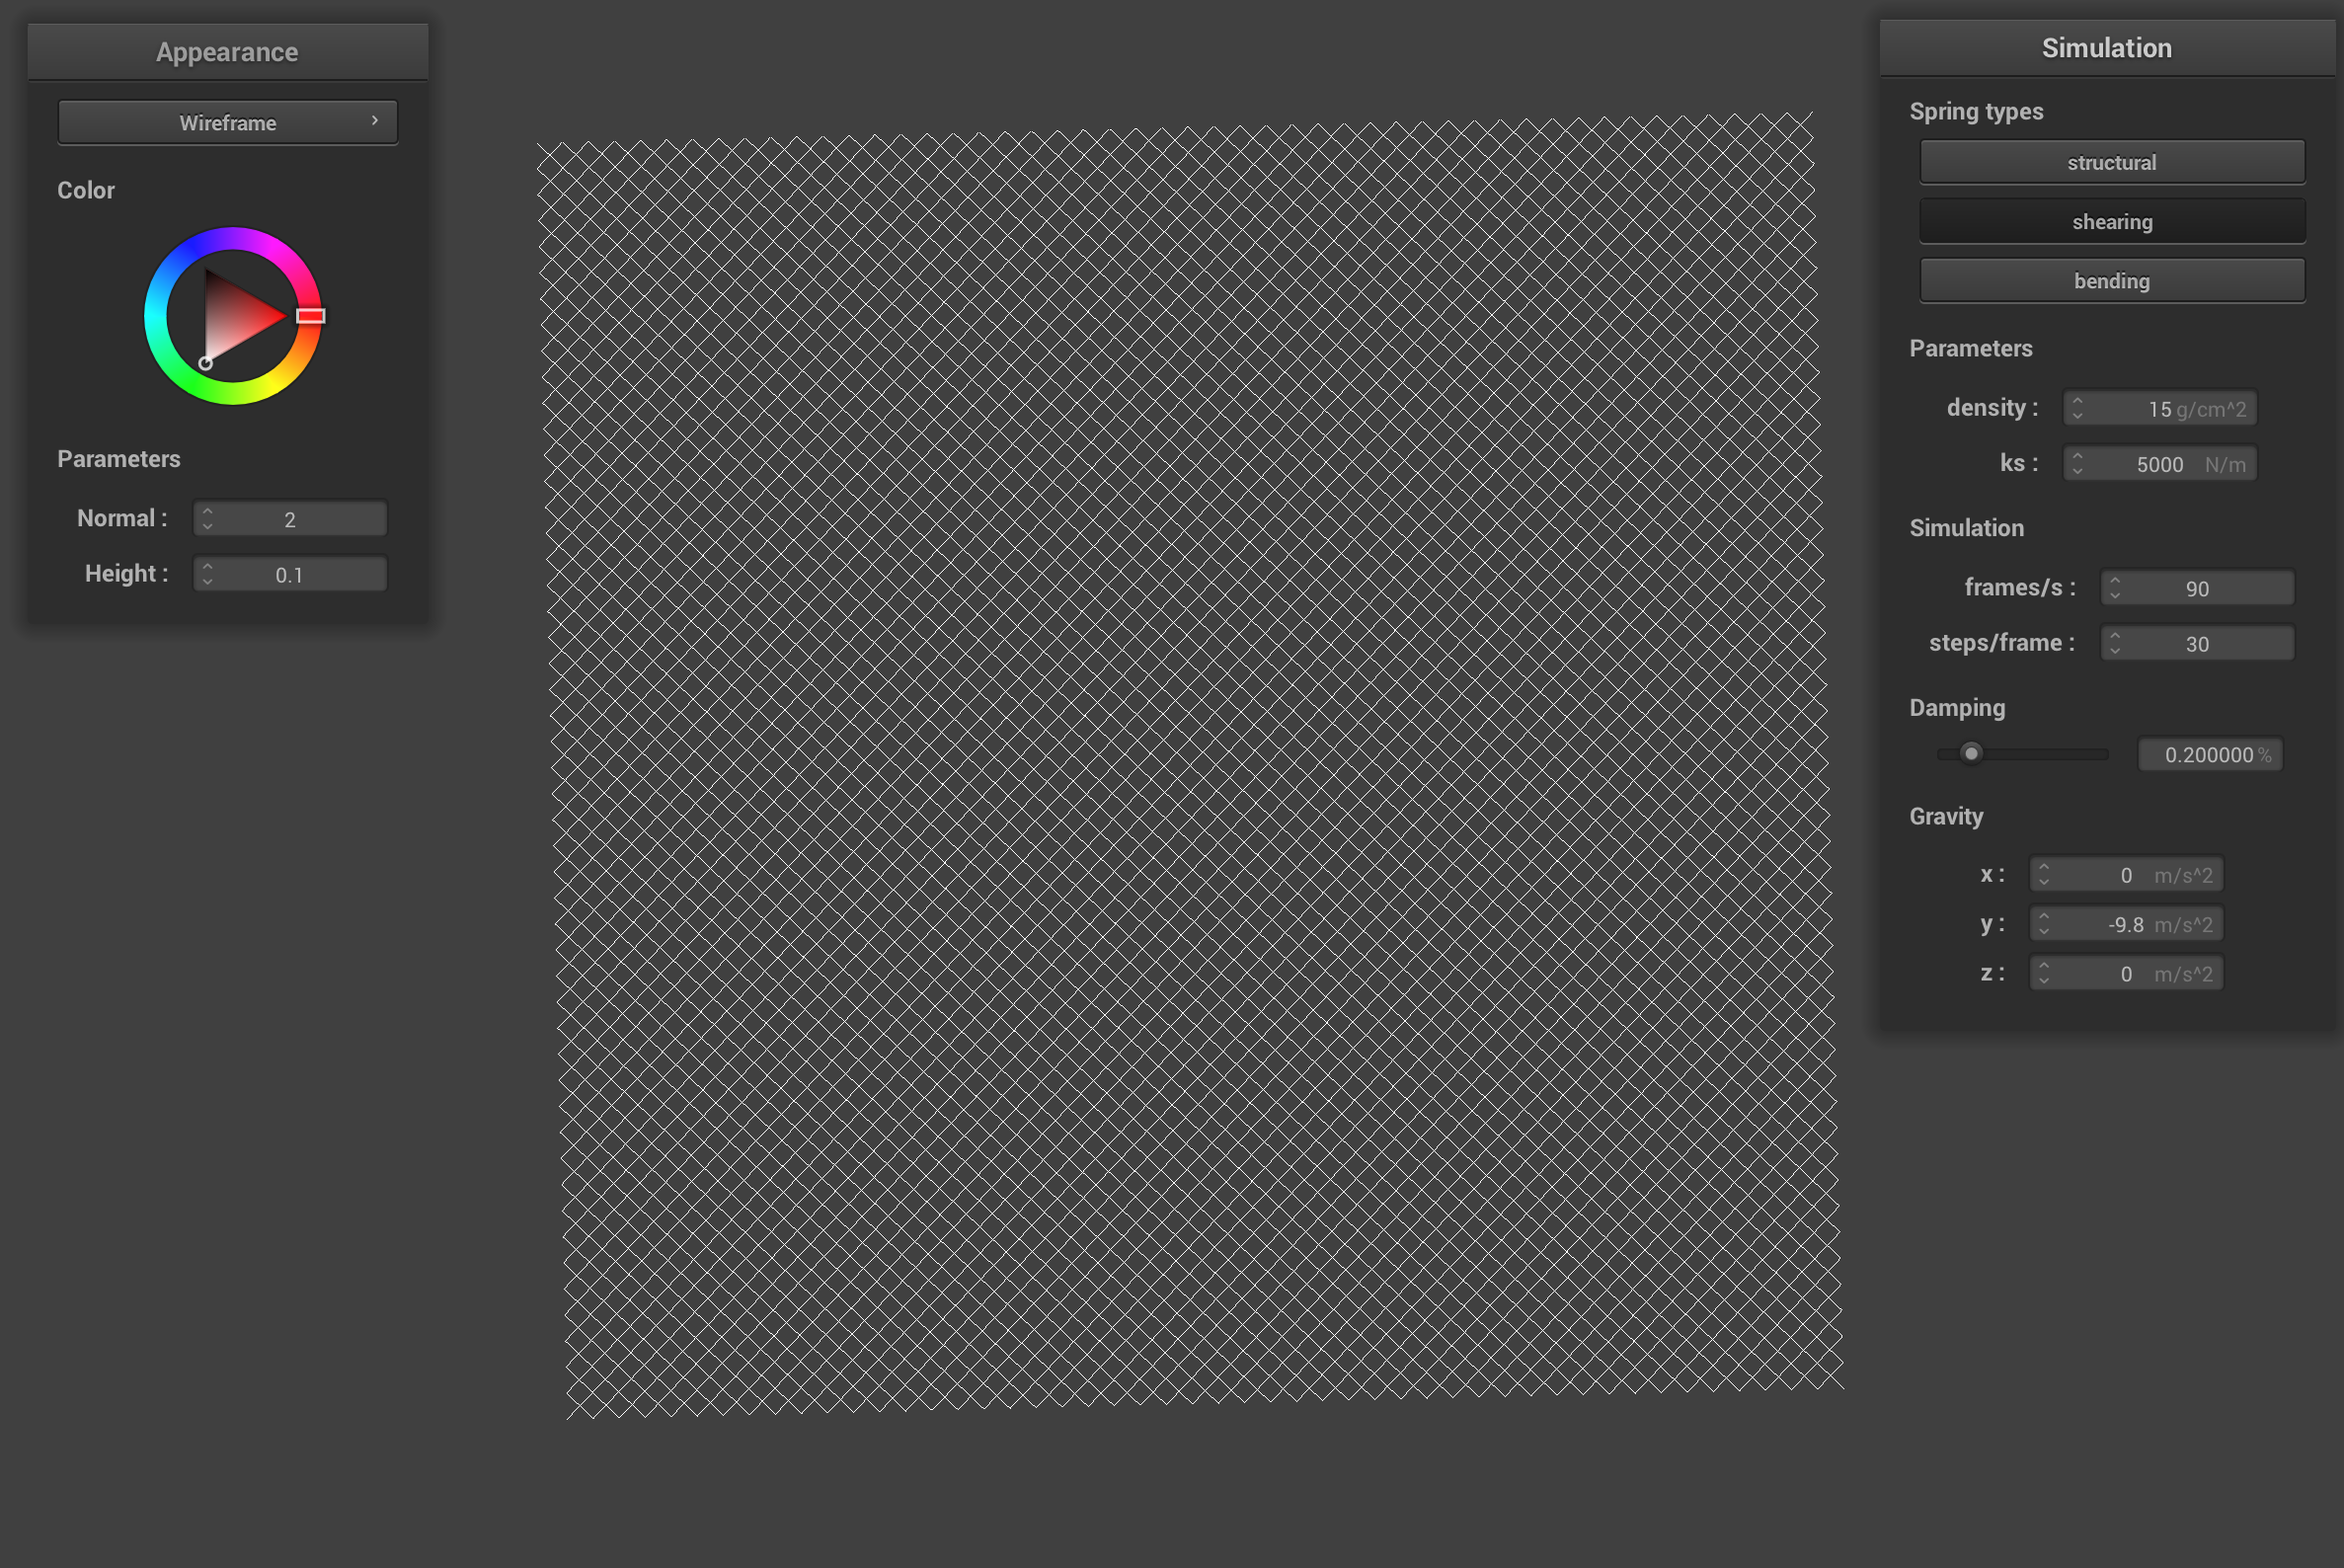
pinned2.json with only shearing constraints
pinned2.json without shearing constraints
pinned2.json all constraints
Part 2: Simulation via numerical integration
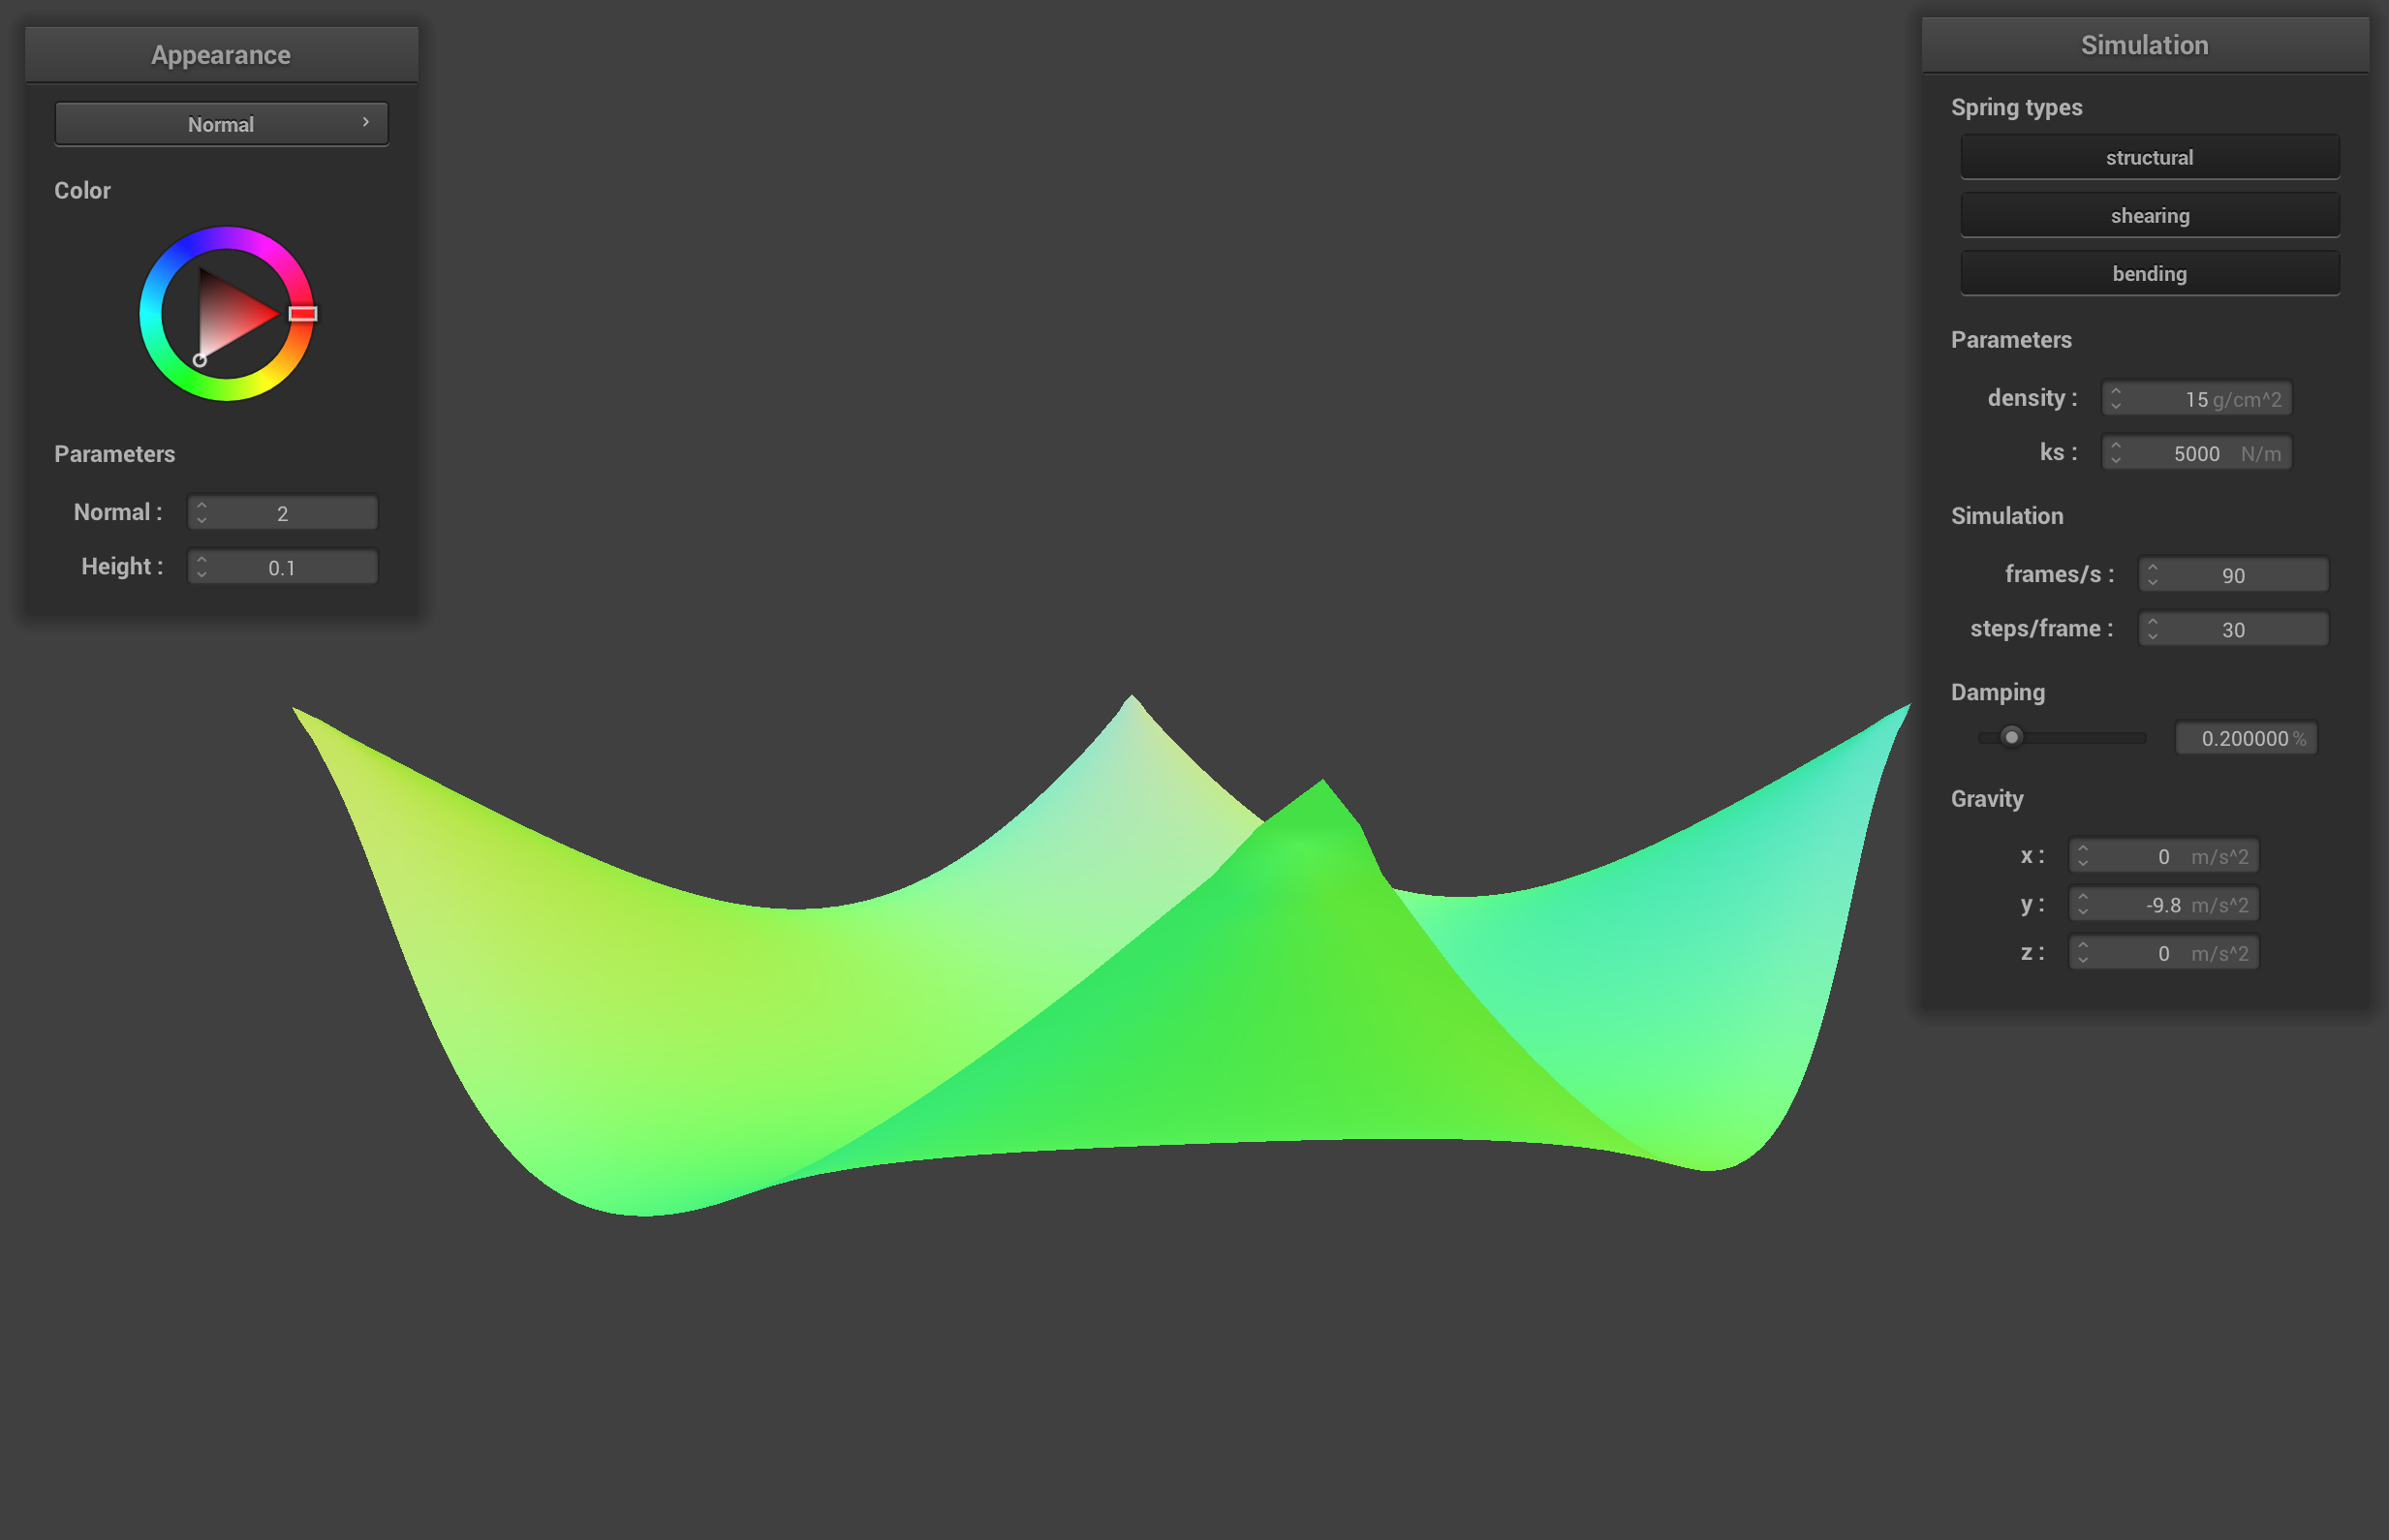
The spring constant ks describes how stiff the springs that hold together the point masses of the cloth are. When ks is low, the cloth is very stretchy because the strings are not very stiff. The simulation shows that the low ks cloth has a deep sag in between the two pinned corners. The cloth with the high ks constant has very stiff springs, so the cloth doesn't sag as much between the pinned corners.
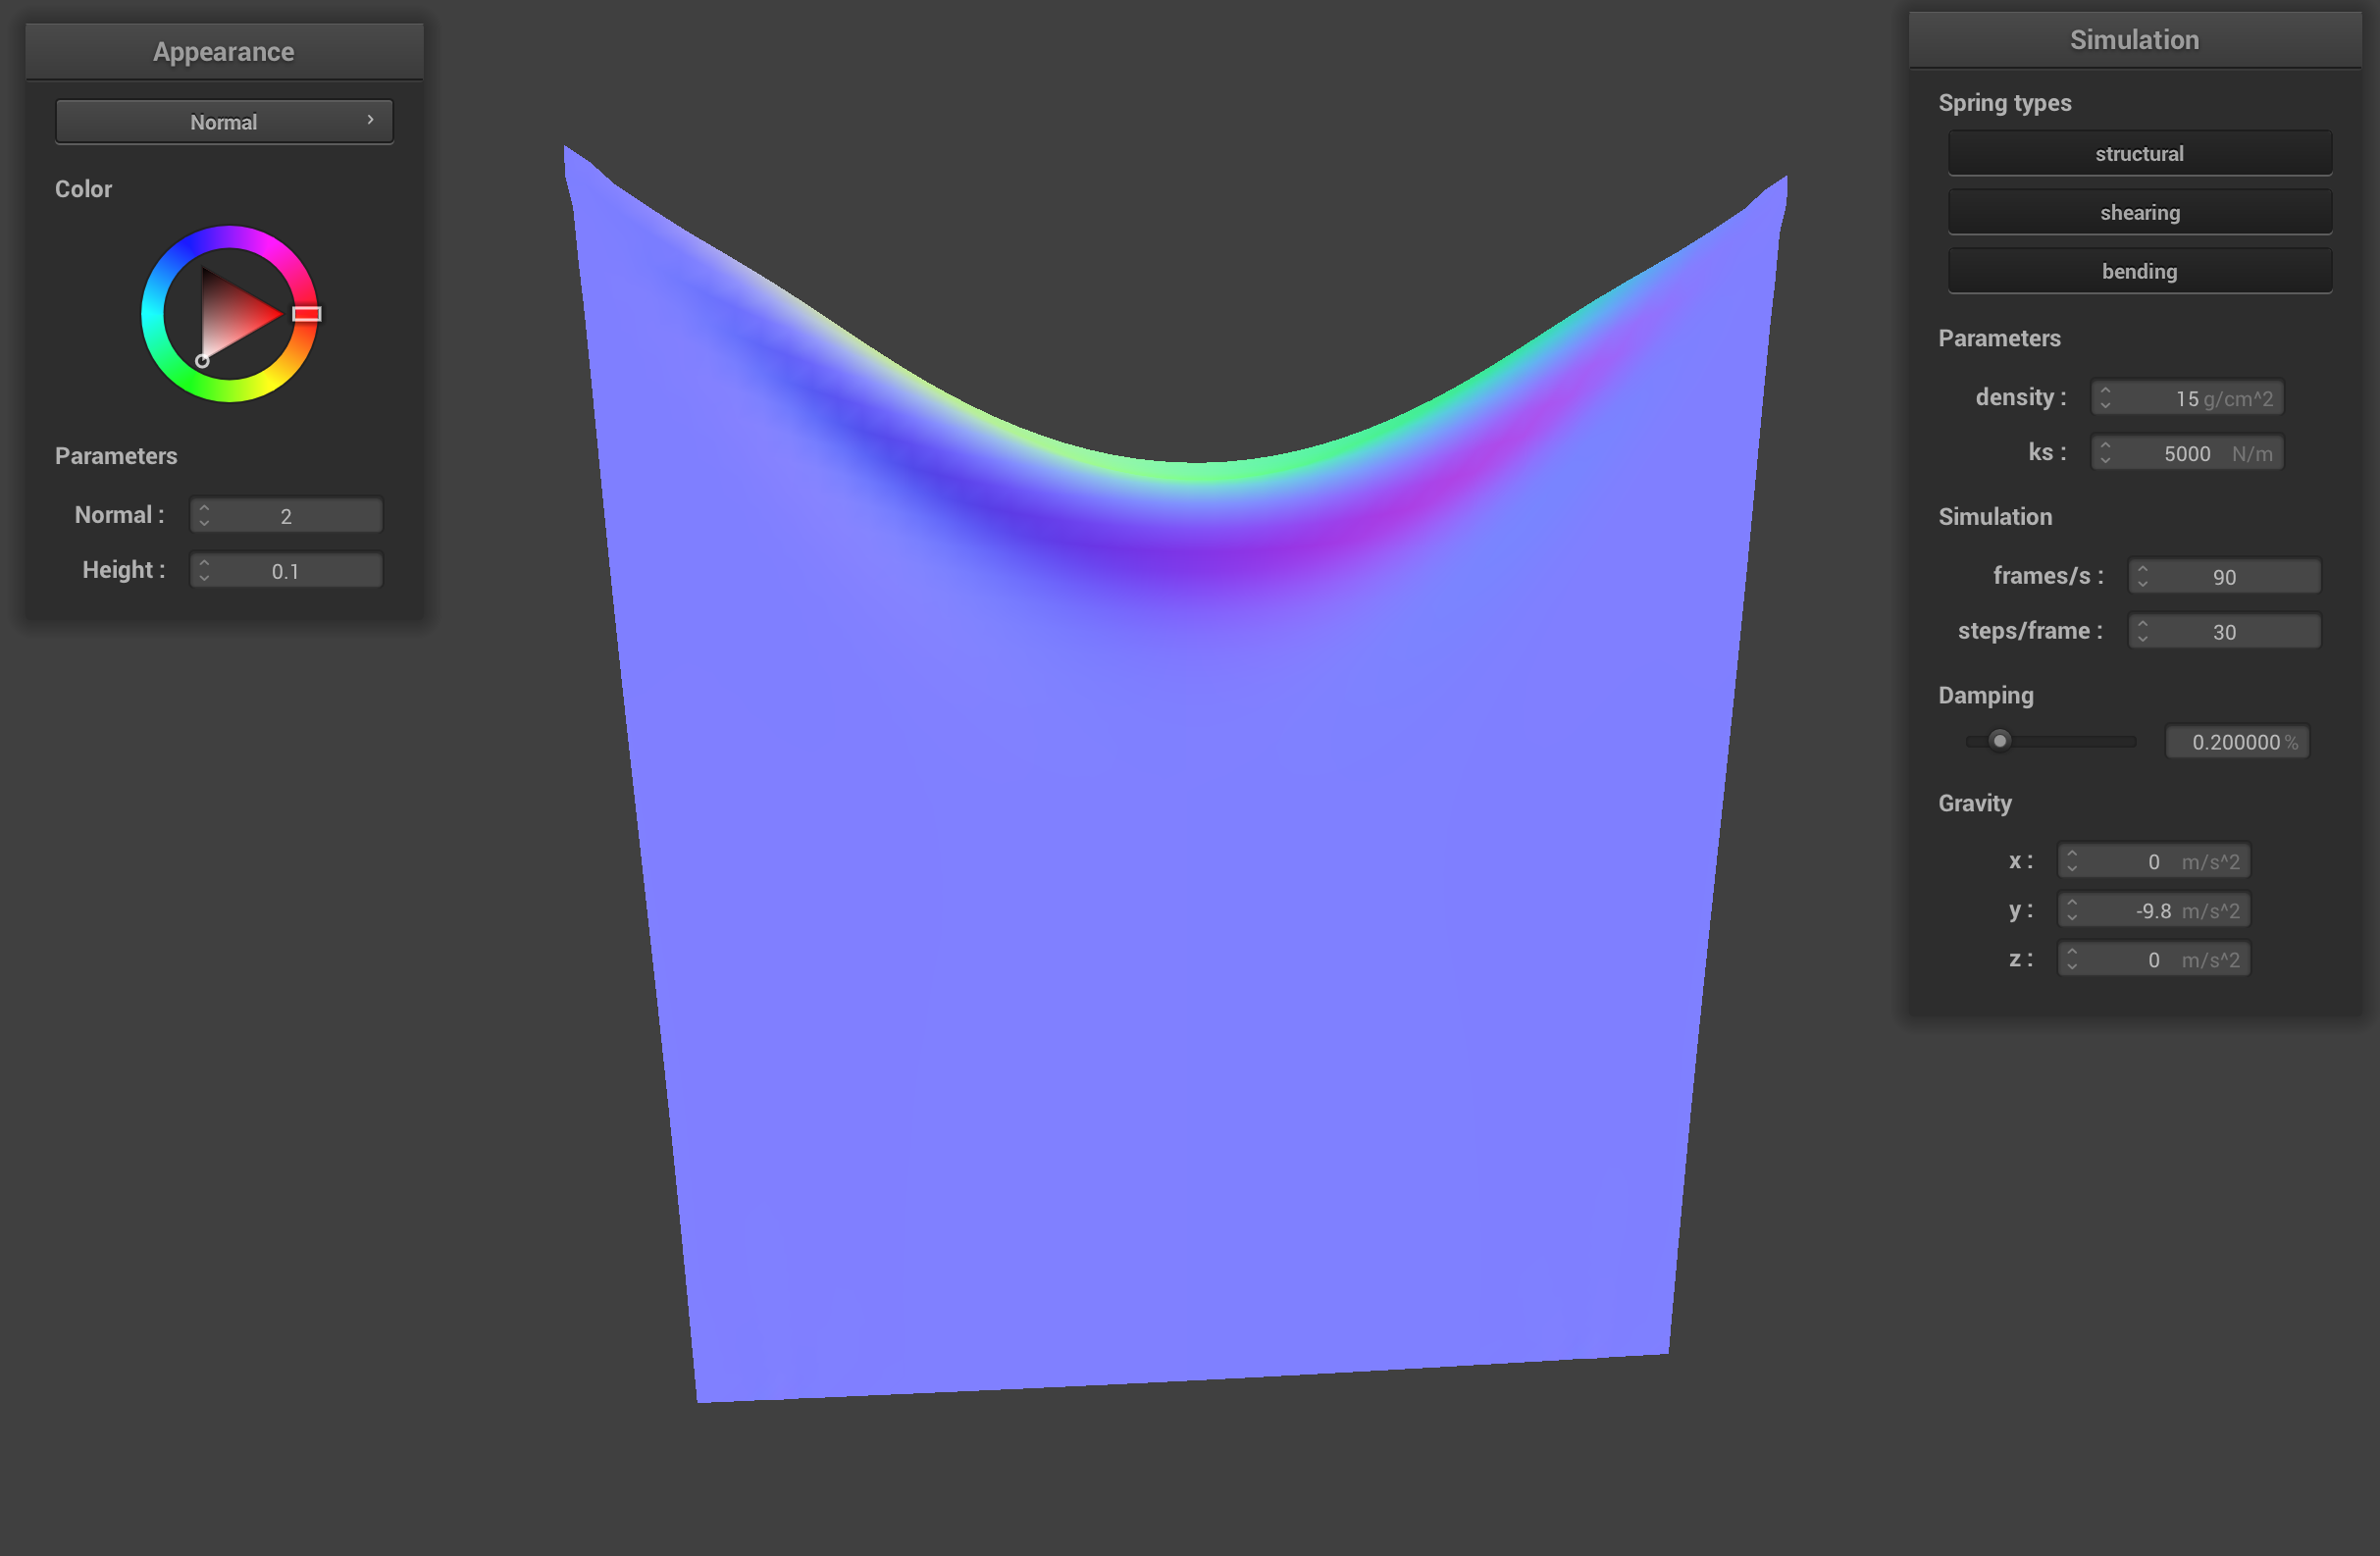
pinned2.json default ks (5000 N/m)

pinned2.json with low ks (1000 N/m)

pinned2.json with high ks (15000 N/m
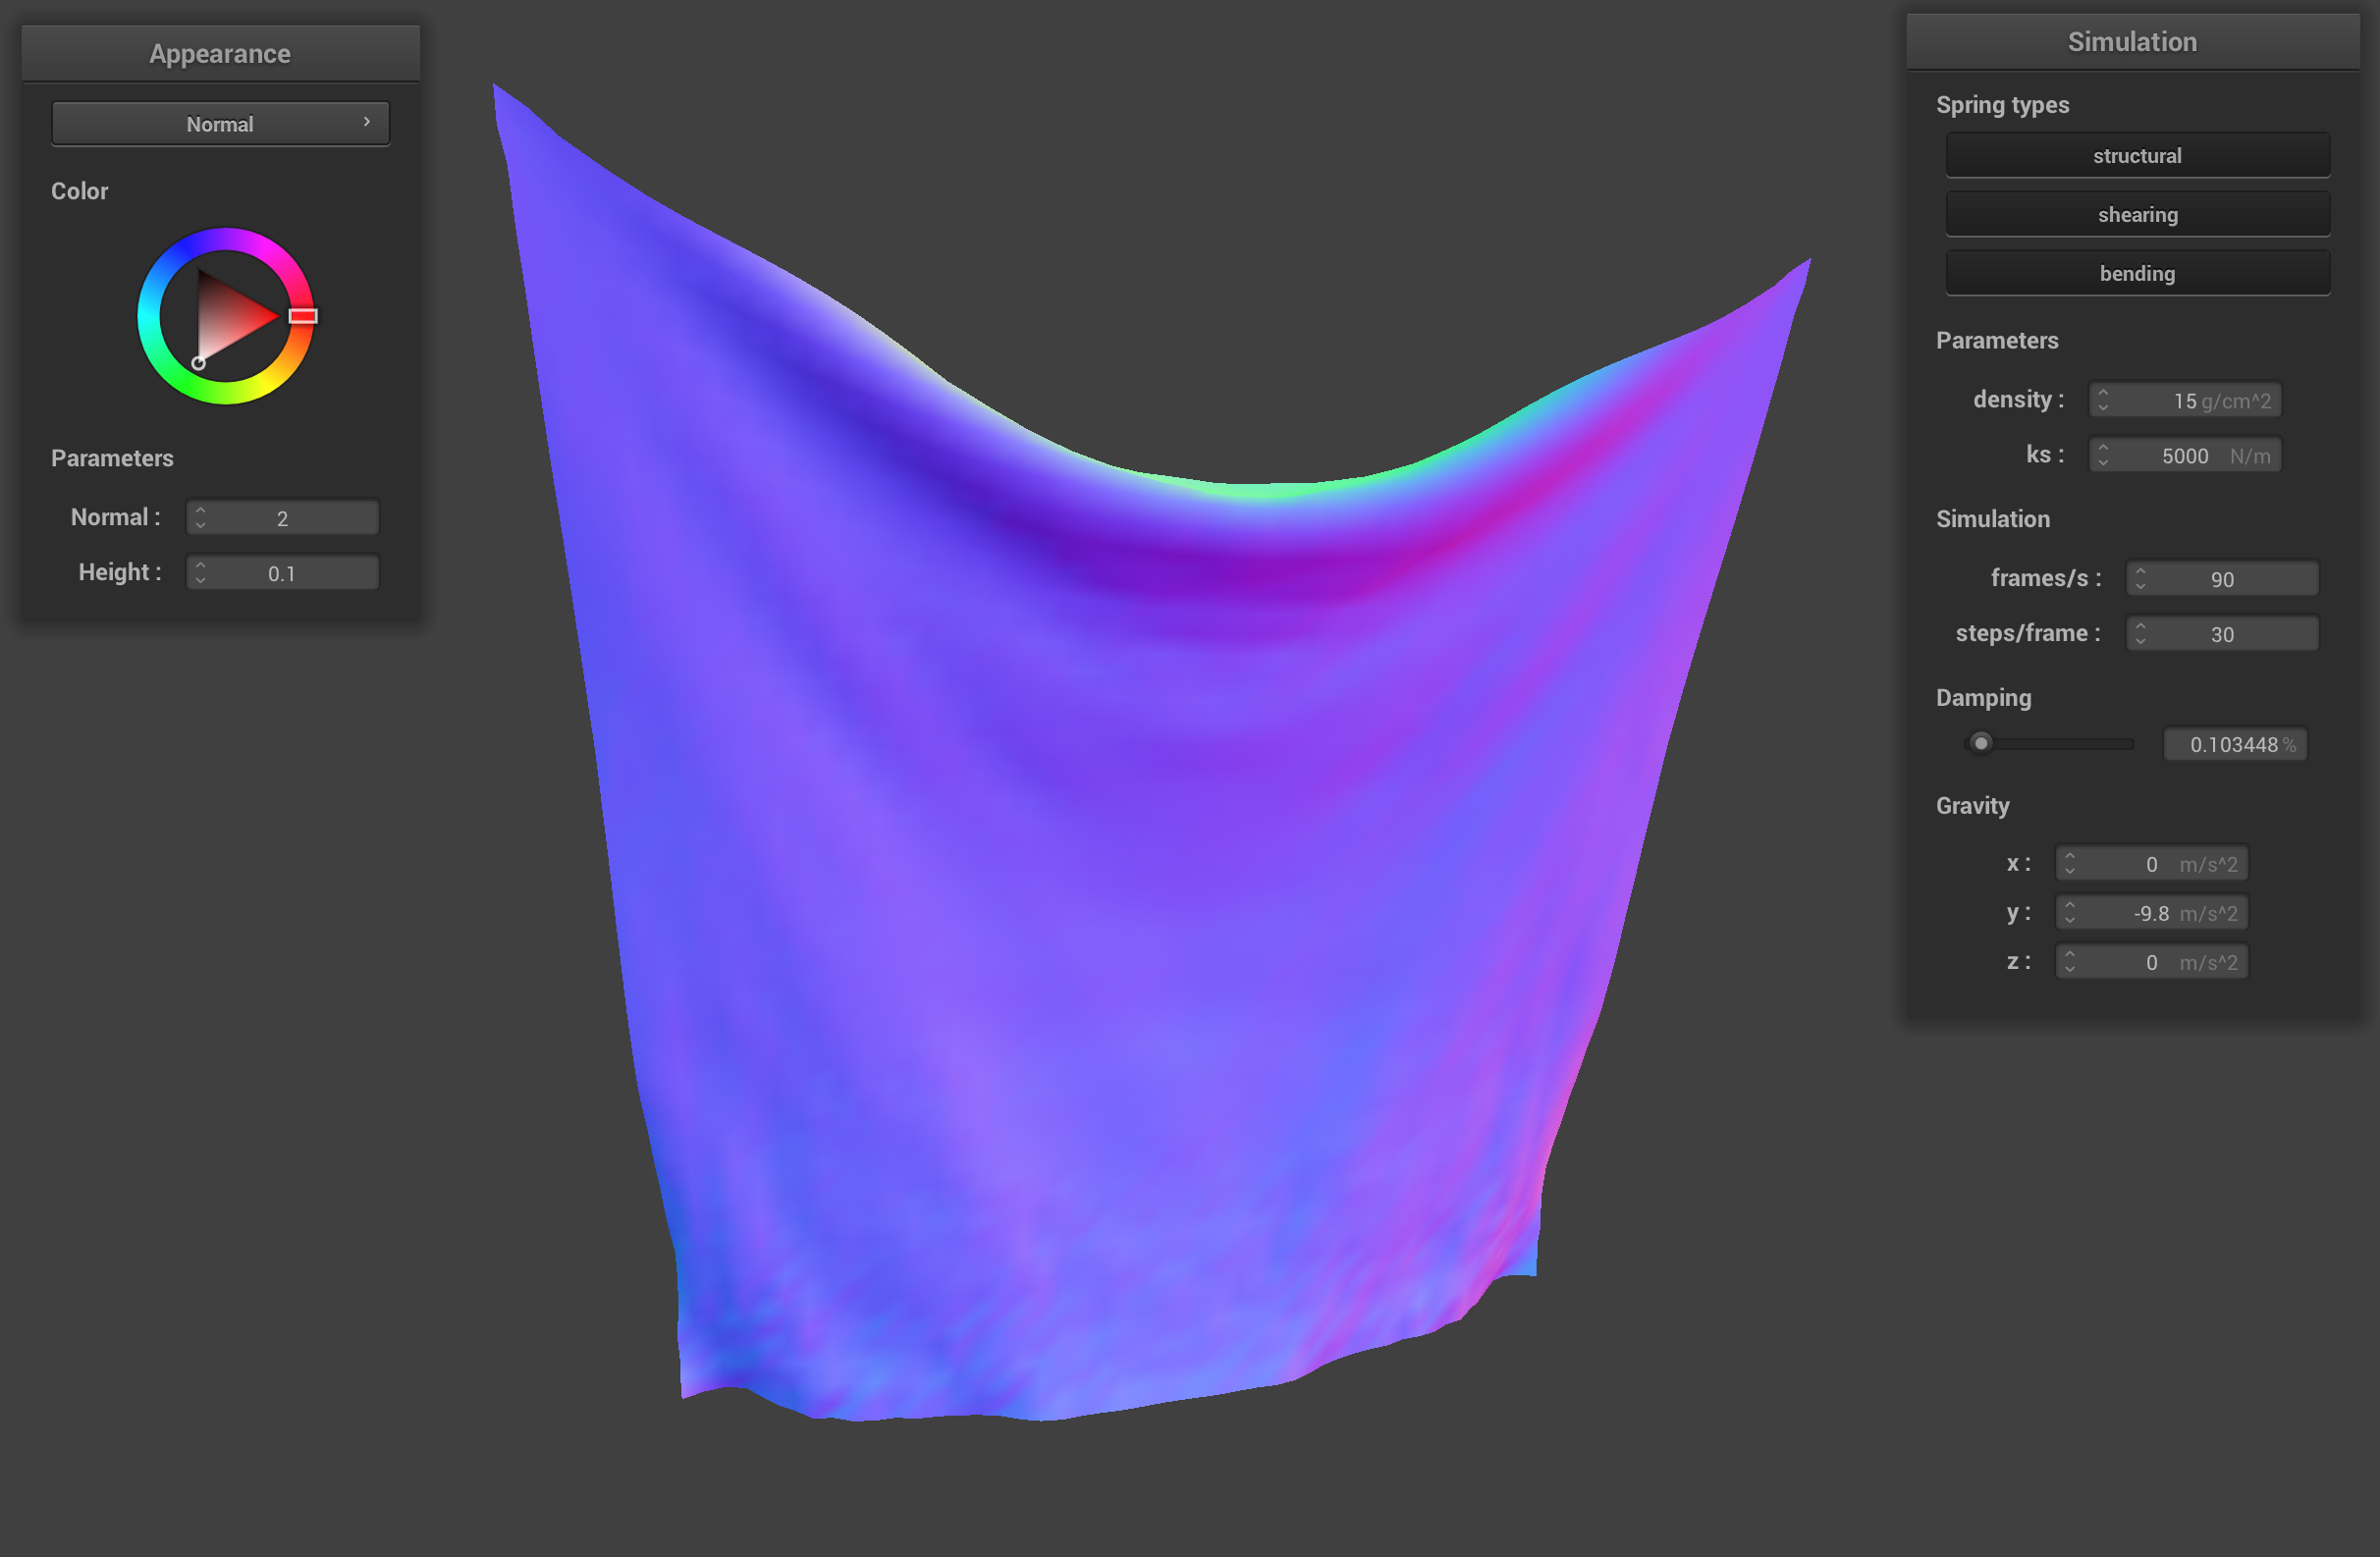
The density affects the mass of the point masses that make up the cloth. The low density cloth retains a lot of its square shape compared to the default cloth because the point masses weigh less and therefore don't pull as much on the springs when the cloth hangs from the two pins. The cloth with high density sags more, similar to the low ks cloth, because the point masses weigh more.
pinned2.json default density (15 g/cm2)
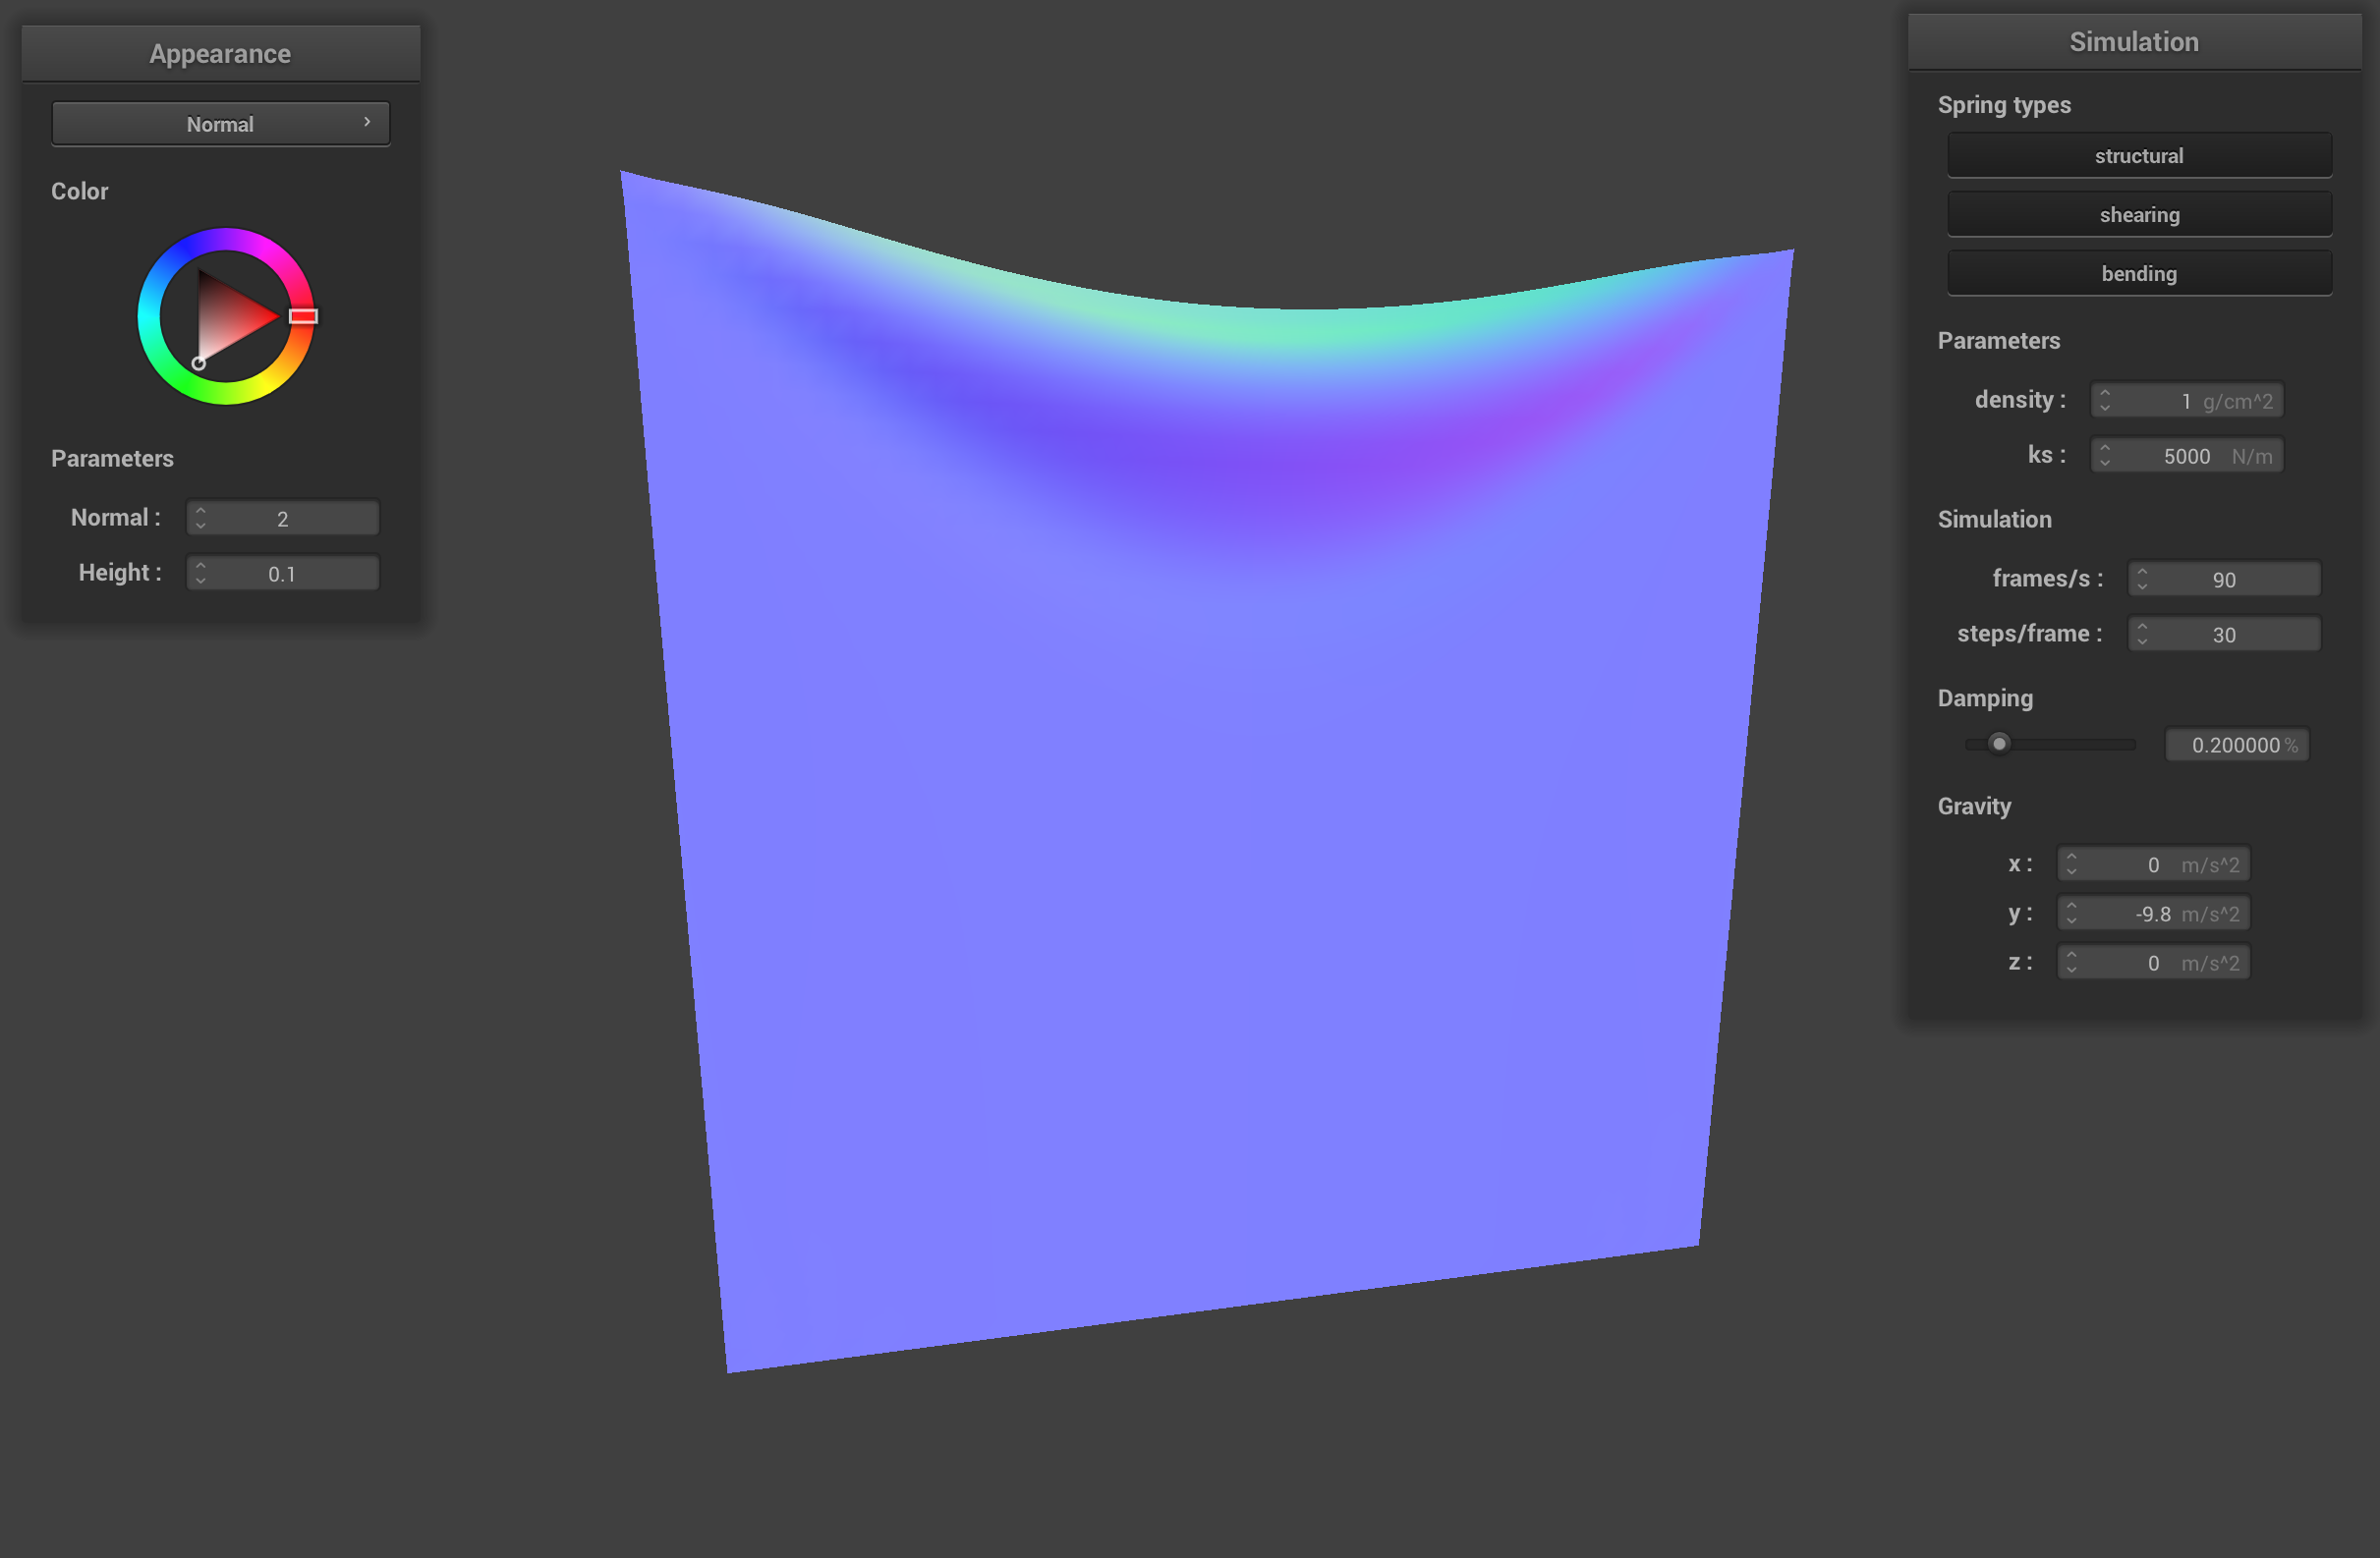
pinned2.json with low density (1 g/cm2)
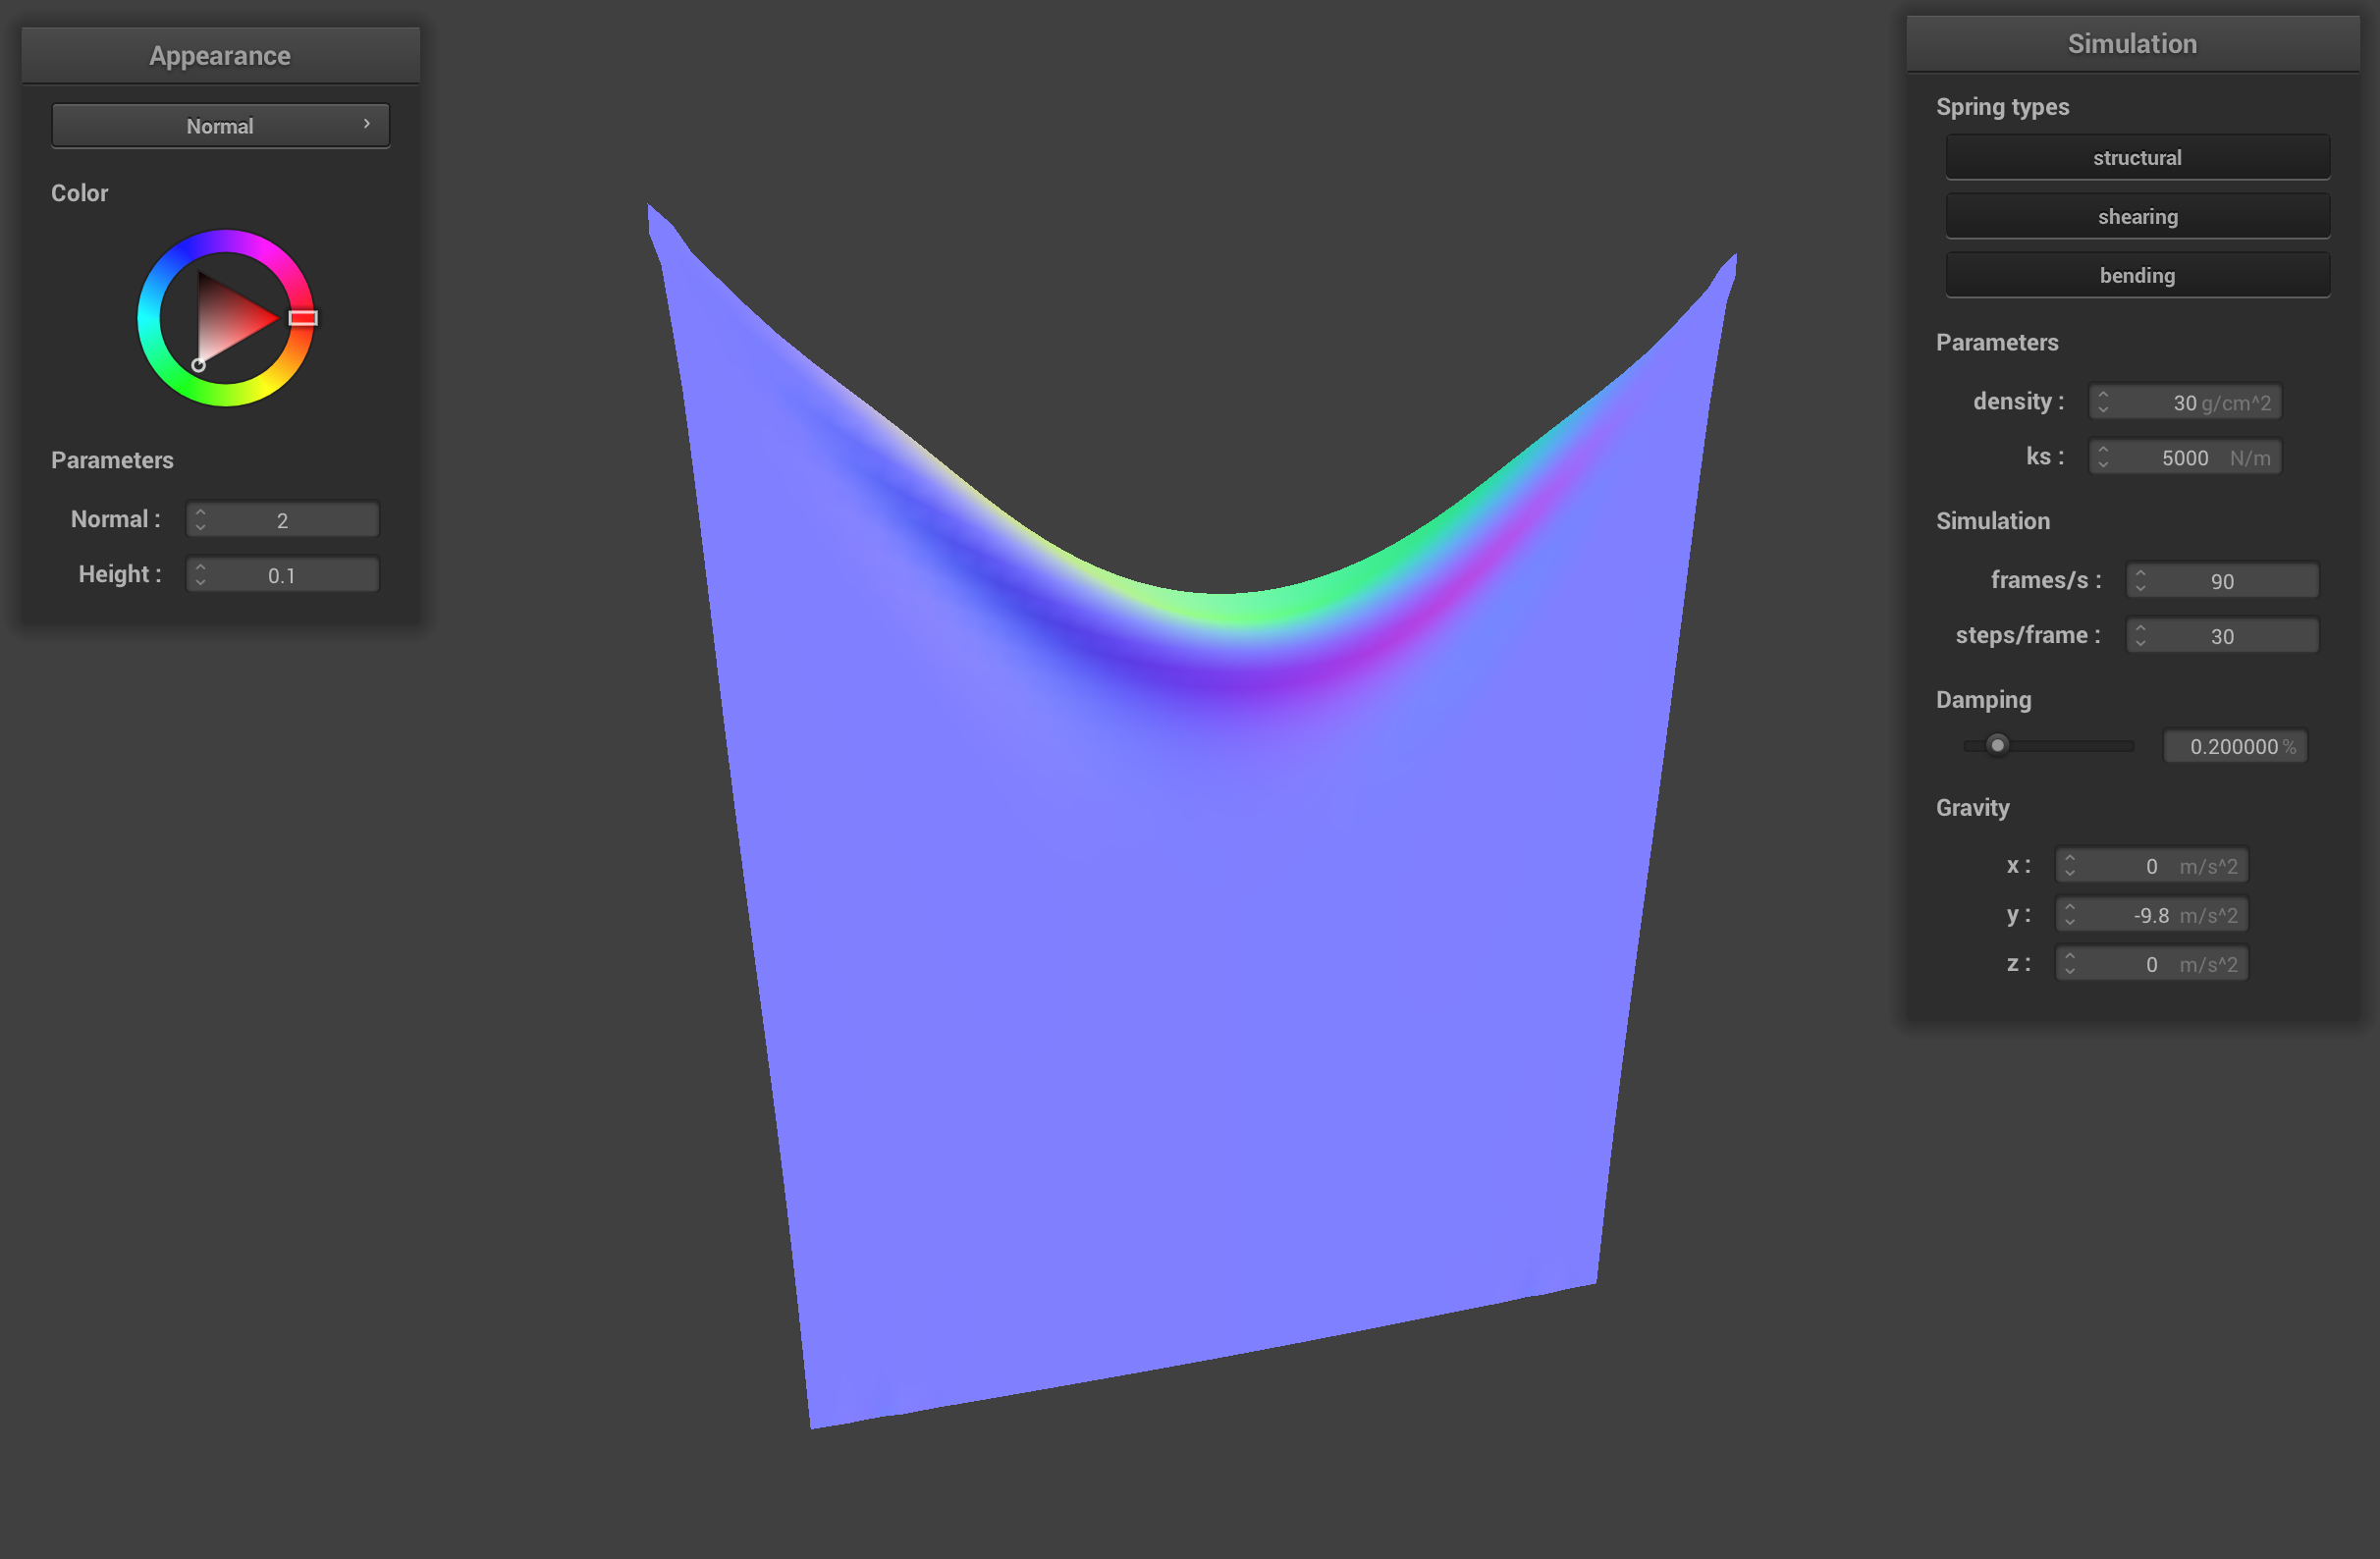
pinned2.json with high density (30 g/cm2)
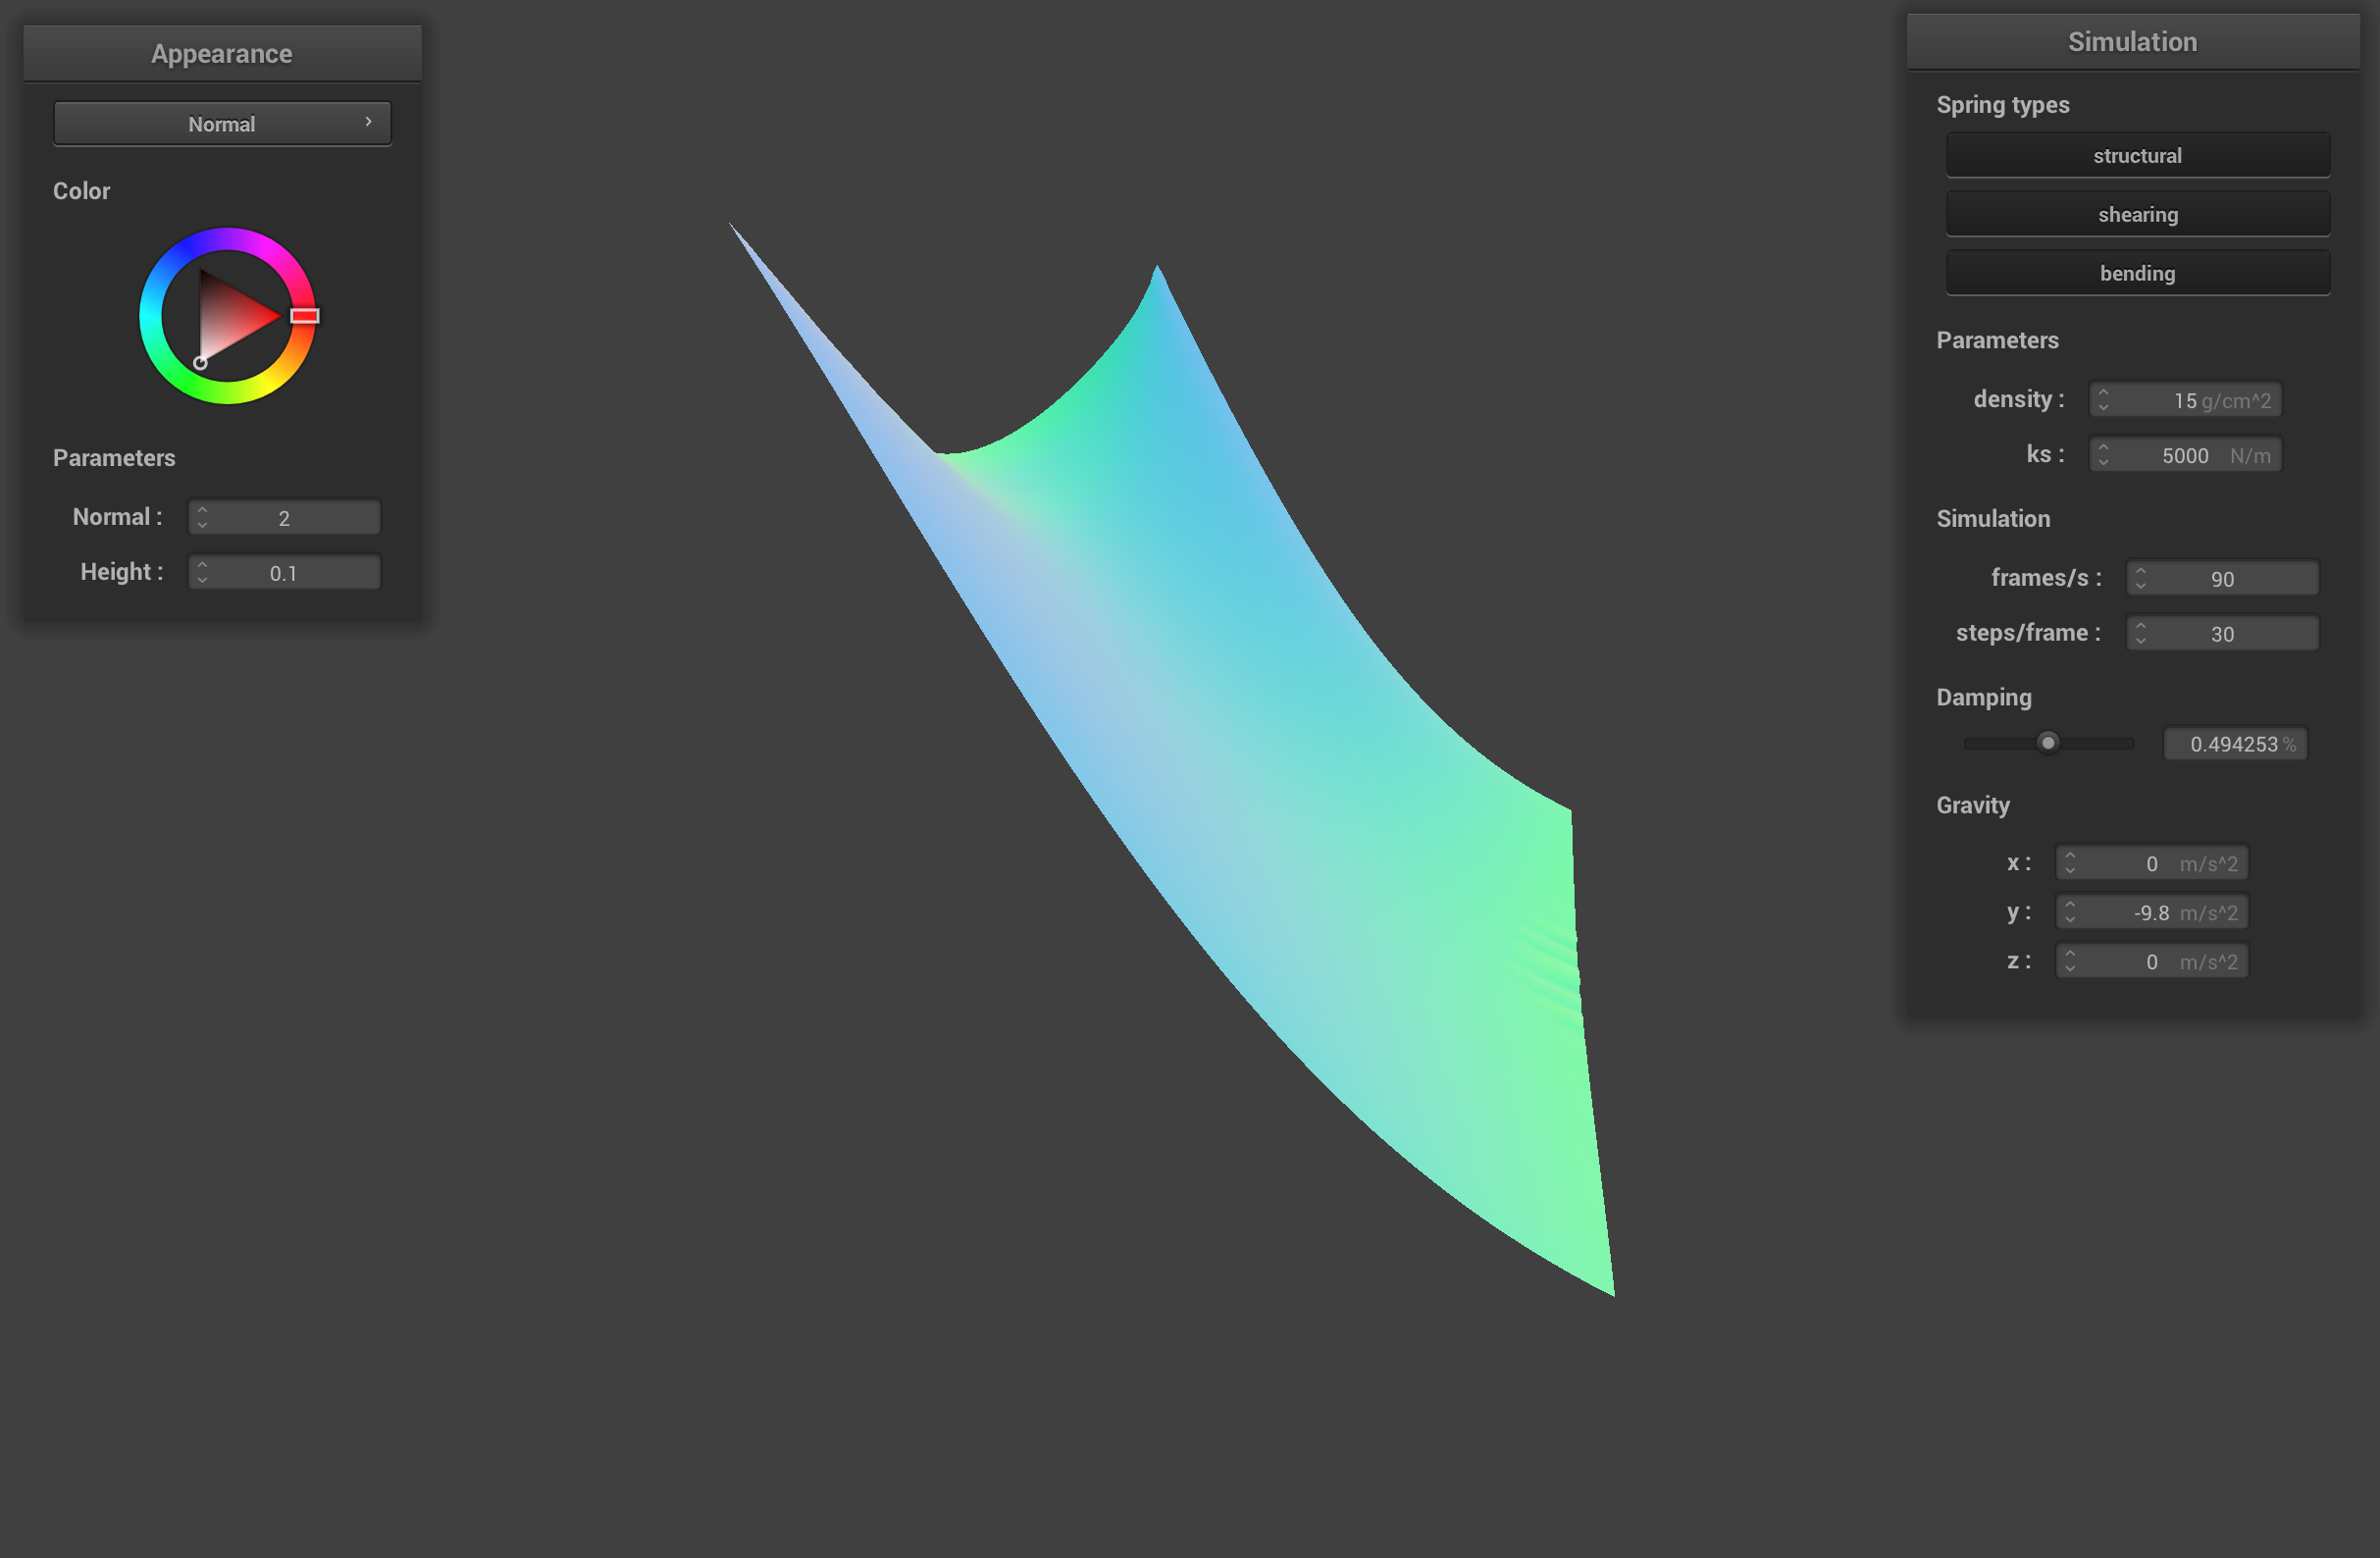
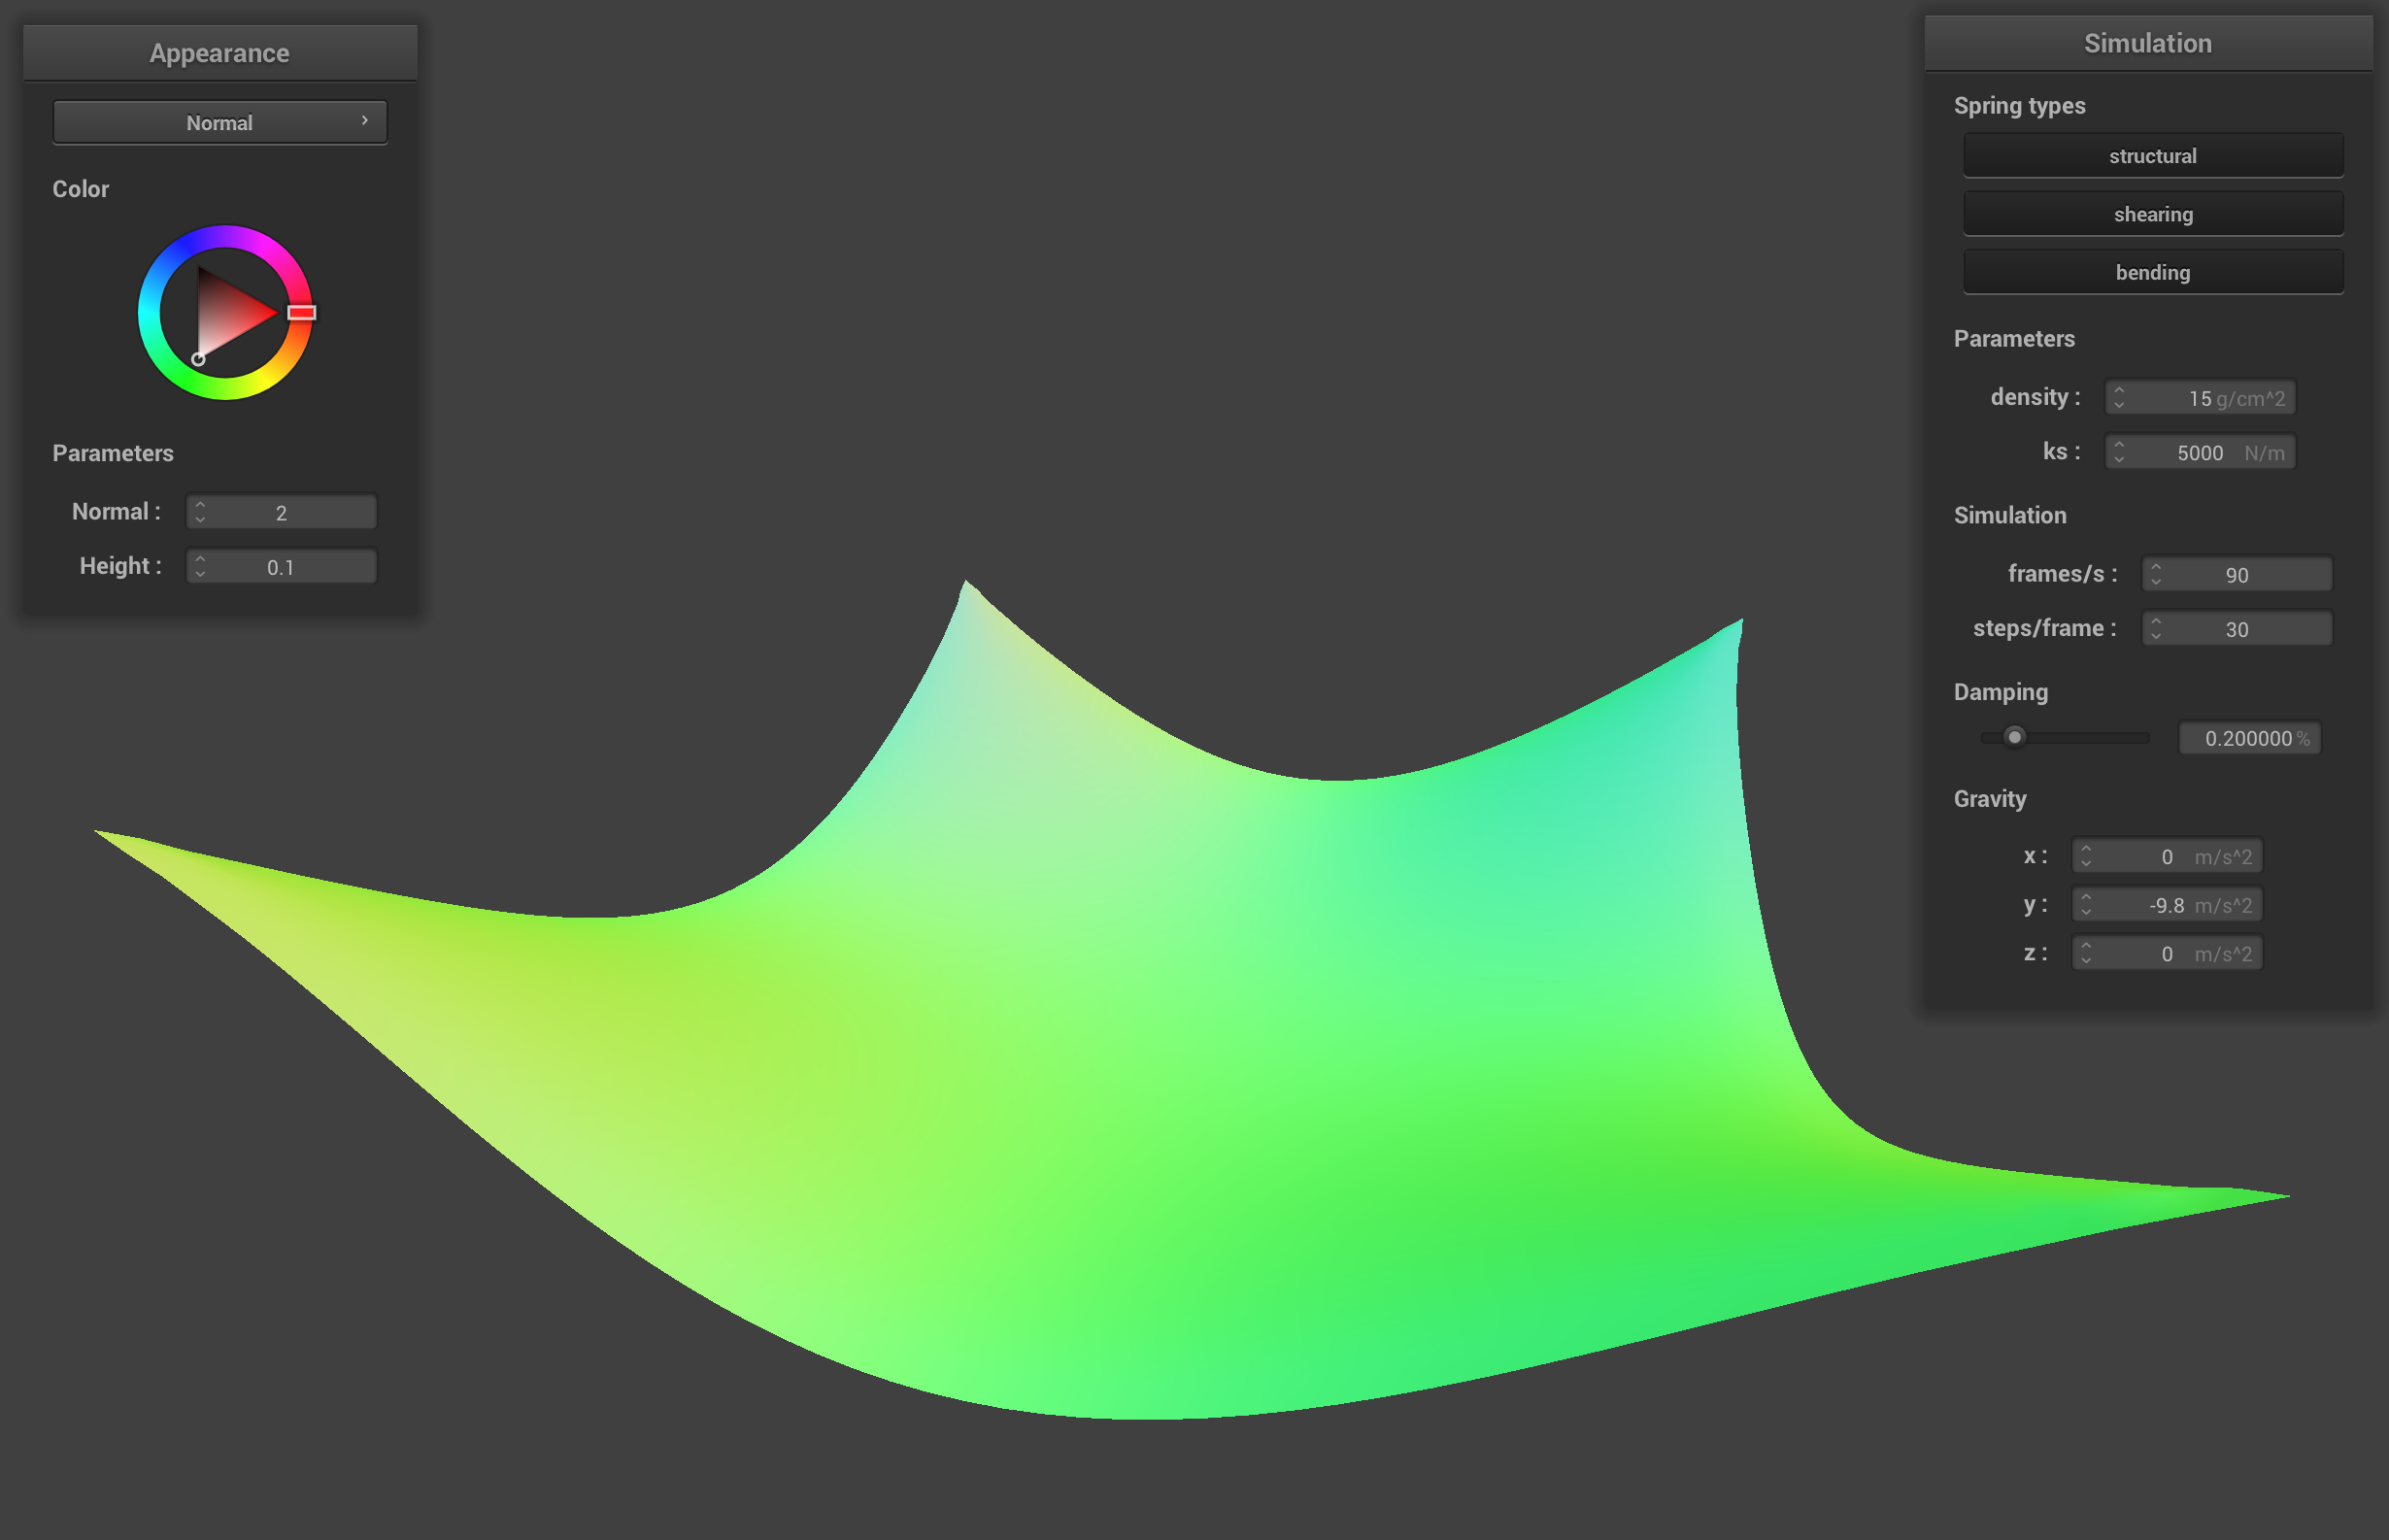
The damping percentage simulates loss of energy due to friction, heat loss, etc. The simulation with the low damping percentage takes a long time to reach a resting state and ripples around a lot because the cloth retains more of its energy. The simulation with the high damping percentage slowly falls down to its resting state and doesn't ripple because the cloth loses energy very quickly.
pinned2.json default damping (0.2)
pinned2.json with low damping (0.1) rippling around
pinned2.json with high damping (0.5) mid descent
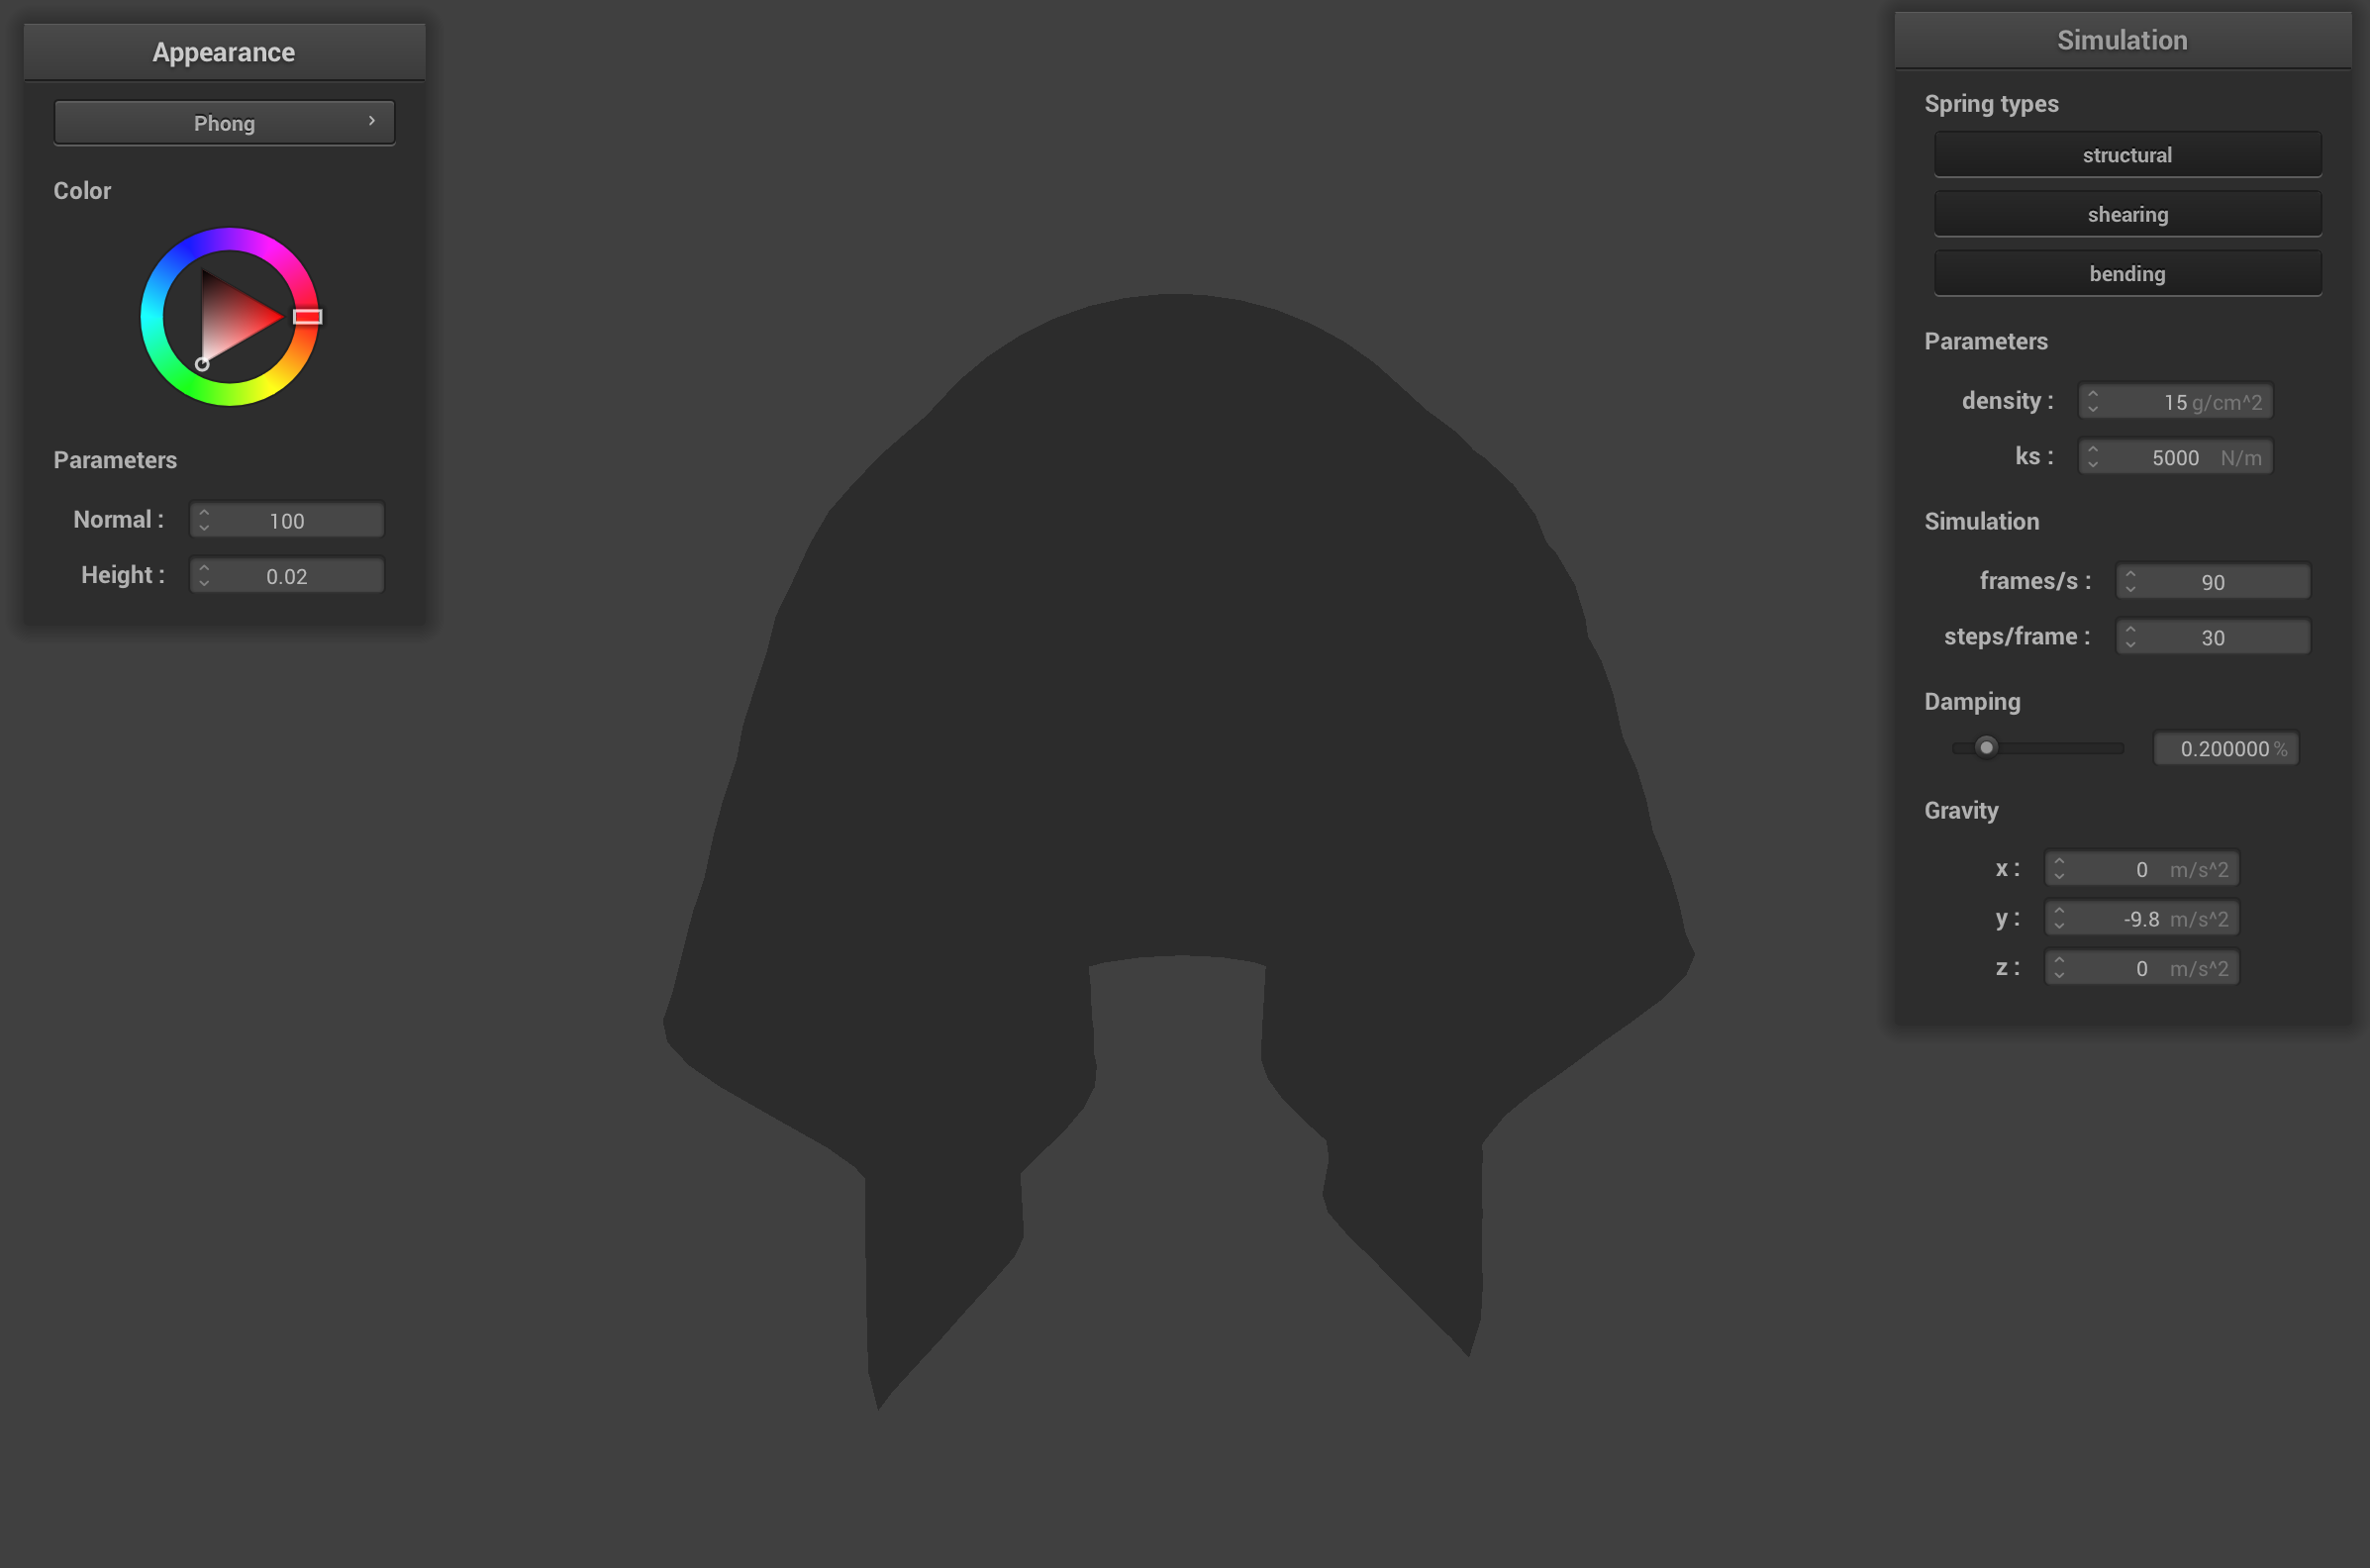
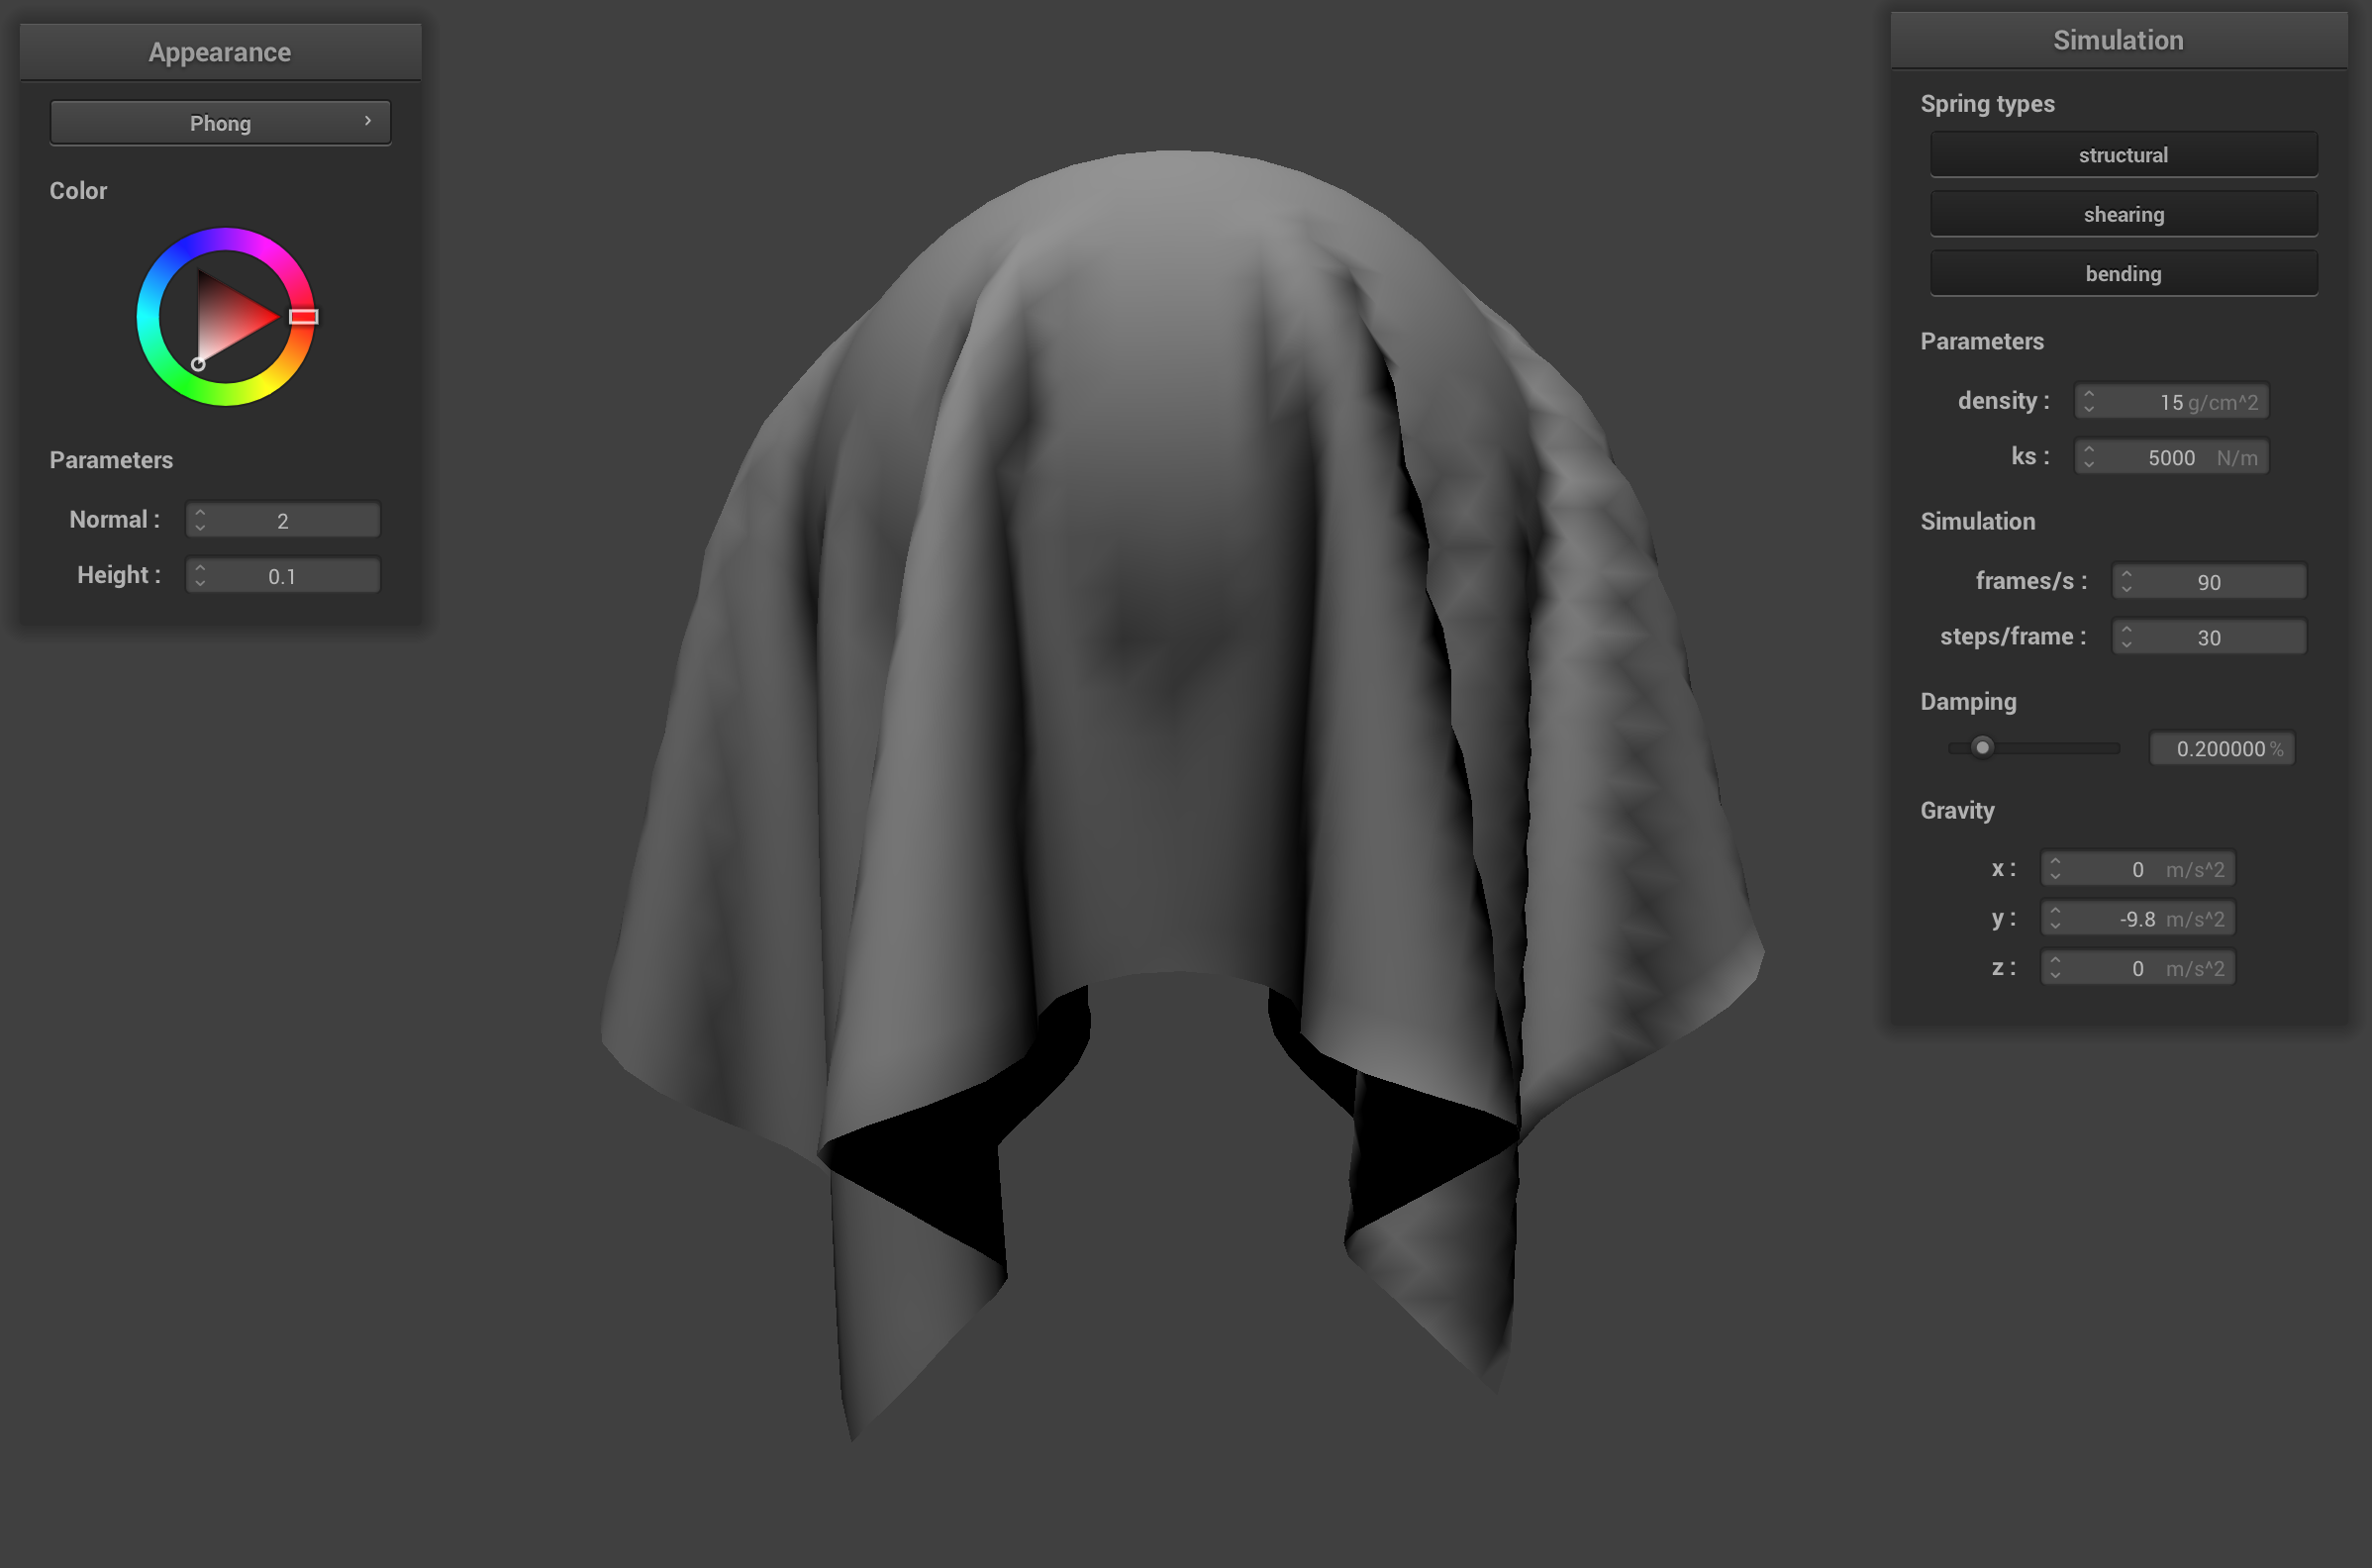
pinned4.json final resting state using default params
pinned4.json final resting state from another angle
Part 3: Handling collisions with other objects
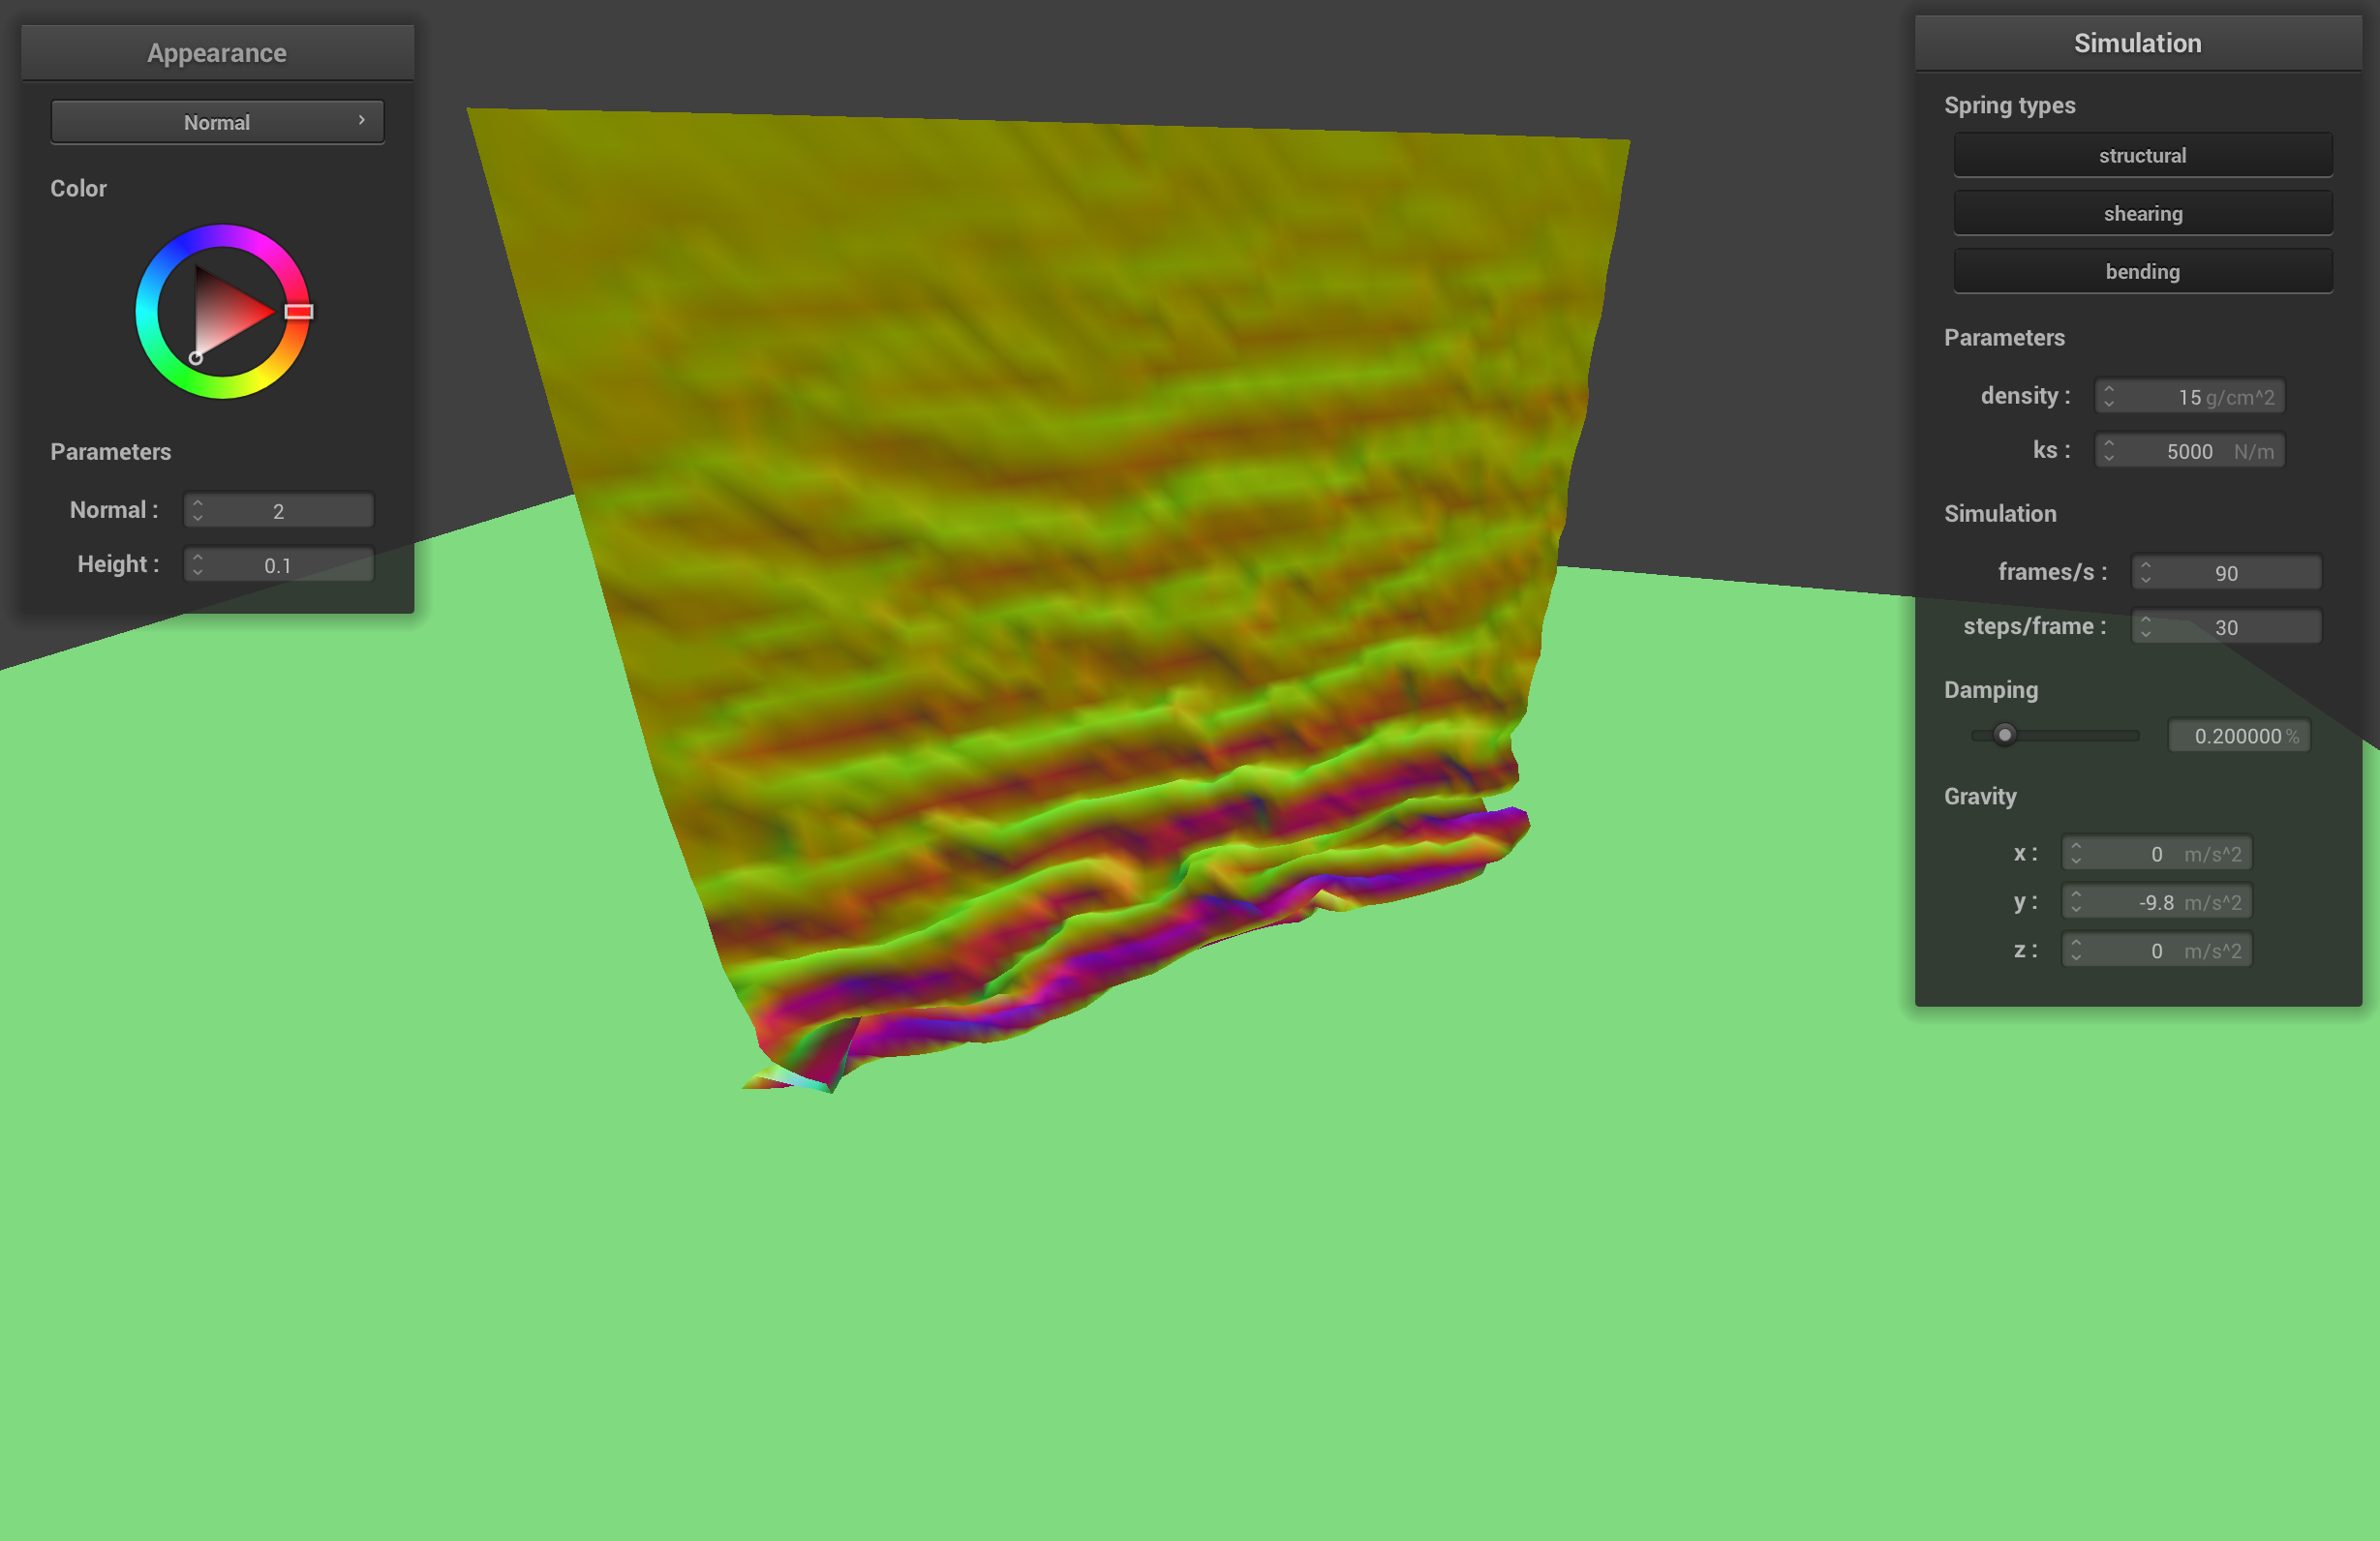
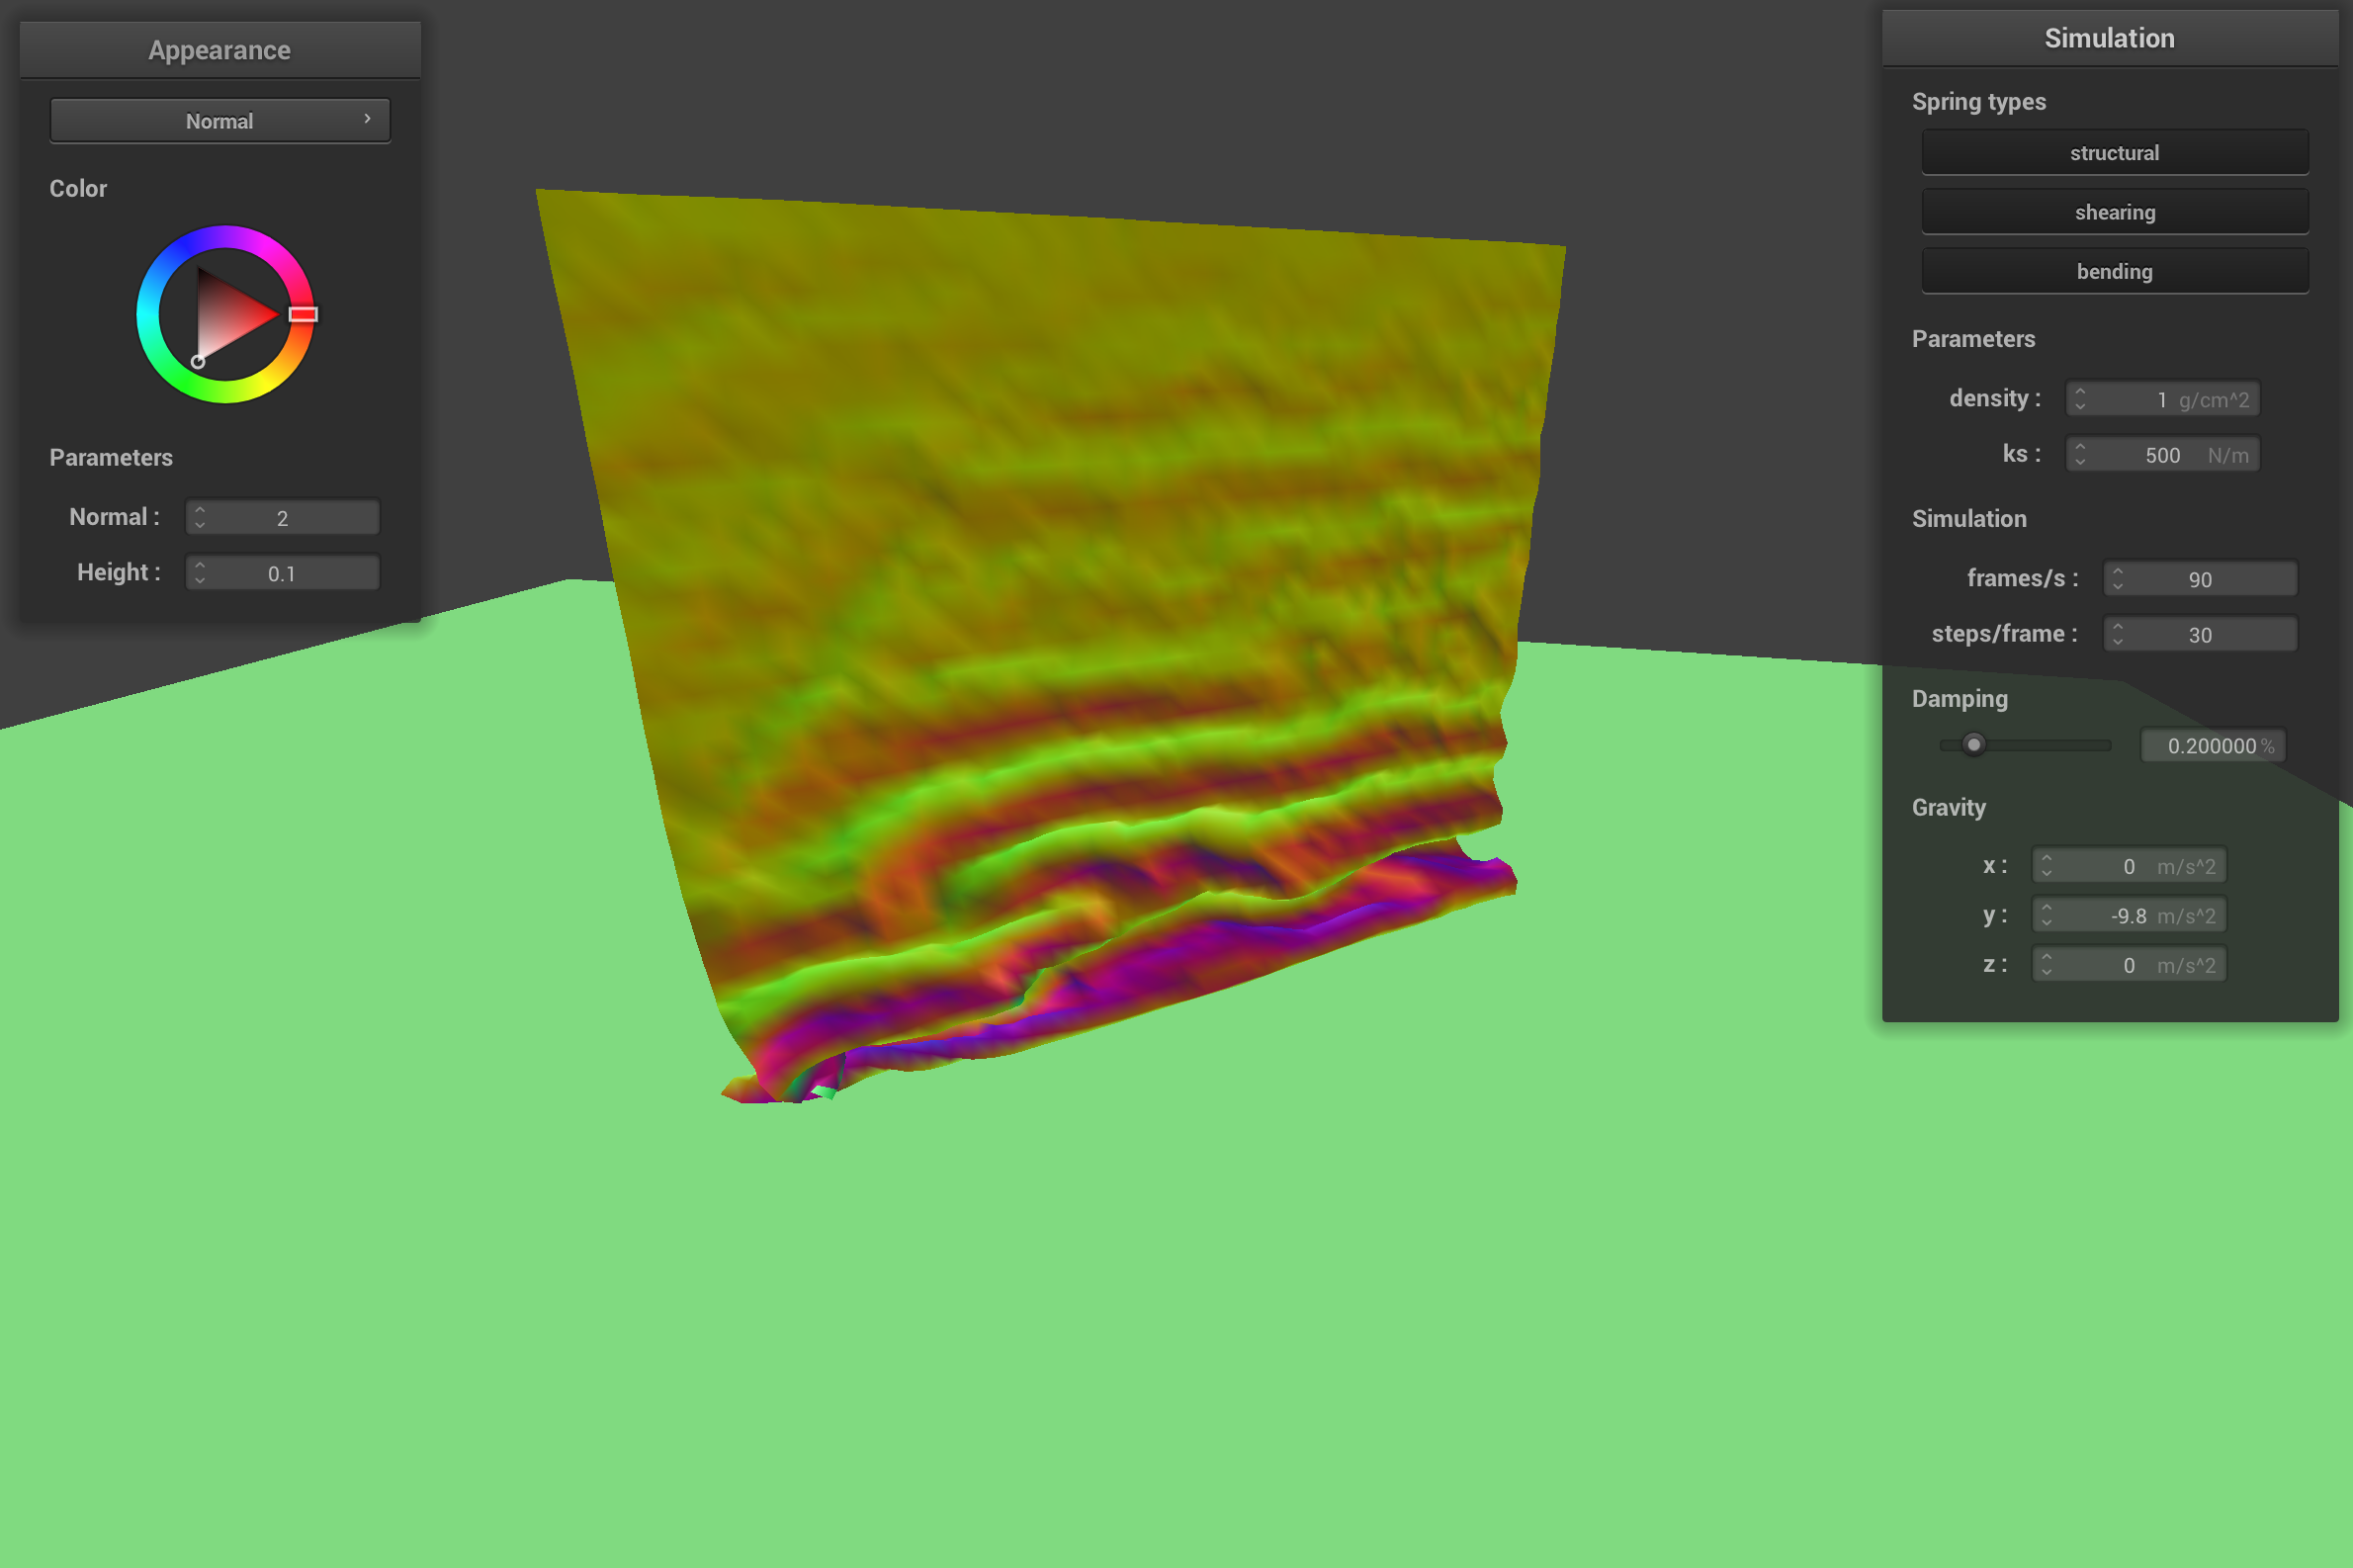
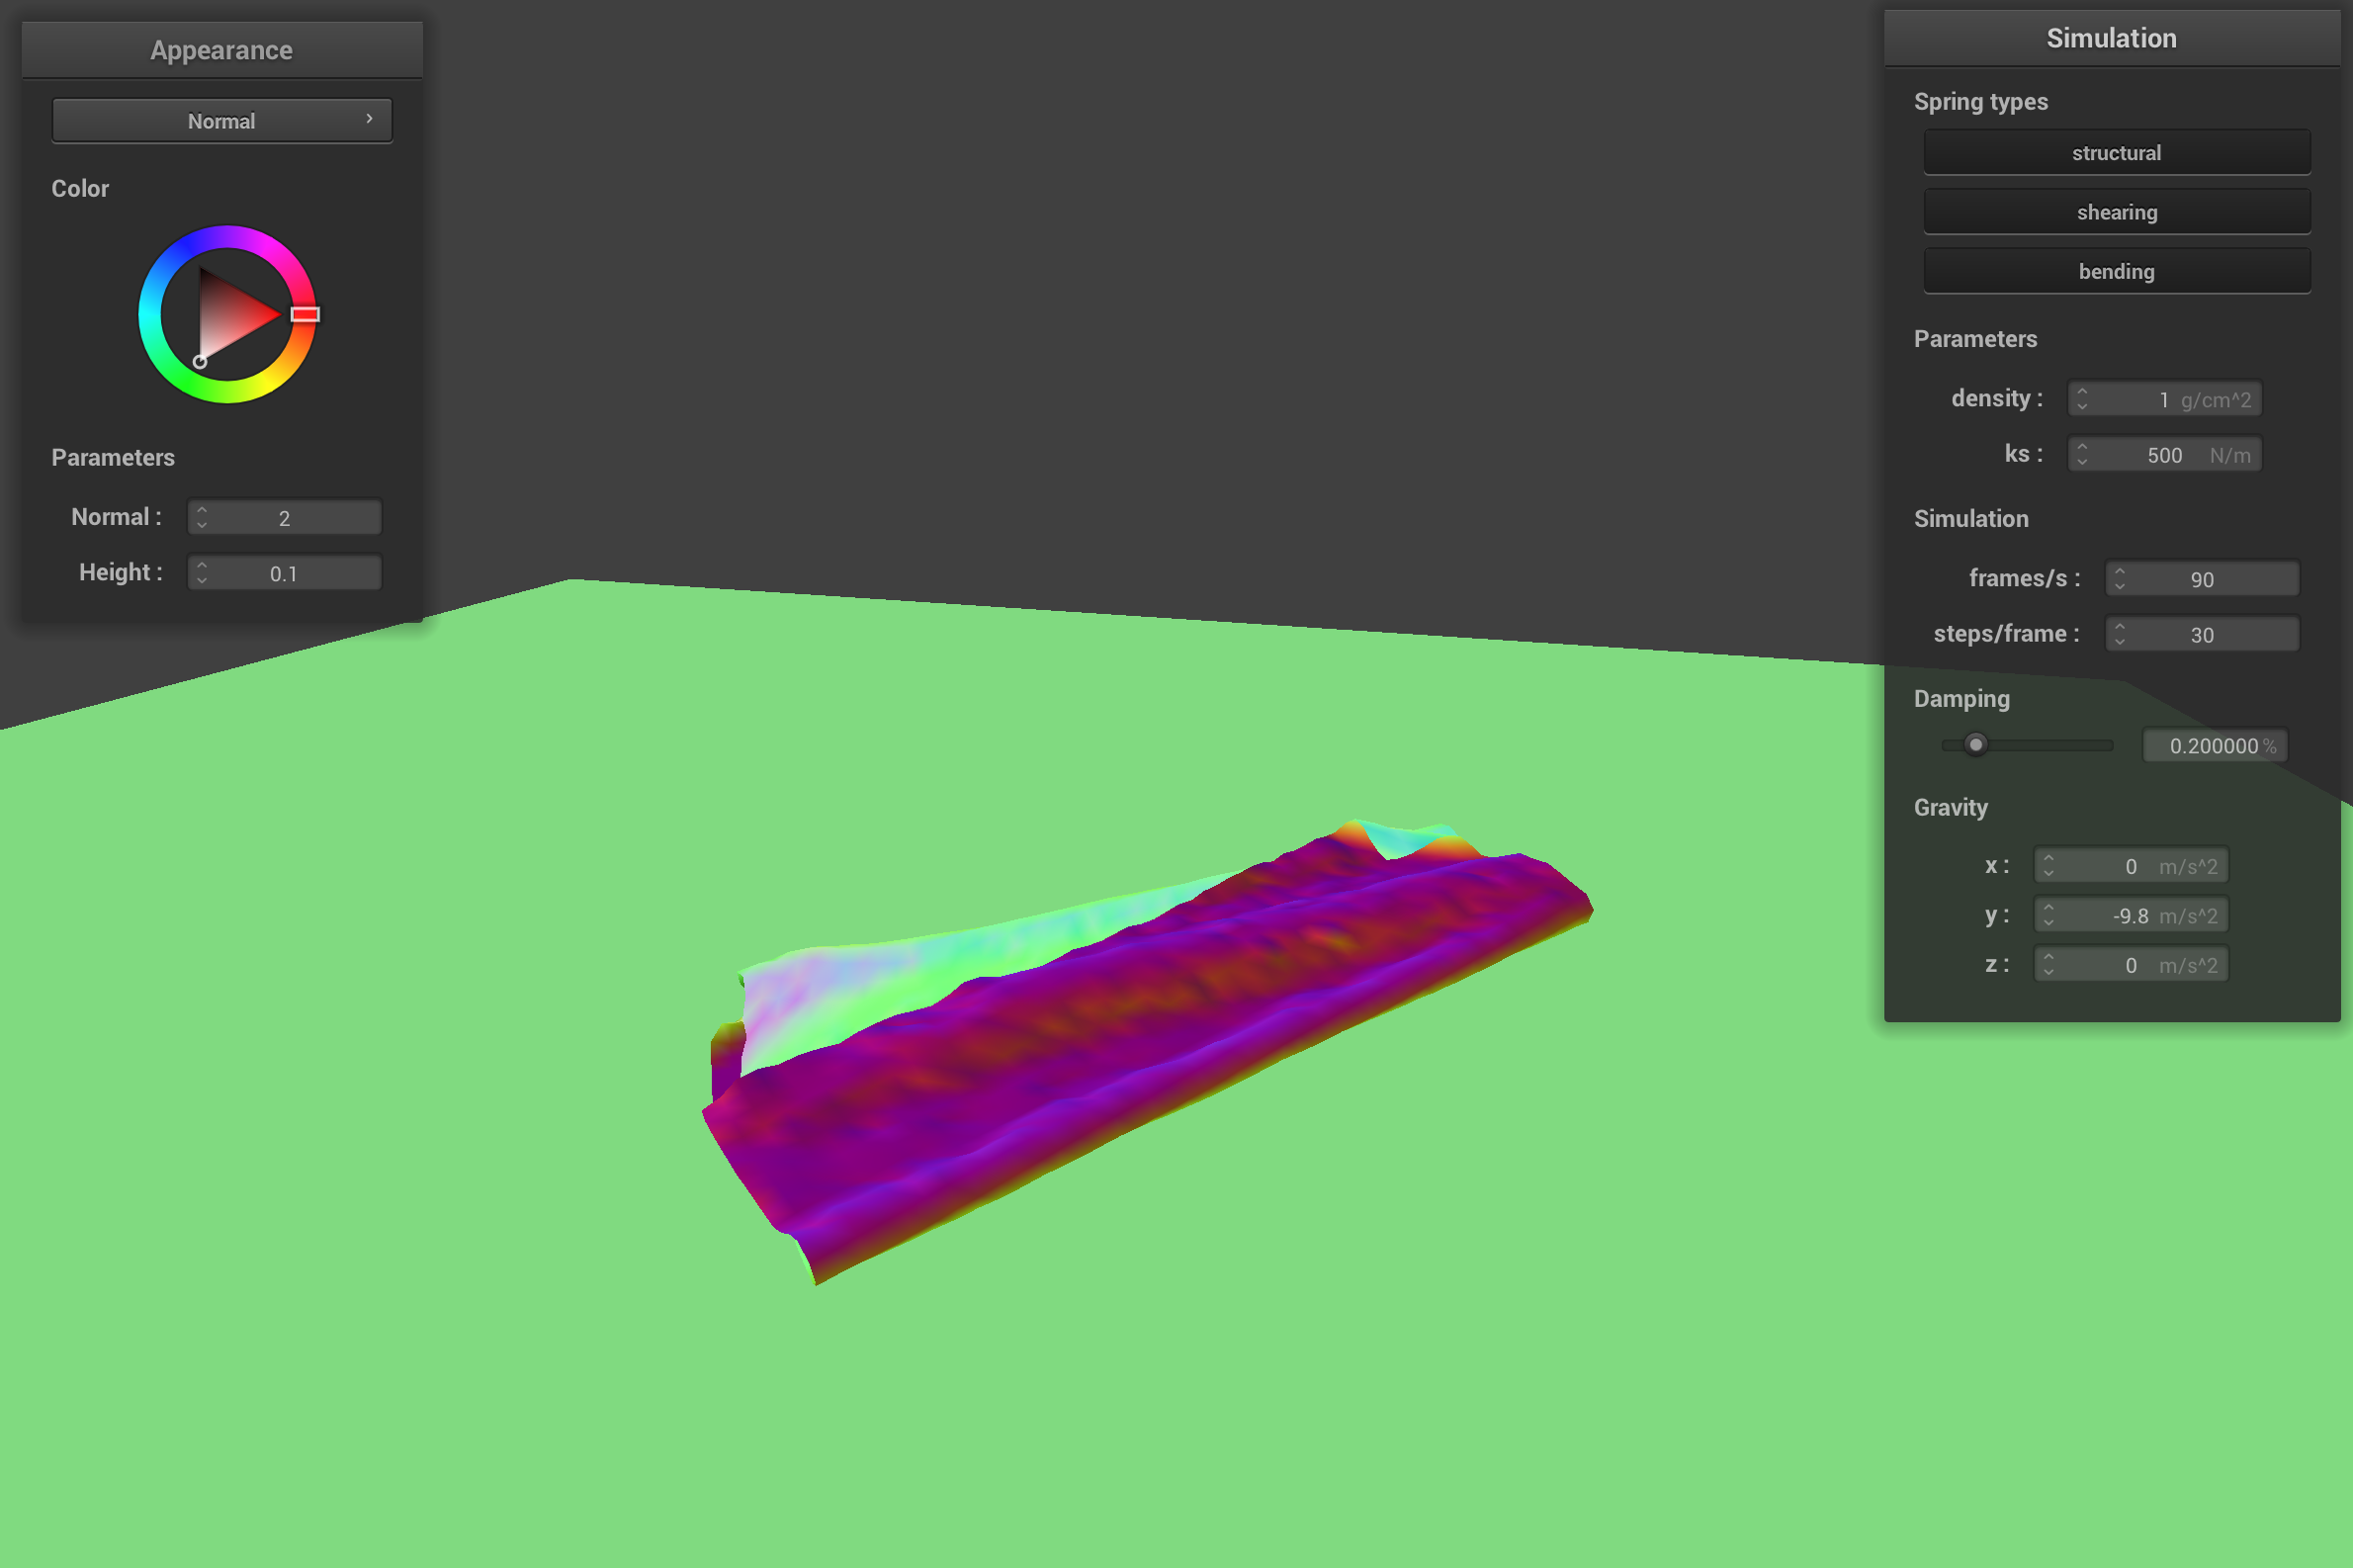
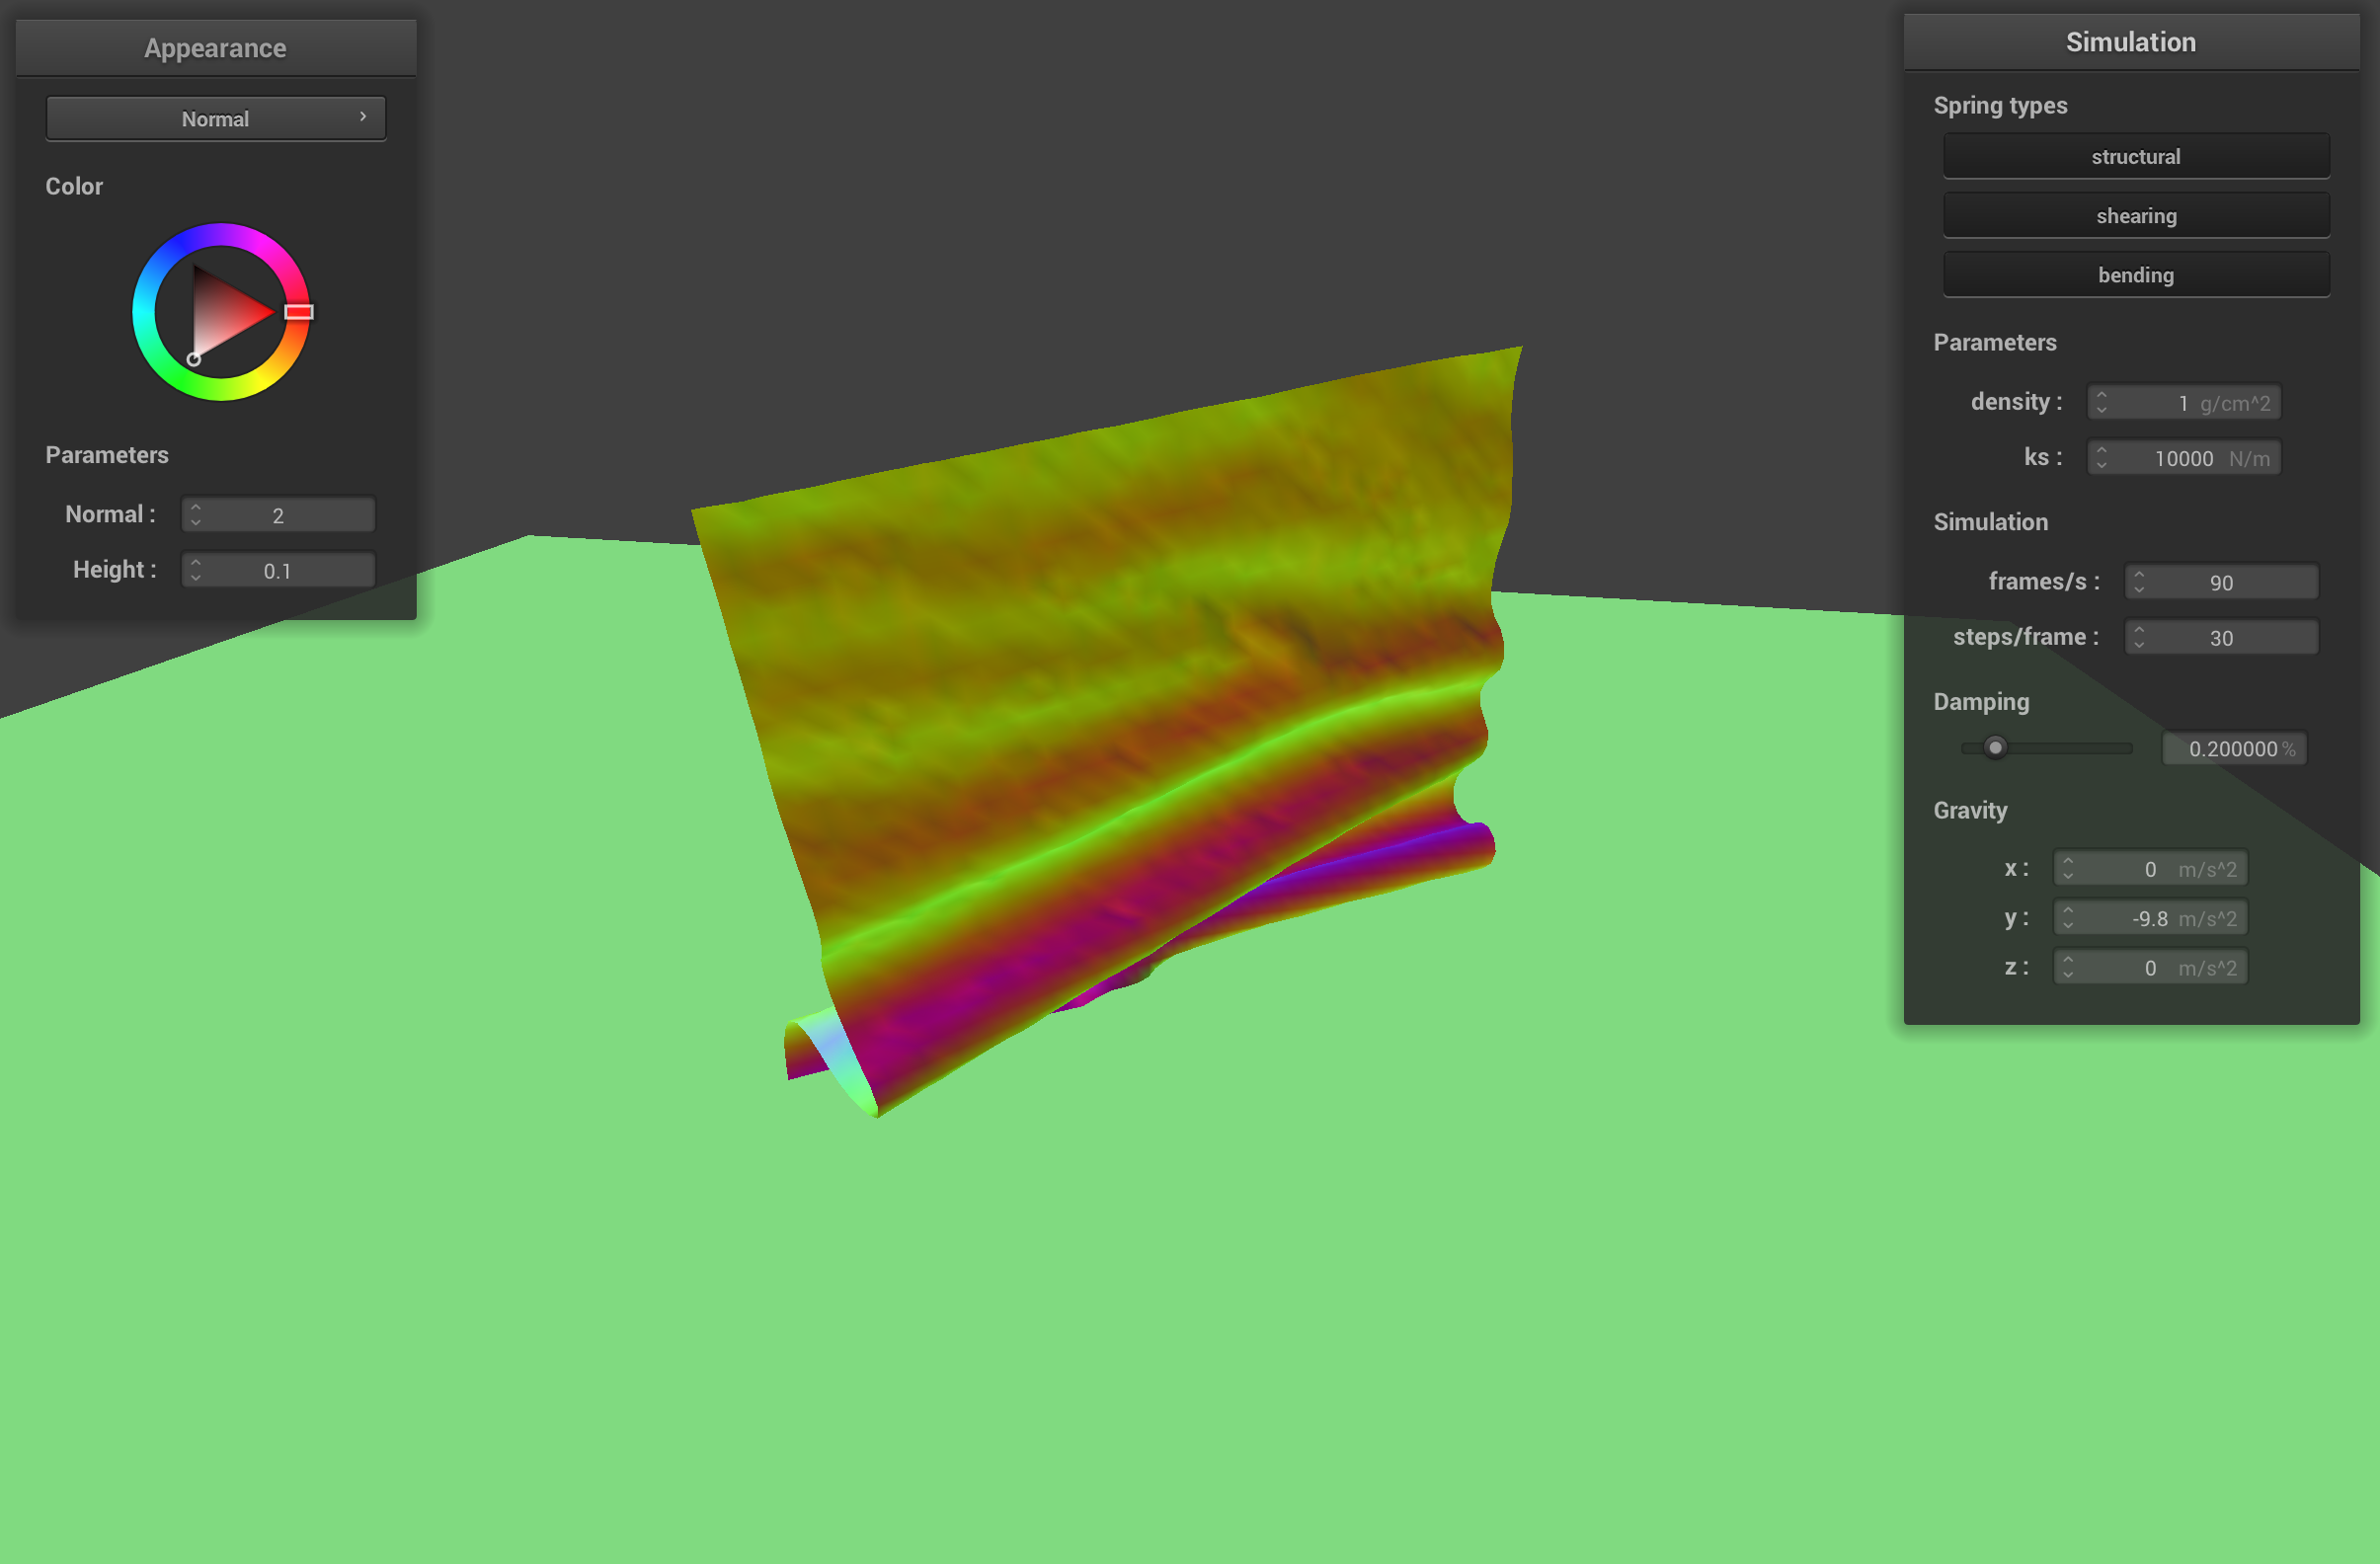
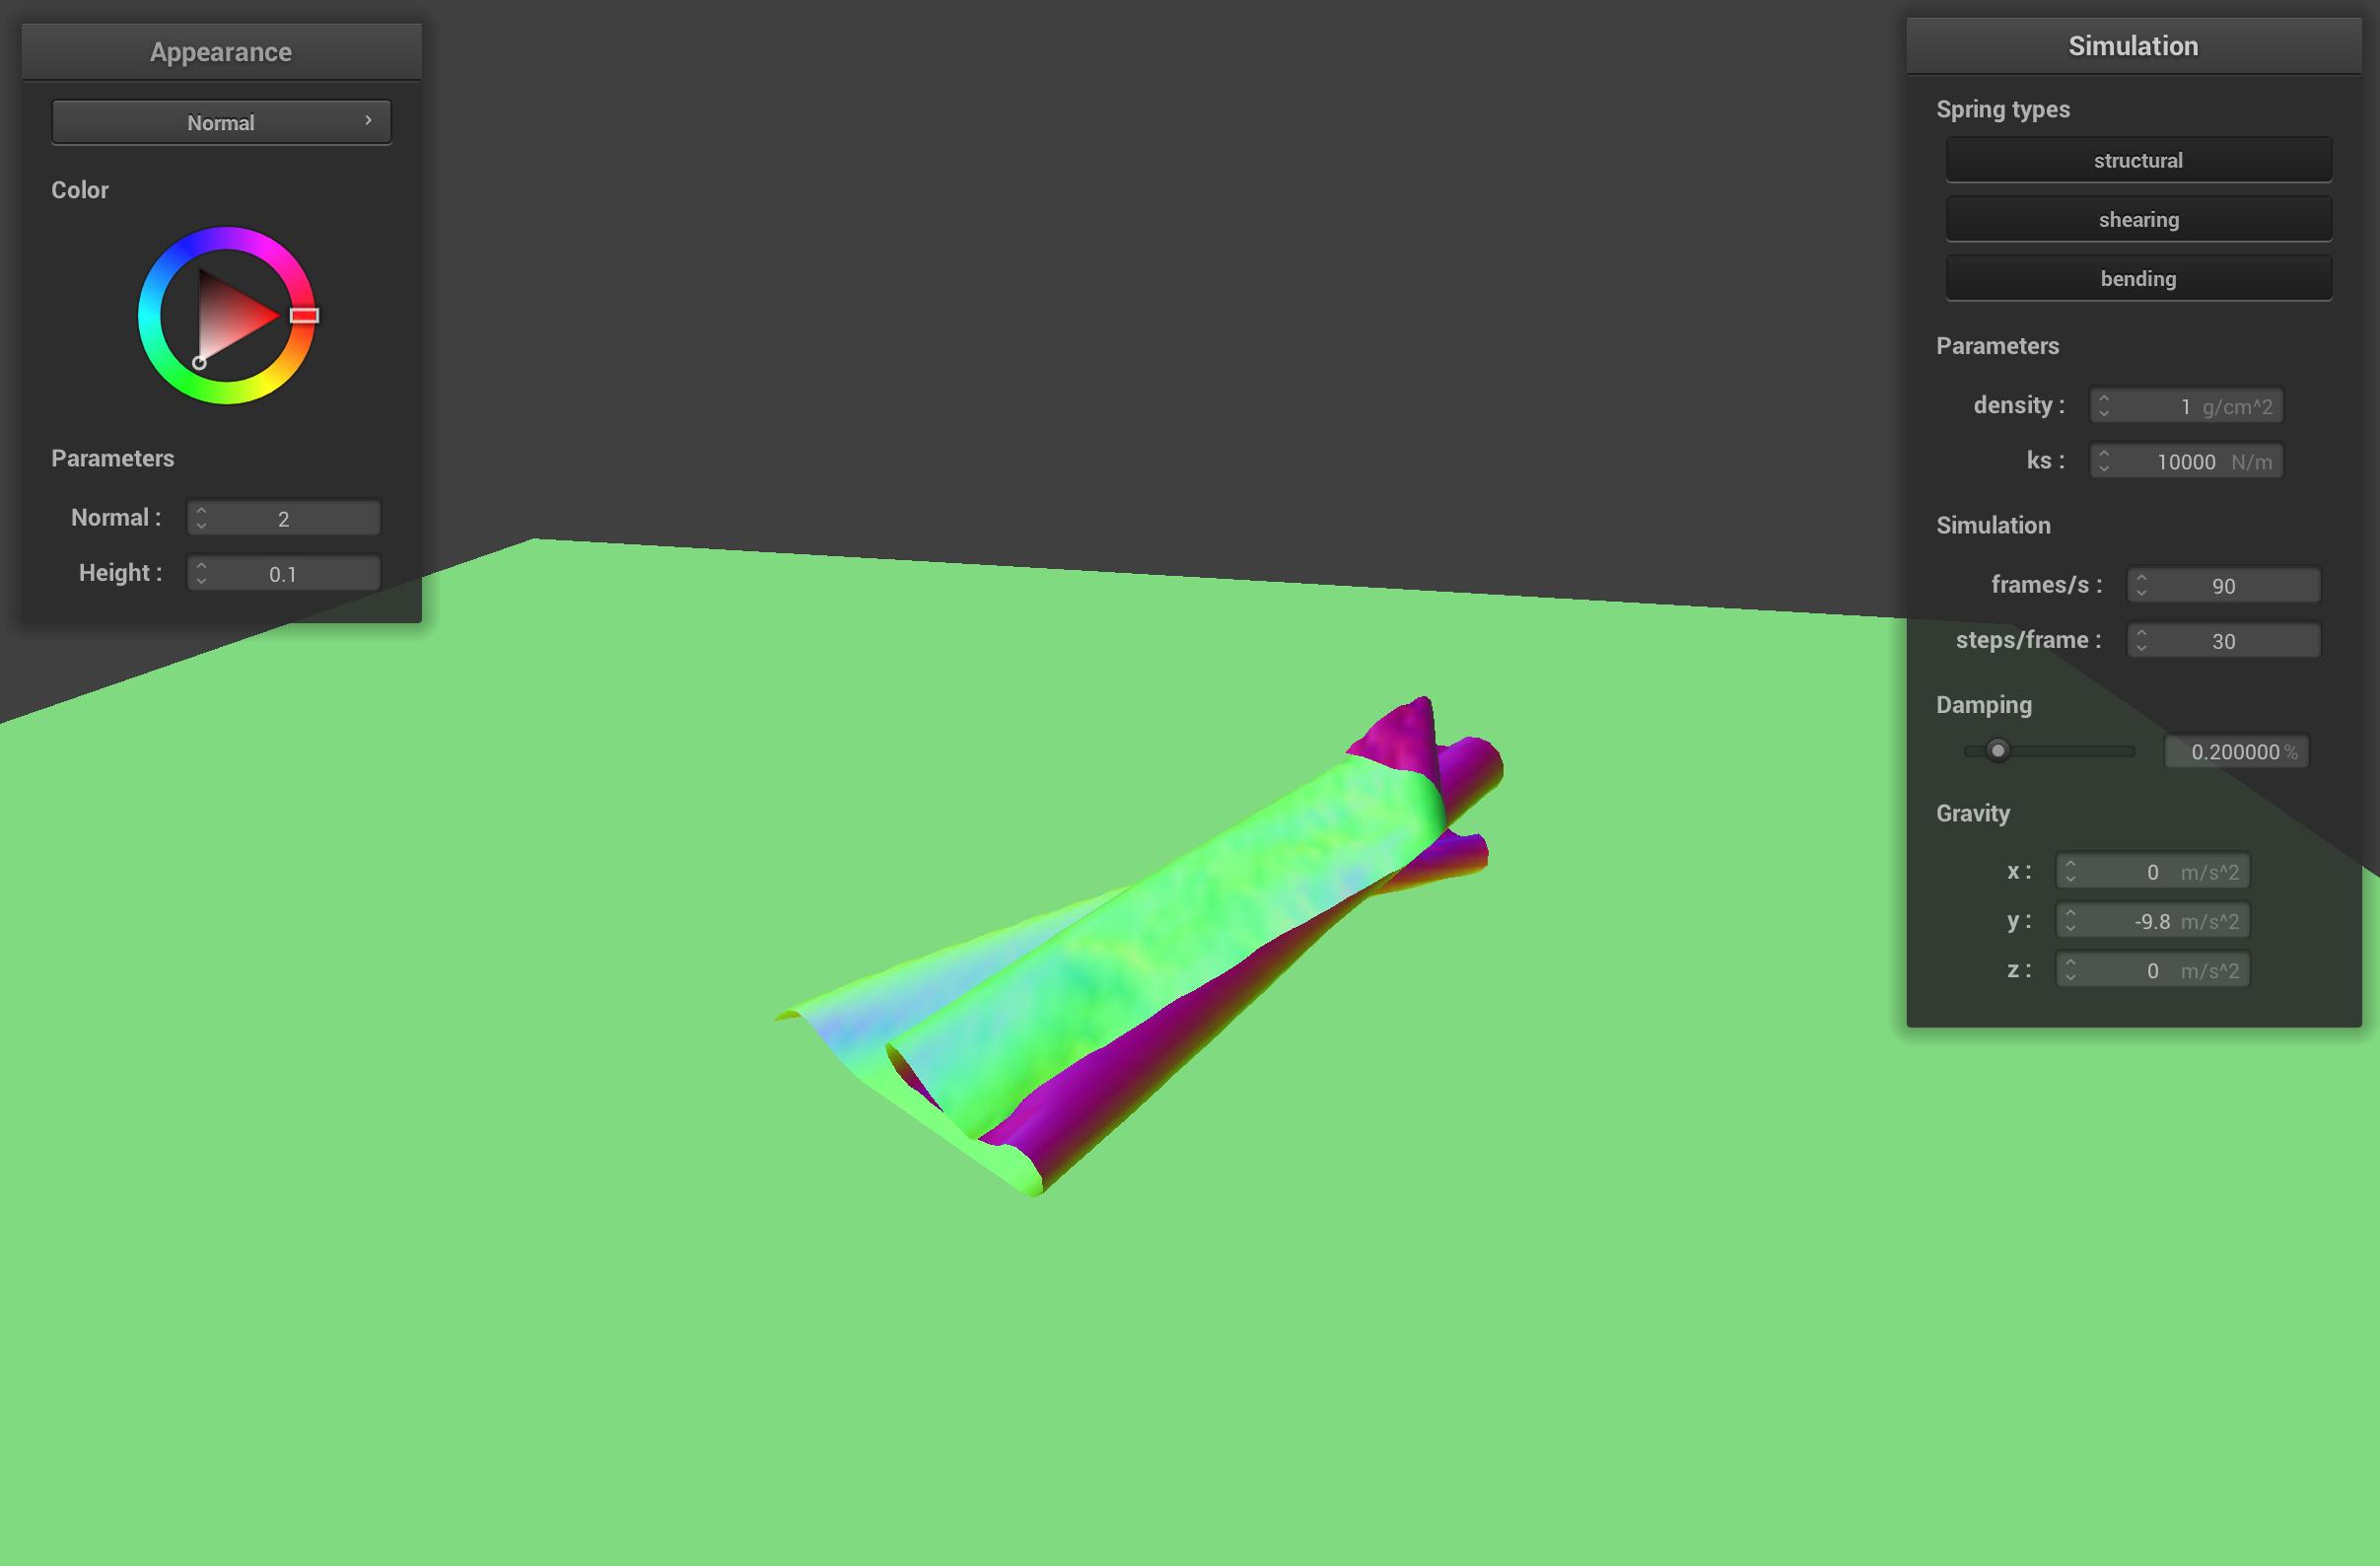
When the spring constant ks is low, the springs that hold together the point masses in the cloth are weak. Since there is not much force holding the point masses together, the cloth streches out and sags over the sphere kind of like melting ice cream on a cone. The default ks of 5000 adds stiffness to the cloth's springs and gives the cloth a more realistic drape over the sphere. The high ks of 50000 makes the cloth's springs very stiff, so the corners of the cloth stick up more because the springs connecting the corners of the cloth to the center have more force that holds the corners up.
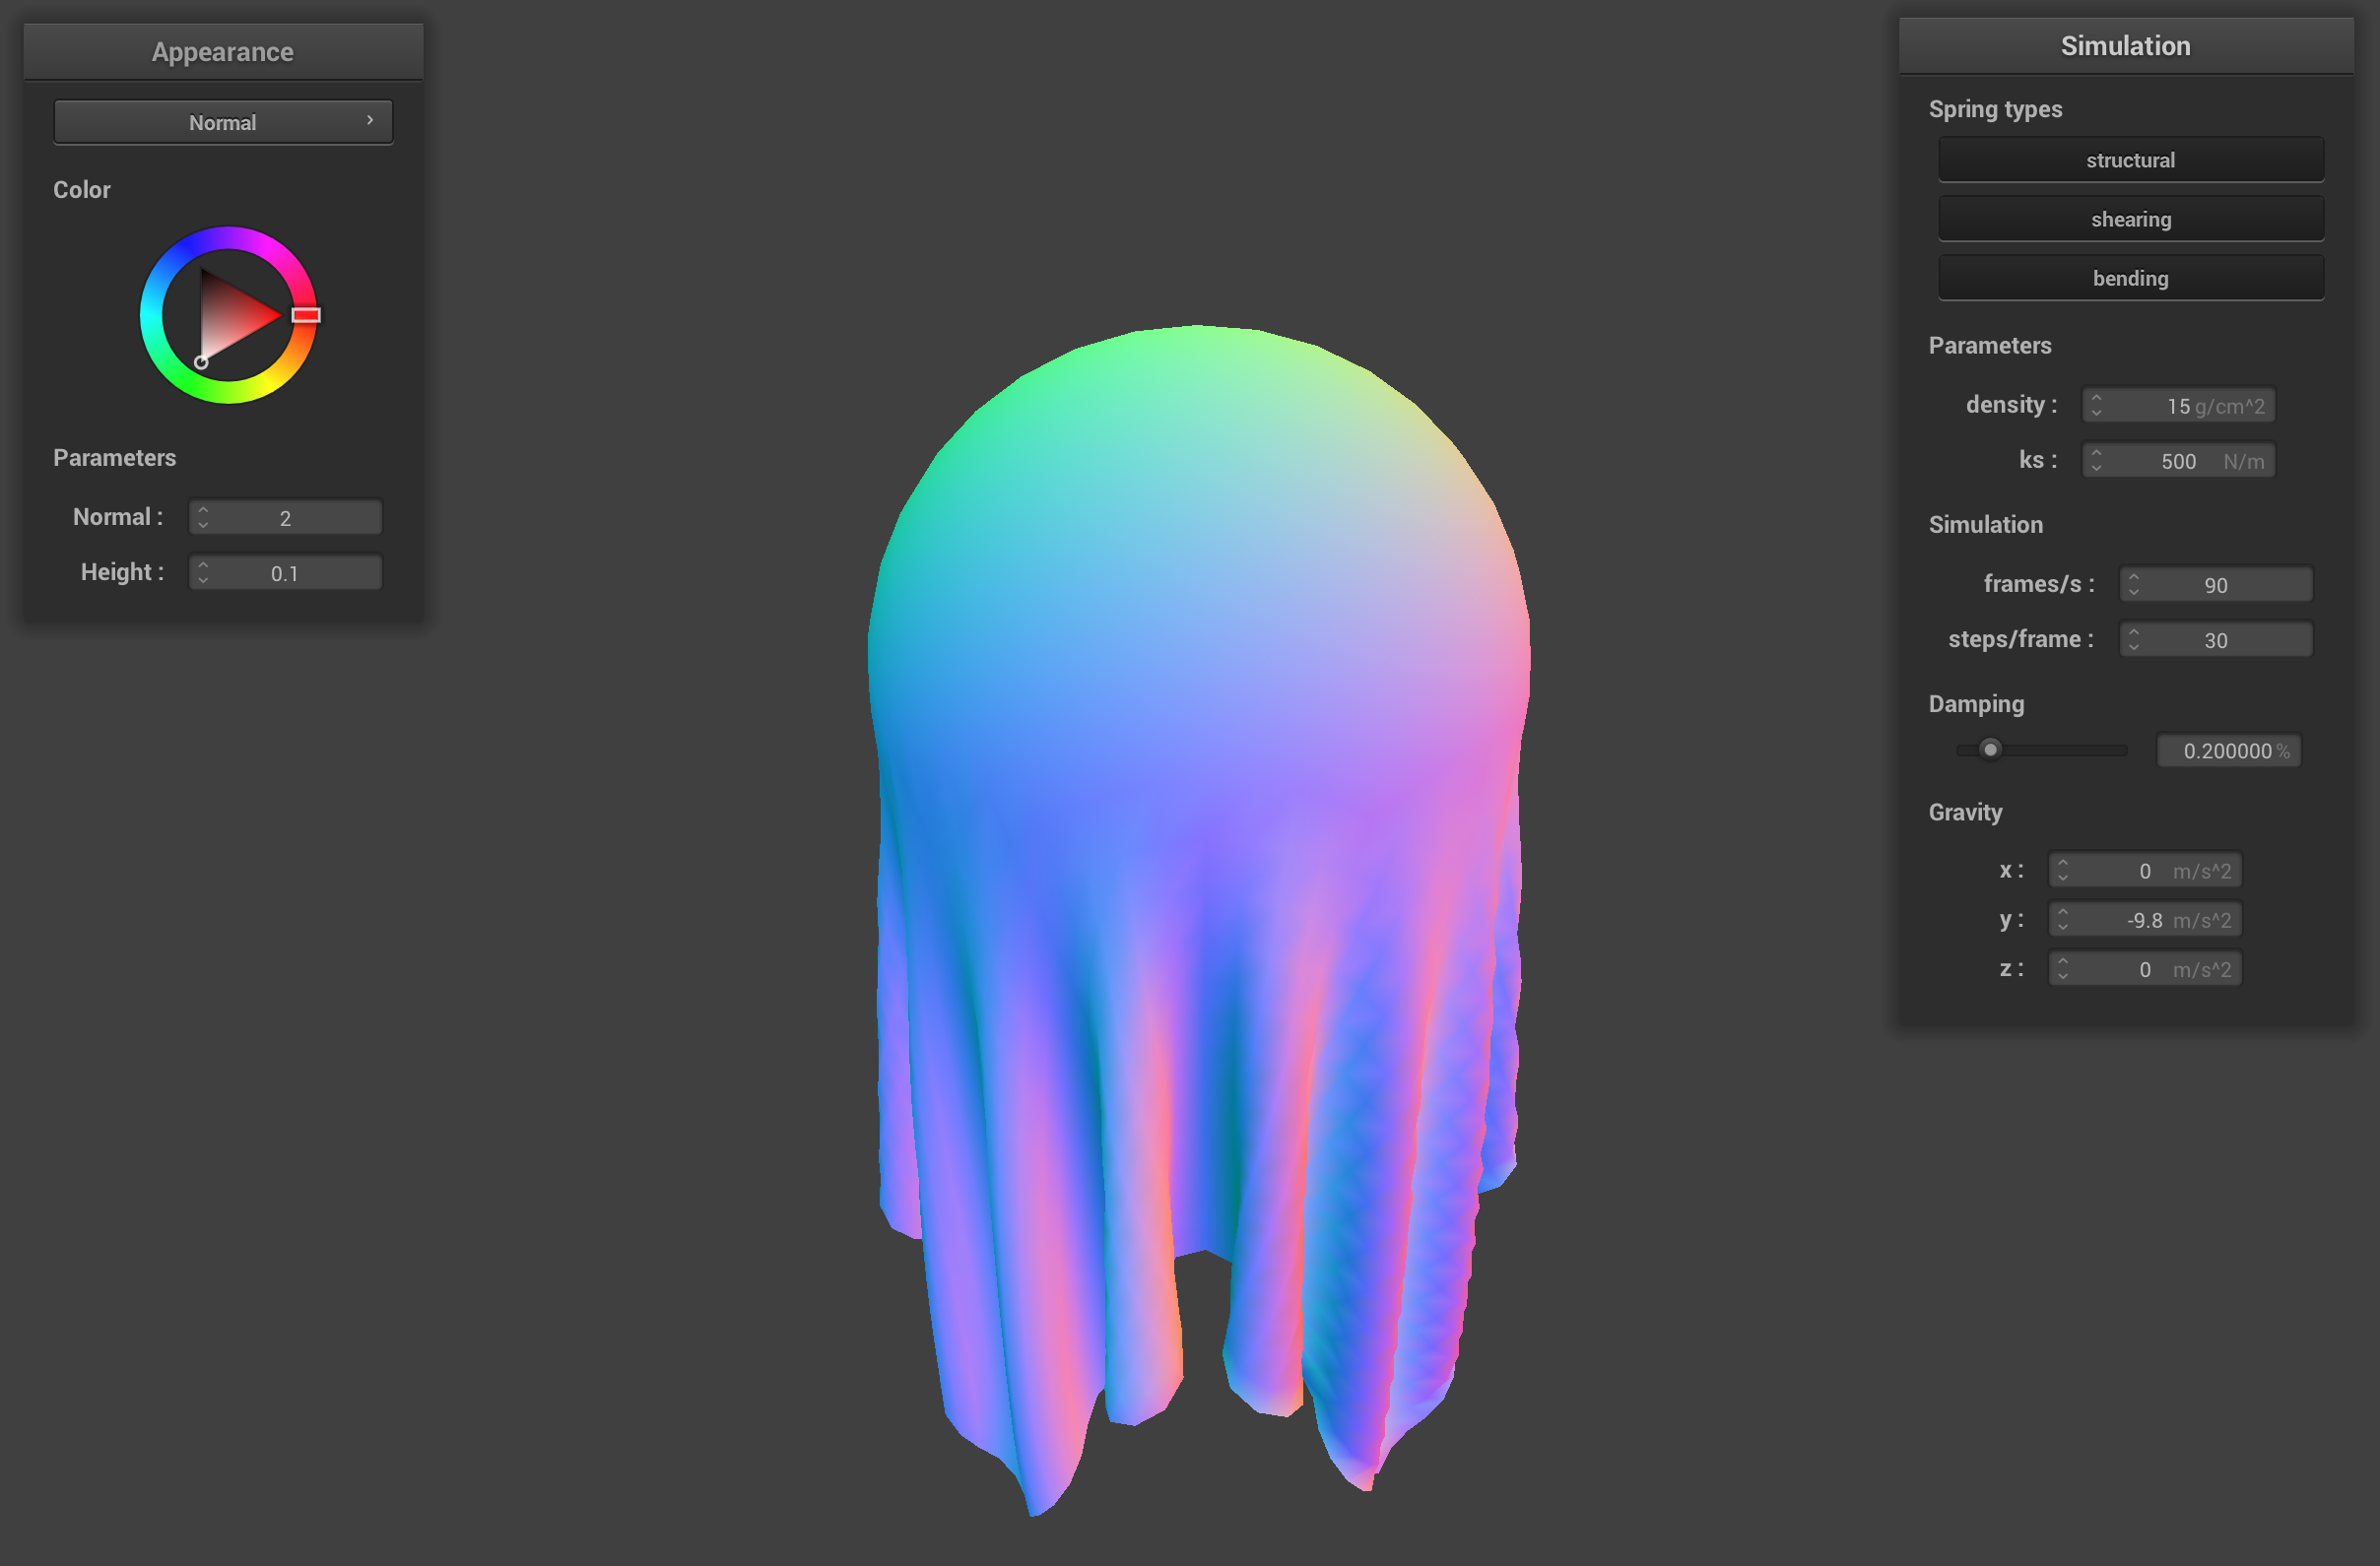
sphere.json final resting state with ks = 500
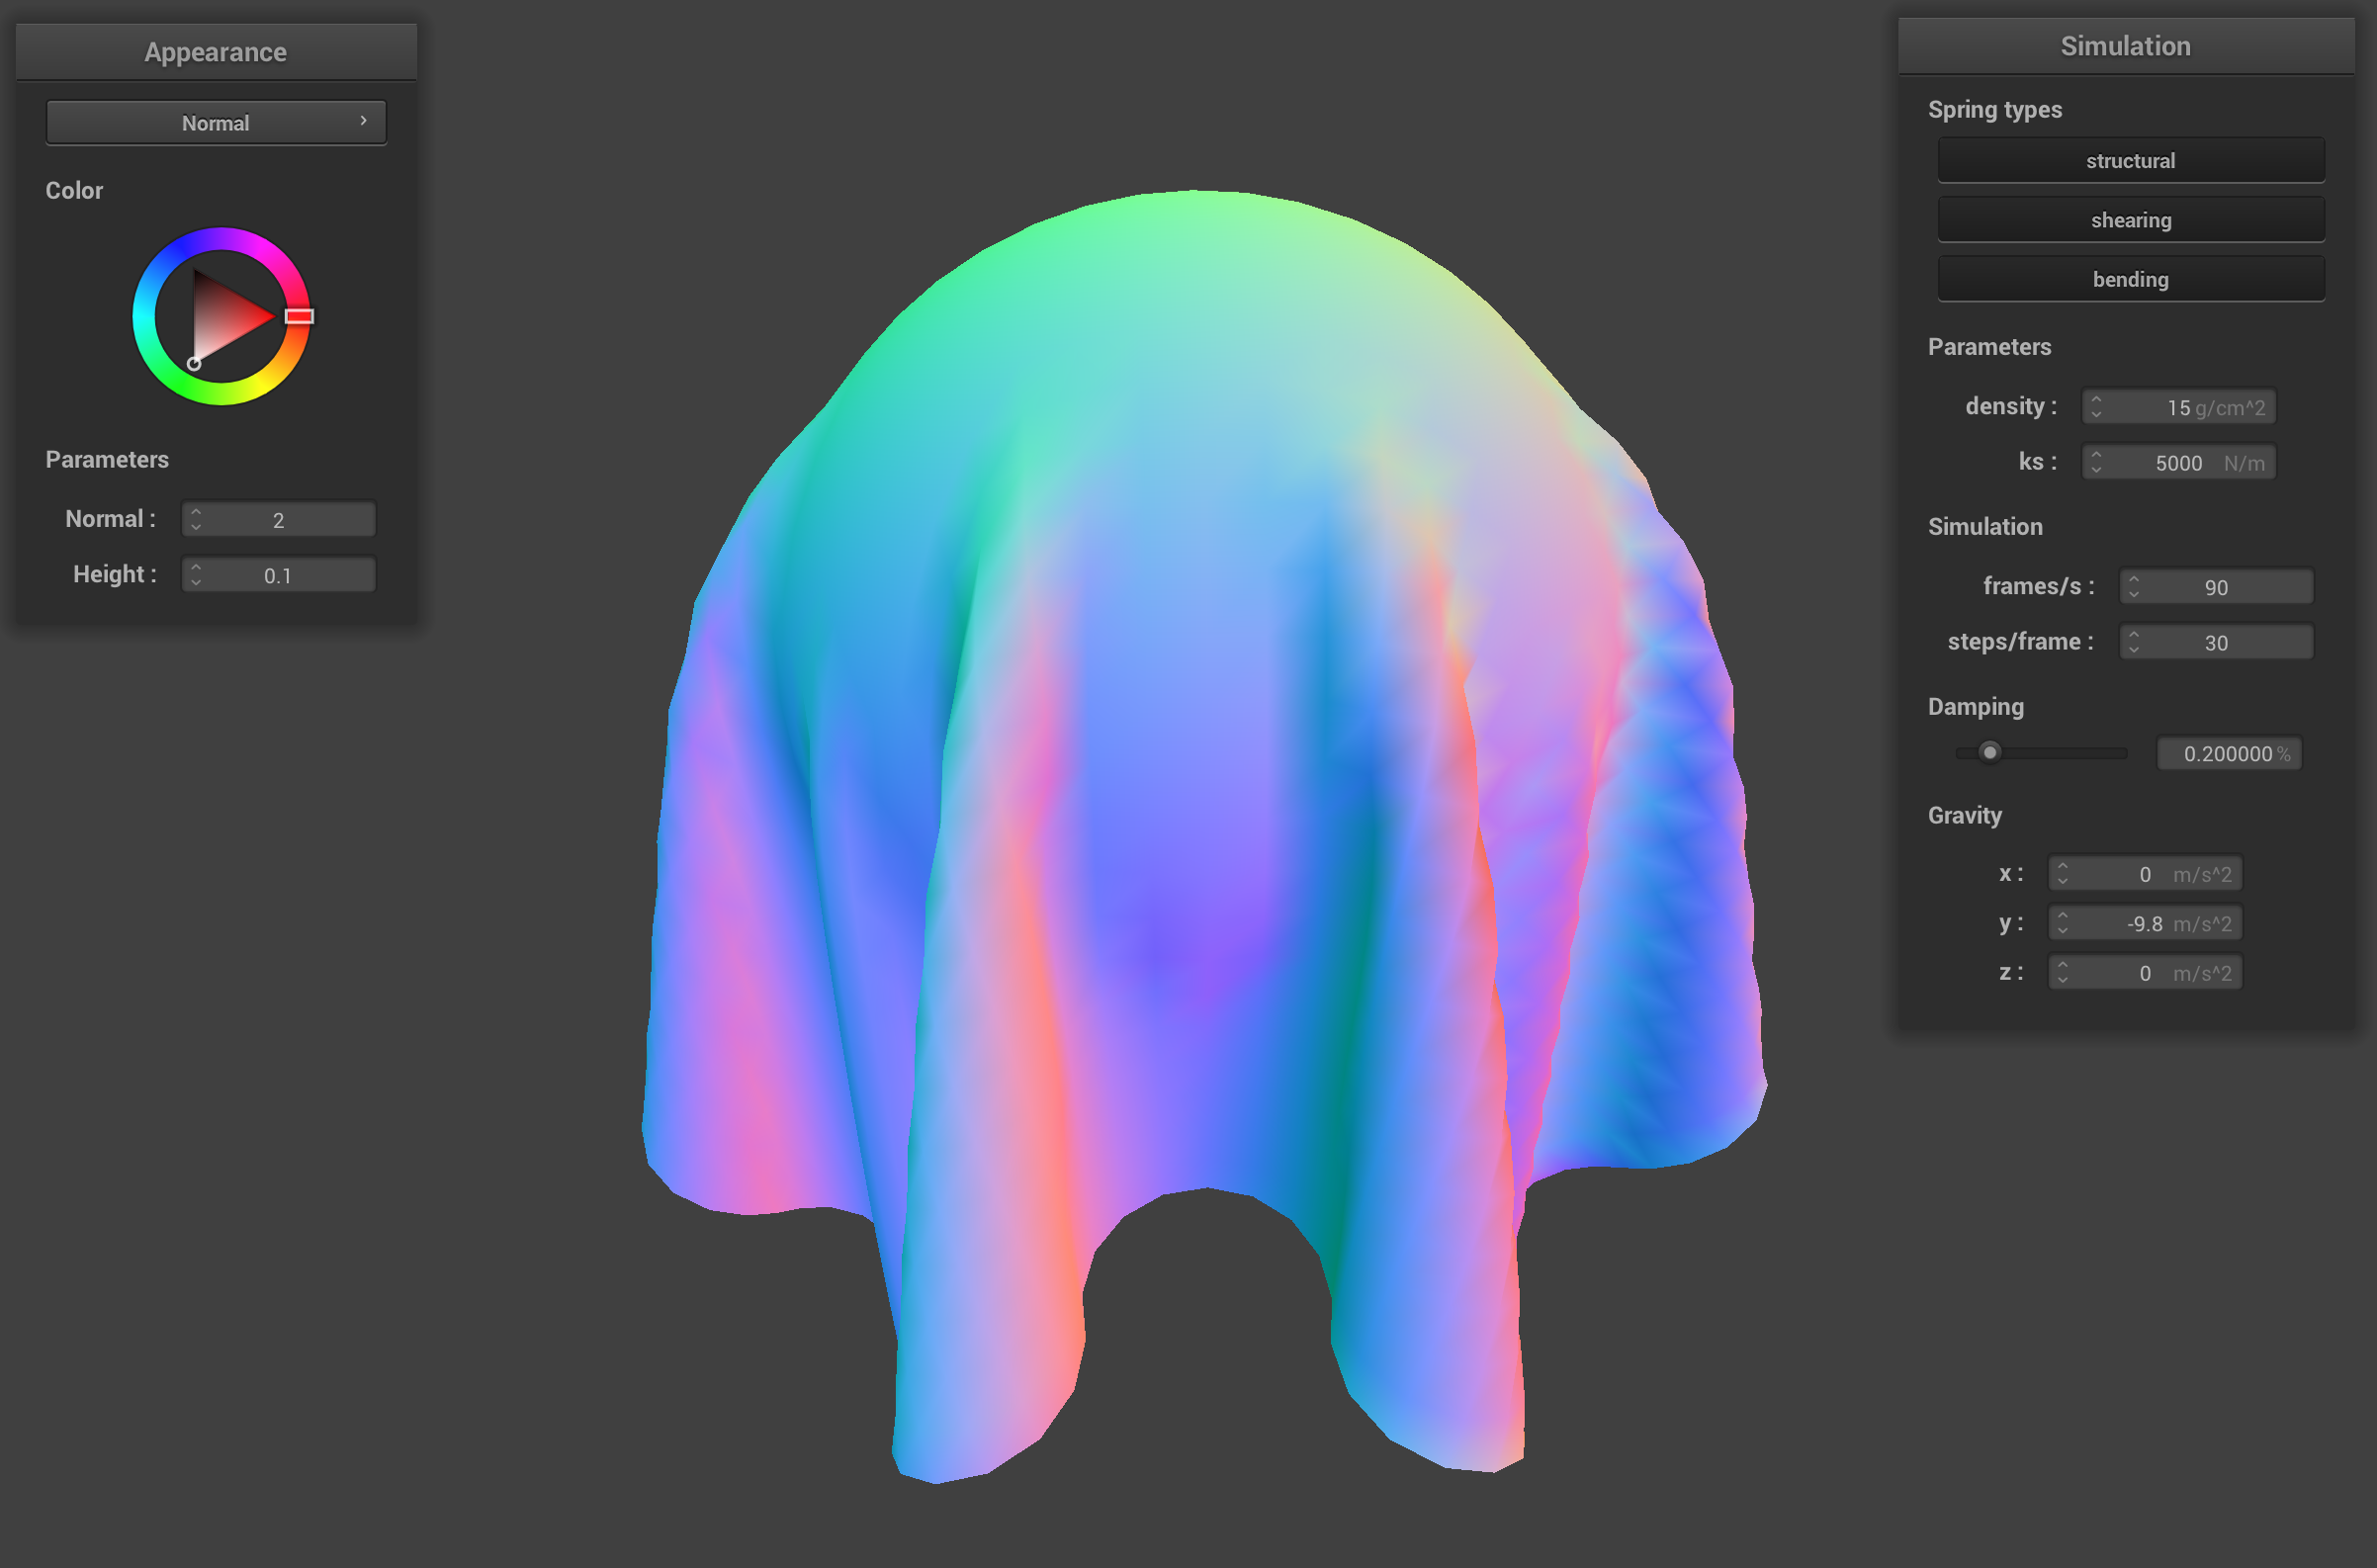
sphere.json final resting state with ks = 5000
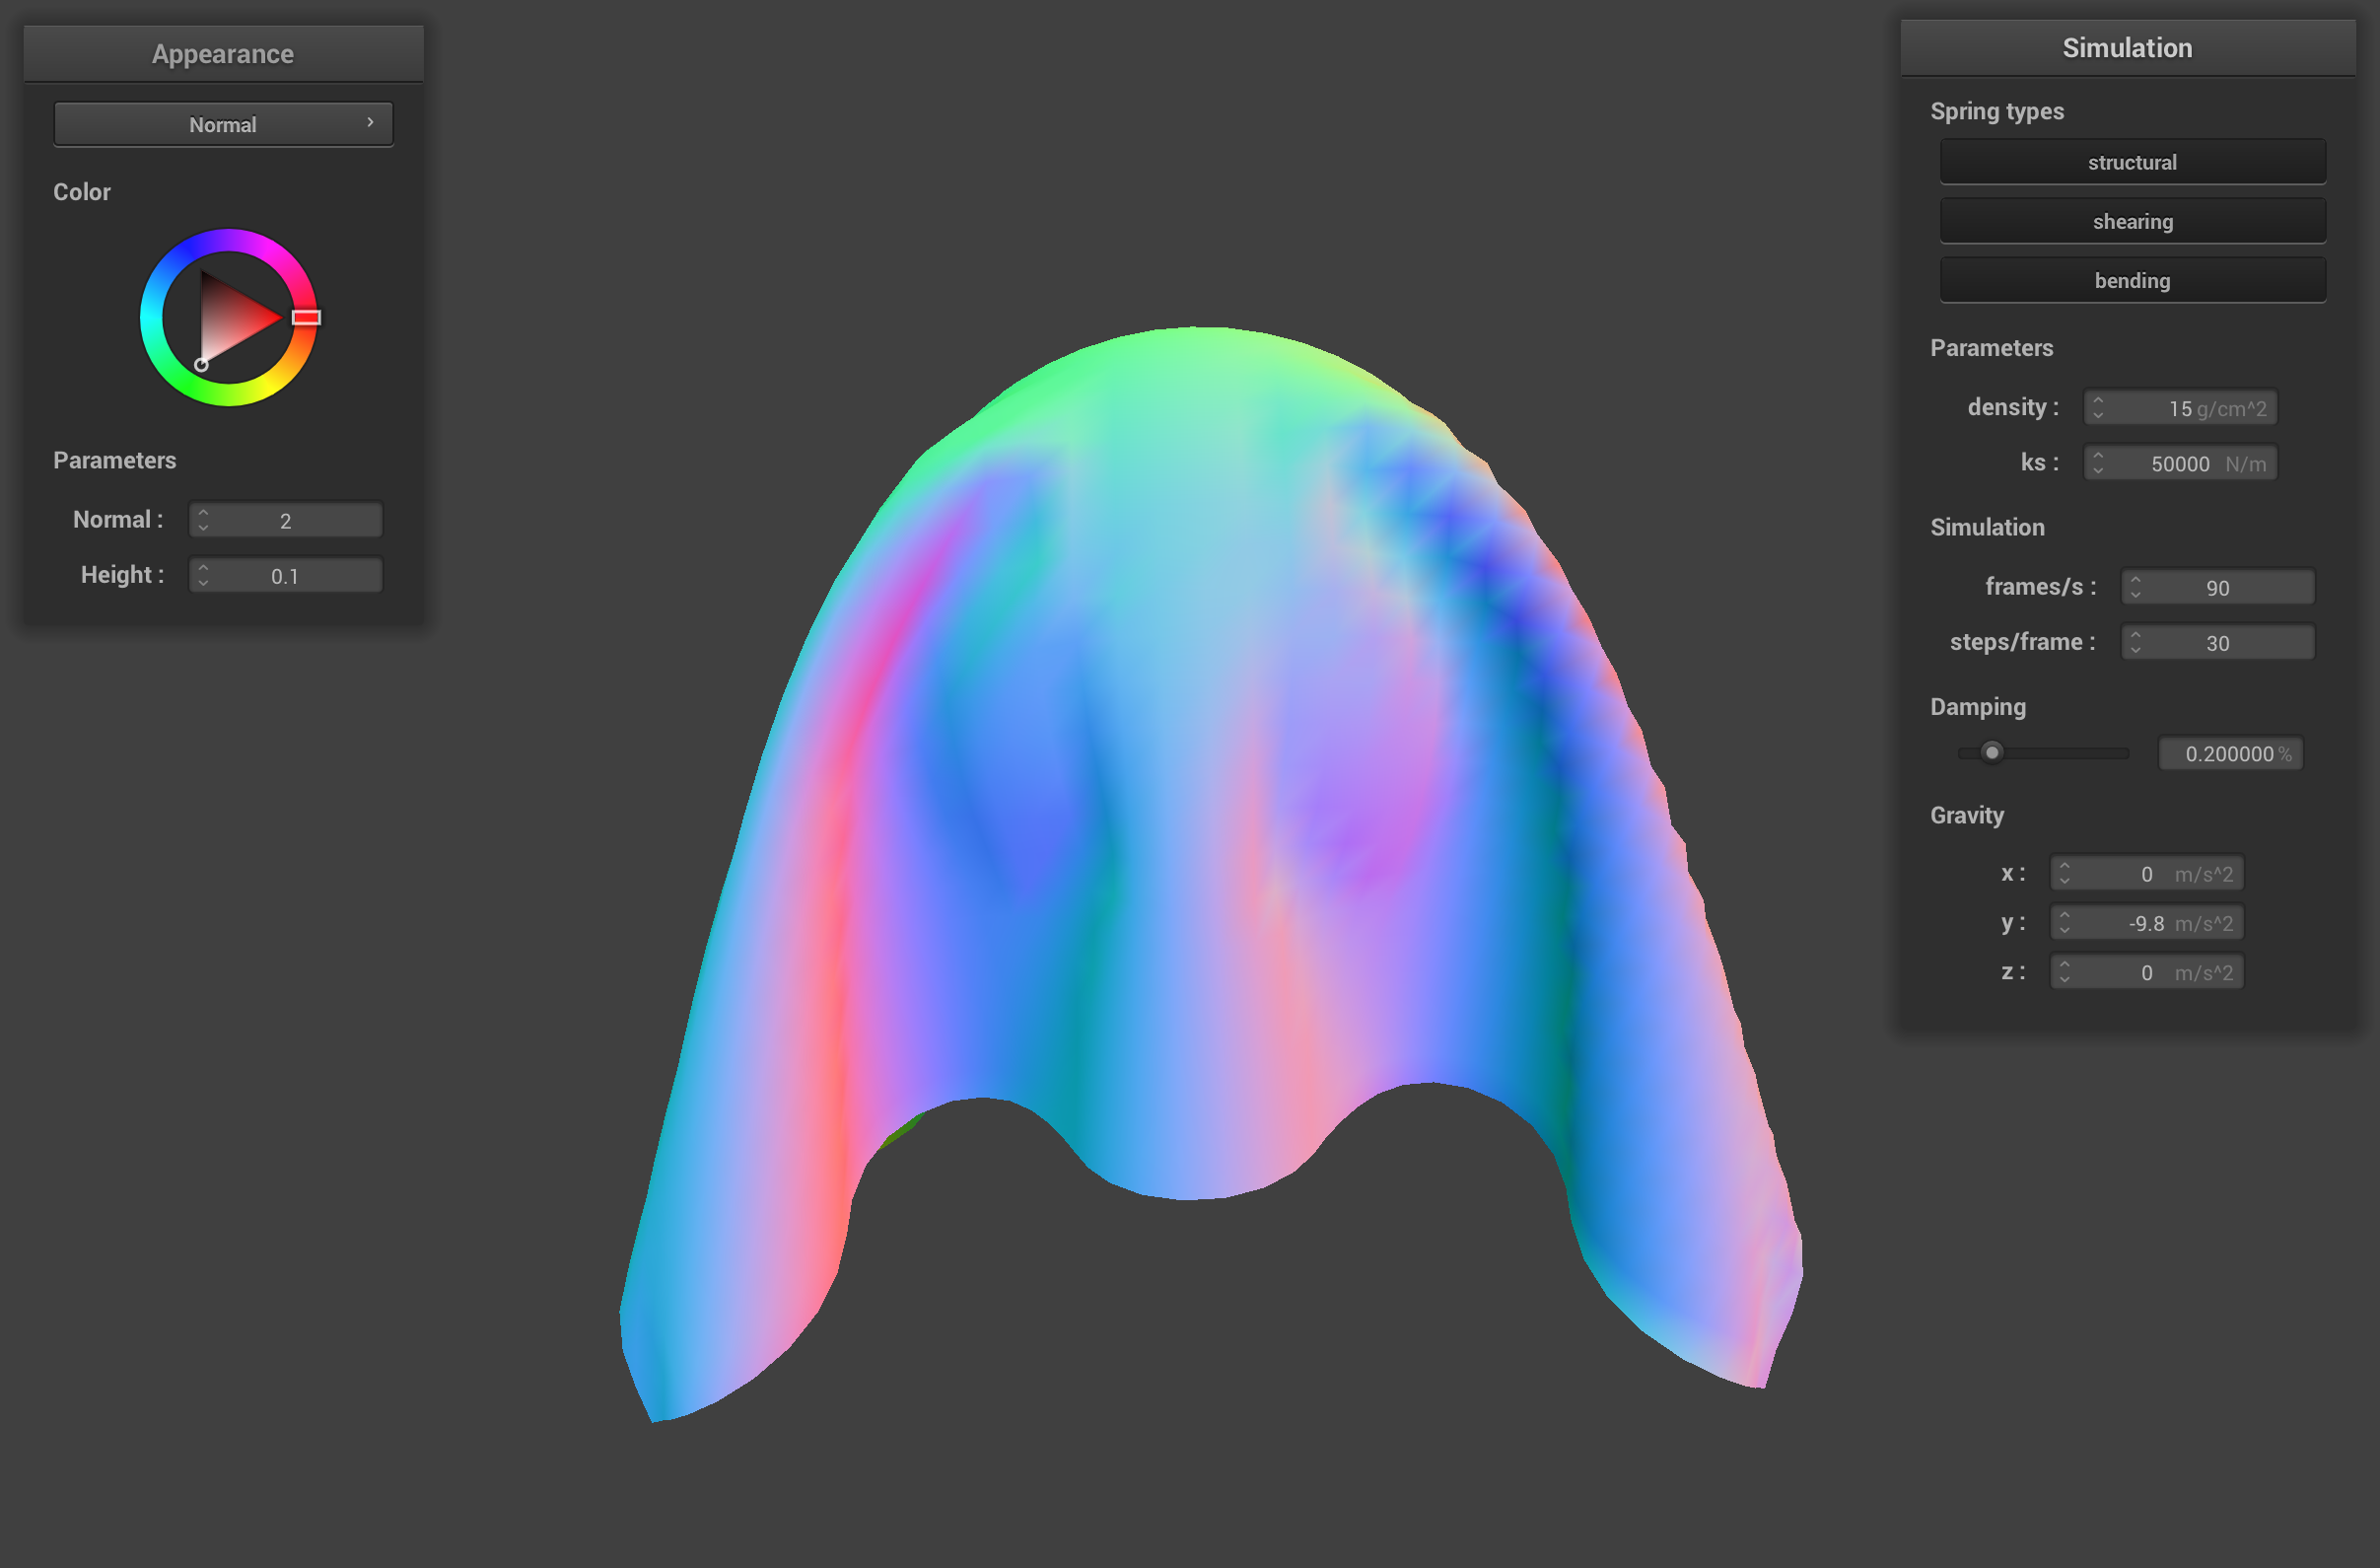
sphere.json final resting state with ks = 50000
Part 4: Handling self-collisions
initial self-collision with default params

later self-collision with default params
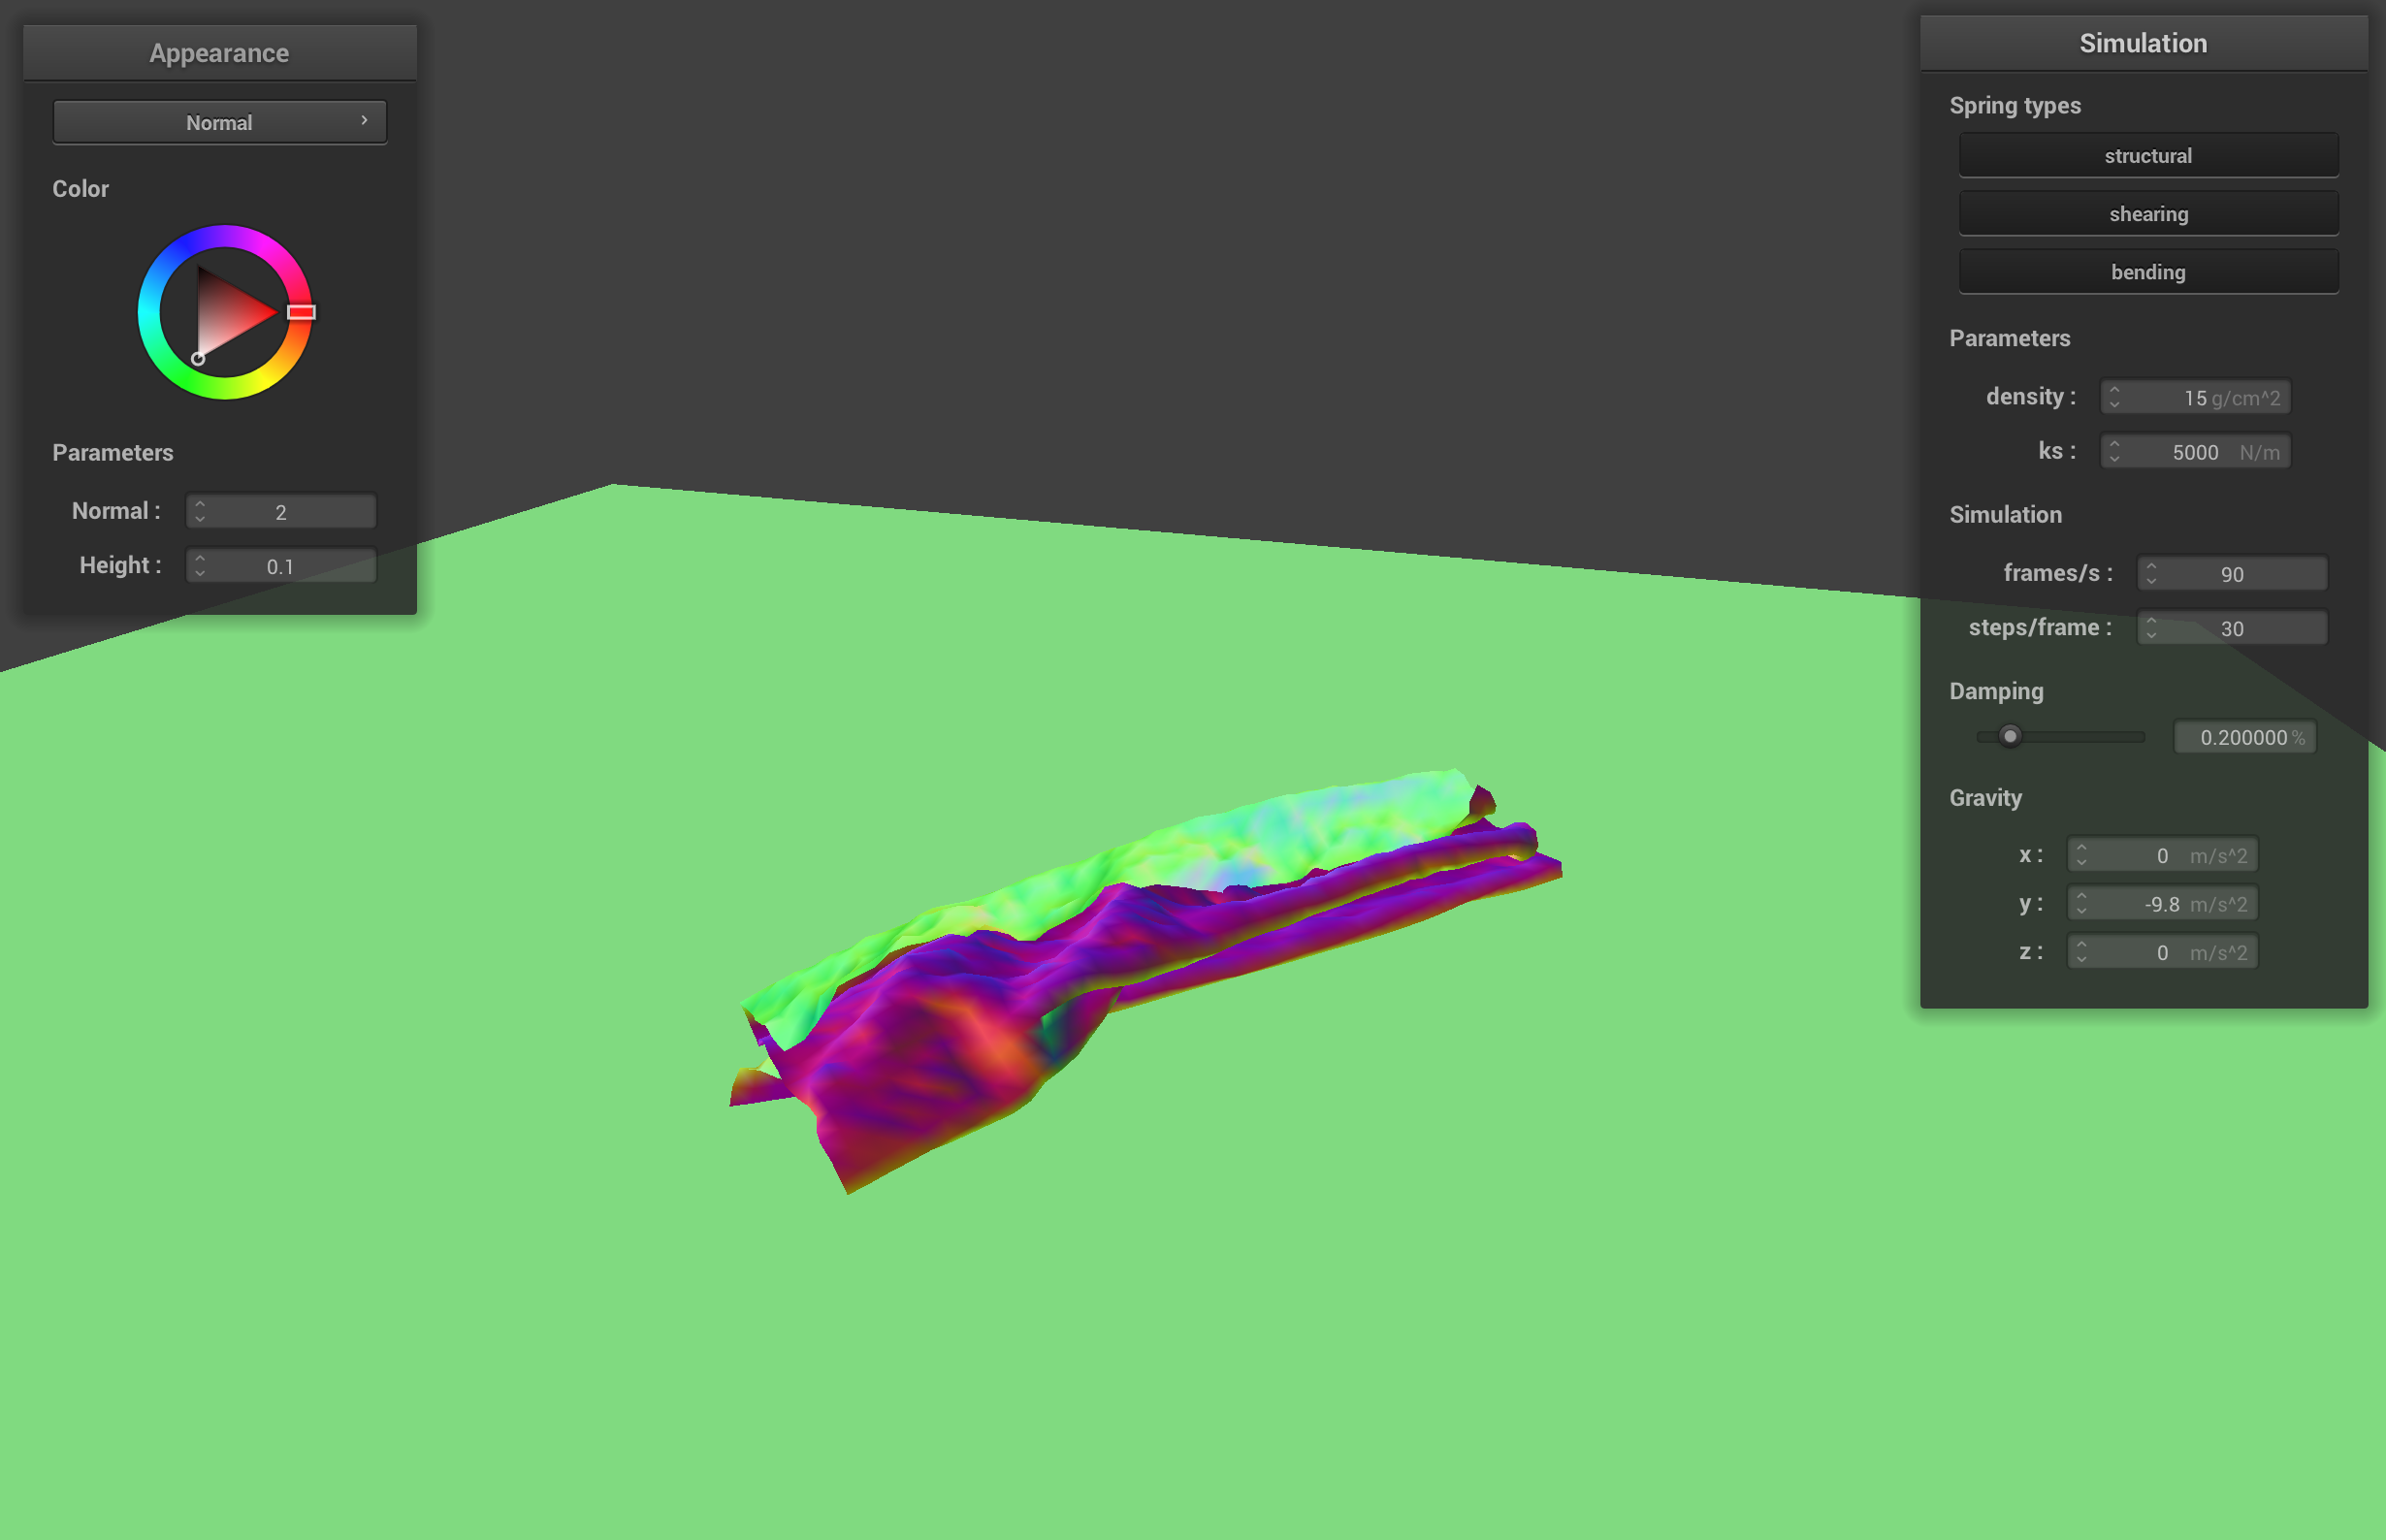
almost resting self-collision with default params
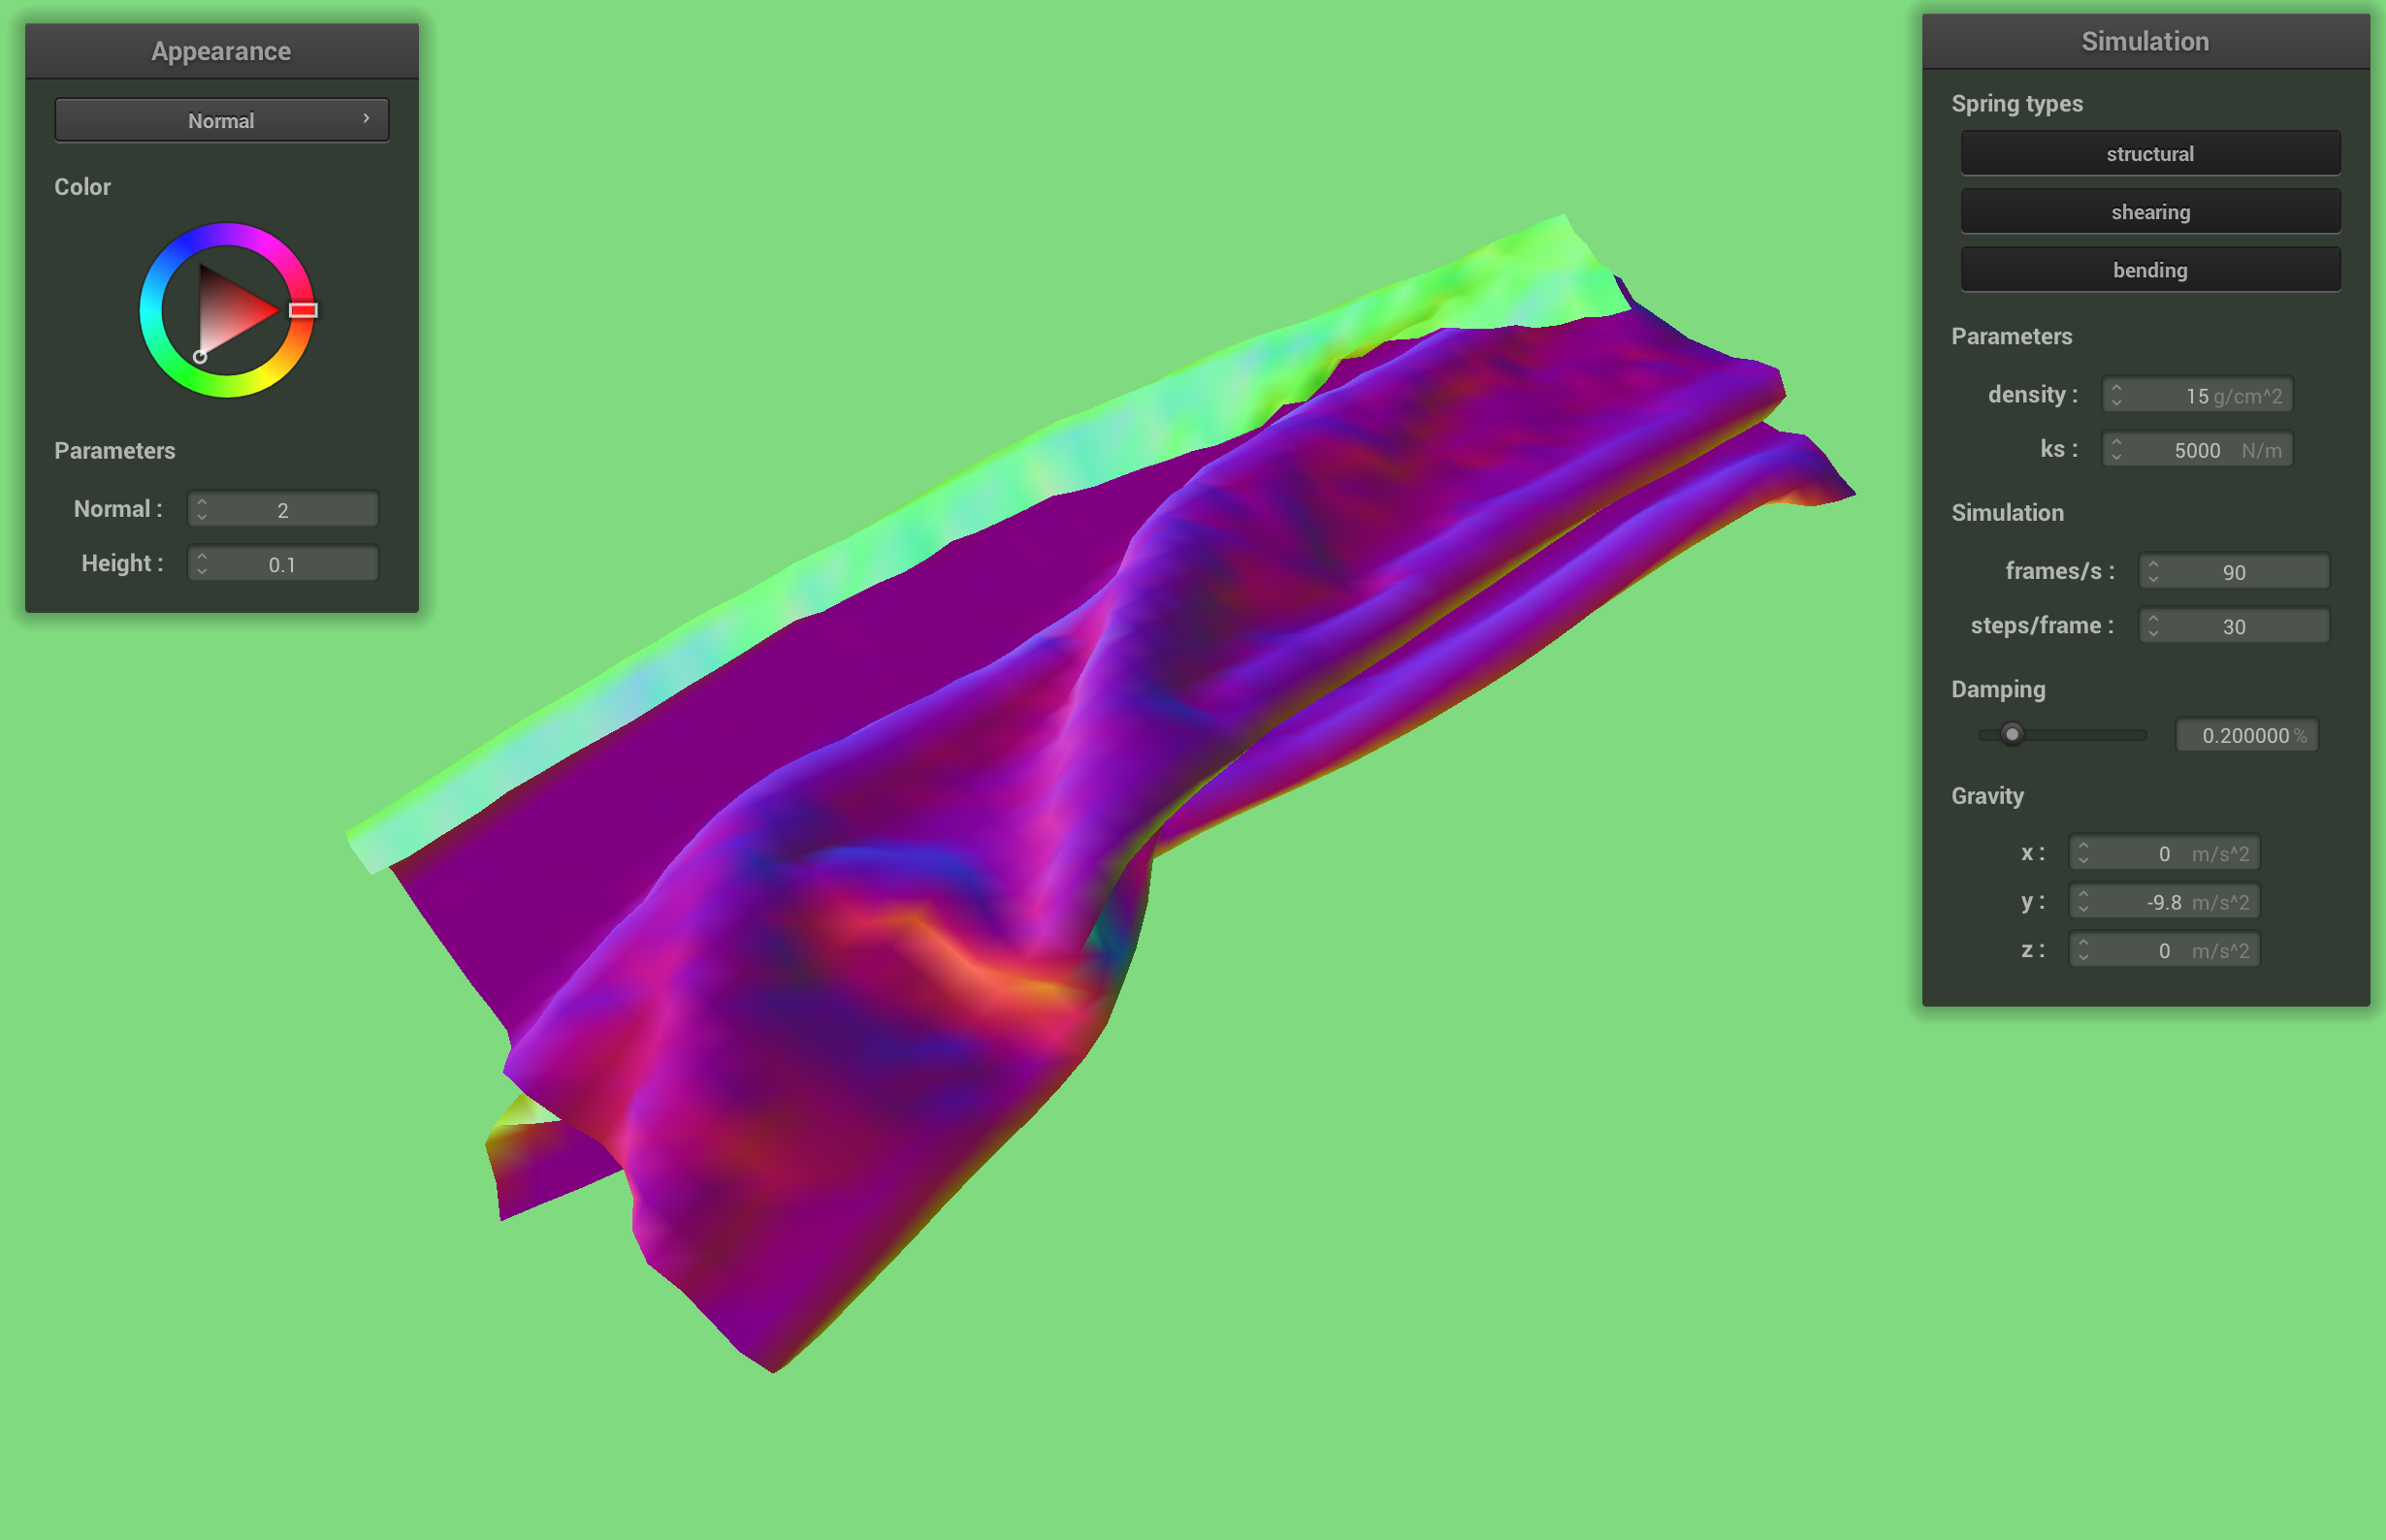
final resting state with default params
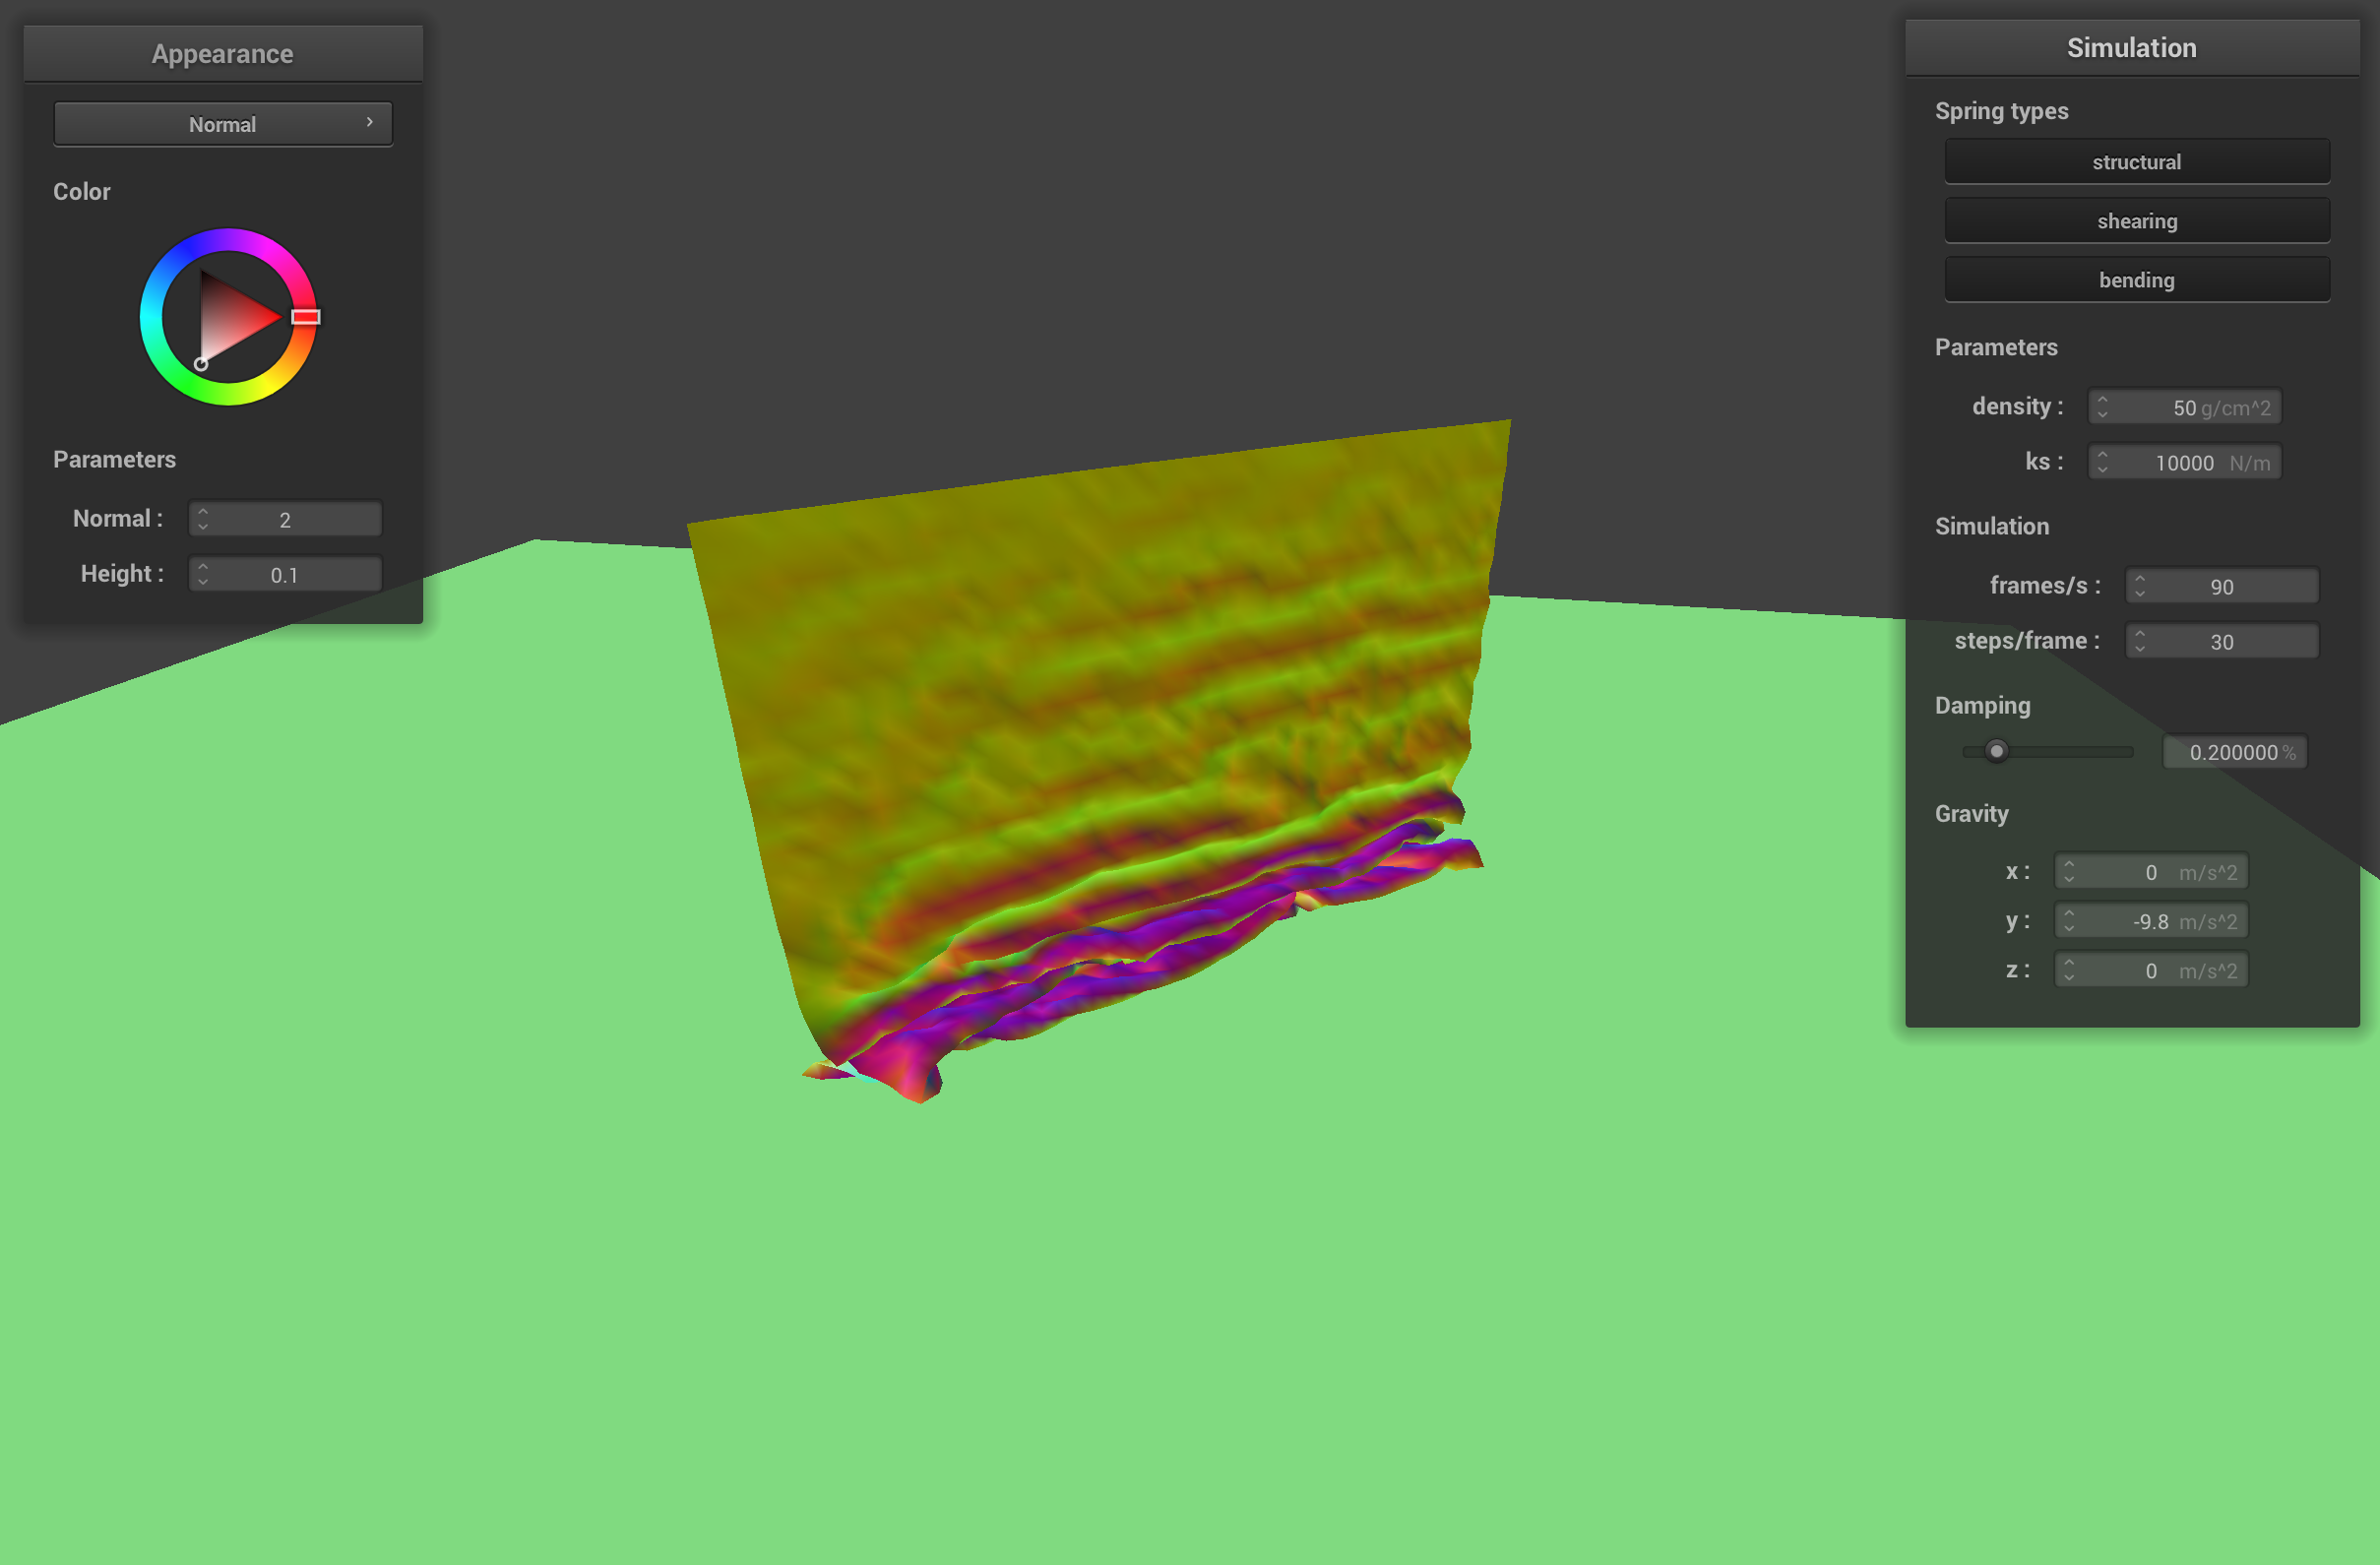
When the cloth has a low ks (500 N/m) and a low density (1 g/cm2), the springs in the cloth aren't very stiff and the point masses are light weight. The point masses don't pull as much on the springs, so the cloth looks relatively unchanged from the self collision with default cloth parameters. The cloth with low ks but a high density (50 g/cm2), looks very odd when it falls on itself because the point masses pull on the springs with a heavier mass than the default parameters. Since the springs aren't stiff, they stretch out easily so the cloth has a lot of ripples when it collides with itself and generally doesn't look very realistic.
initial self-collision with low ks and low density
final resting state with low ks and low density

initial self-collision with low ks and high density

final resting state with low ks and high density
The cloth with a high ks (10000 N/m) and low density has bigger ripples than the default cloth when it falls on itself because the stiff springs want to retain the shape of the cloth, but the light point masses don't drag the cloth down to its resting state as quickly. The cloth with high ks and high density doesn't ripple as much as the default cloth because the stiff springs don't allow for as much movement between point masses.
initial self-collision with high ks and low density
final resting state with high ks and low density
initial self-collision with high ks and high density
final resting state with high ks and high density
Part 5: Shaders
A GLSL shader program is a faster way to run part of the graphics pipeline such that scenes can be rendered quicker than CPU raytracing but still have realistic lighting and shadows. Shader programs take in parameters like pixel positions, normals, and uv coordinates, and also light and camera positions and equation constants. A shader program consists of two parts: a vertex shader and a fragment shader. The vertex shader transforms the vertices of an image into different object spaces (like model, object, and world space), and outputs the updated parameters and positions of the vertex for the fragment shader. The fragment shader takes in the transformed parameters from the vertex shader after rasterization and other positions and parameters of the lighting and/or textures in the scene, and then computes the final color for a fragment (which is like a sample or a pixel).
The Blinn-Phong shading model combines three different perceptual lighting components to produce a rendered image that has realistic looking lighting. Blinn-Phong is computed at each pixel, and the final color of the pixel depends on three components: ambient lighting, diffuse reflection, and specular highlights. Ambient lighting is a default color that is added into the color to counteract overly dark shadows (often found in direct illumination). The ambient lighting doesn't depend on any angles, light sources, etc., so the ambient color is a constant. Diffuse reflection gives a surface a matte look because light is reflected evenly in all directions regardless of the angle of the camera/eye direction. The specular highlight component adds (usually) white highlights that are the reflections of a light source(s) on a surface. The intensity of the highlights depend on the camera/eye direction because the direction dictates how the light bounces off the surface and reflects across the half vector between the viewing direction and the light source direction.
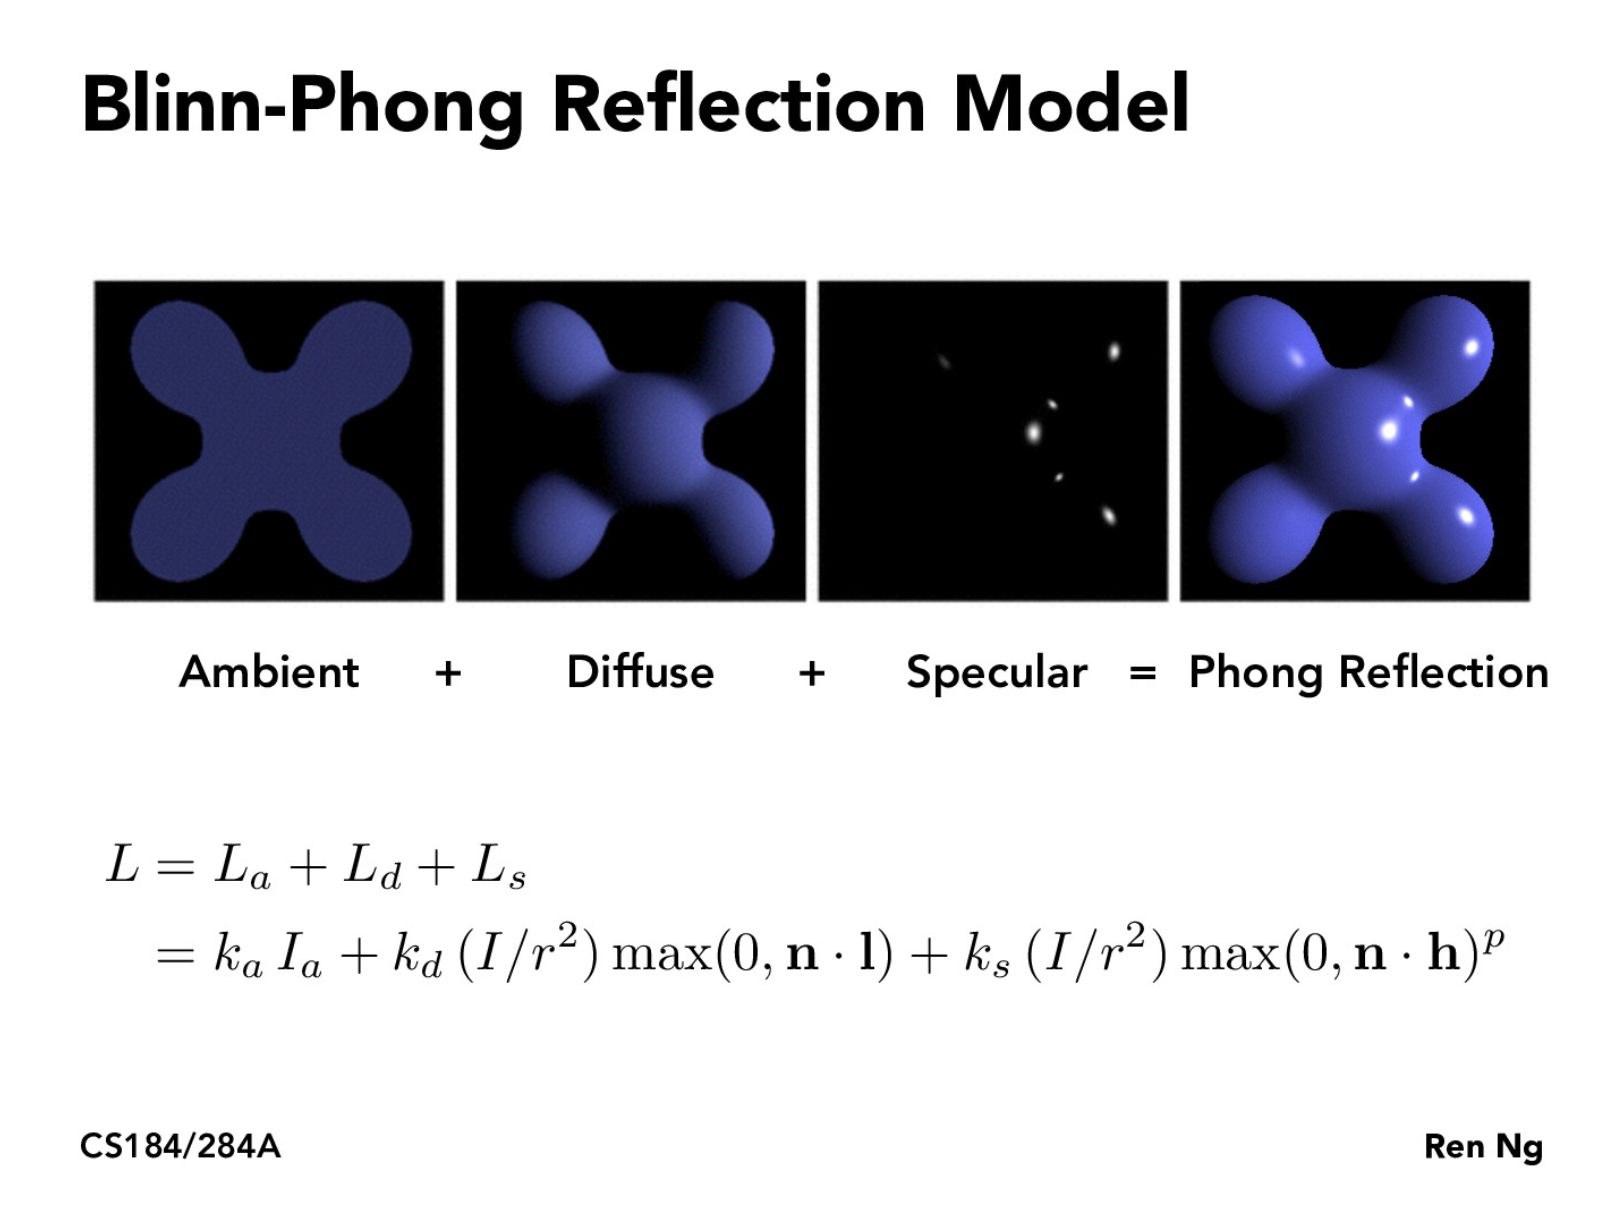
The image above from lecture shows how the ambient, diffuse, and specular components are added together to create a realistic looking rendered image.
Default cloth with ambient component of Blinn-Phong shader
Default cloth with diffuse component of Blinn-Phong shader
Default cloth with specular component of Blinn-Phong shader
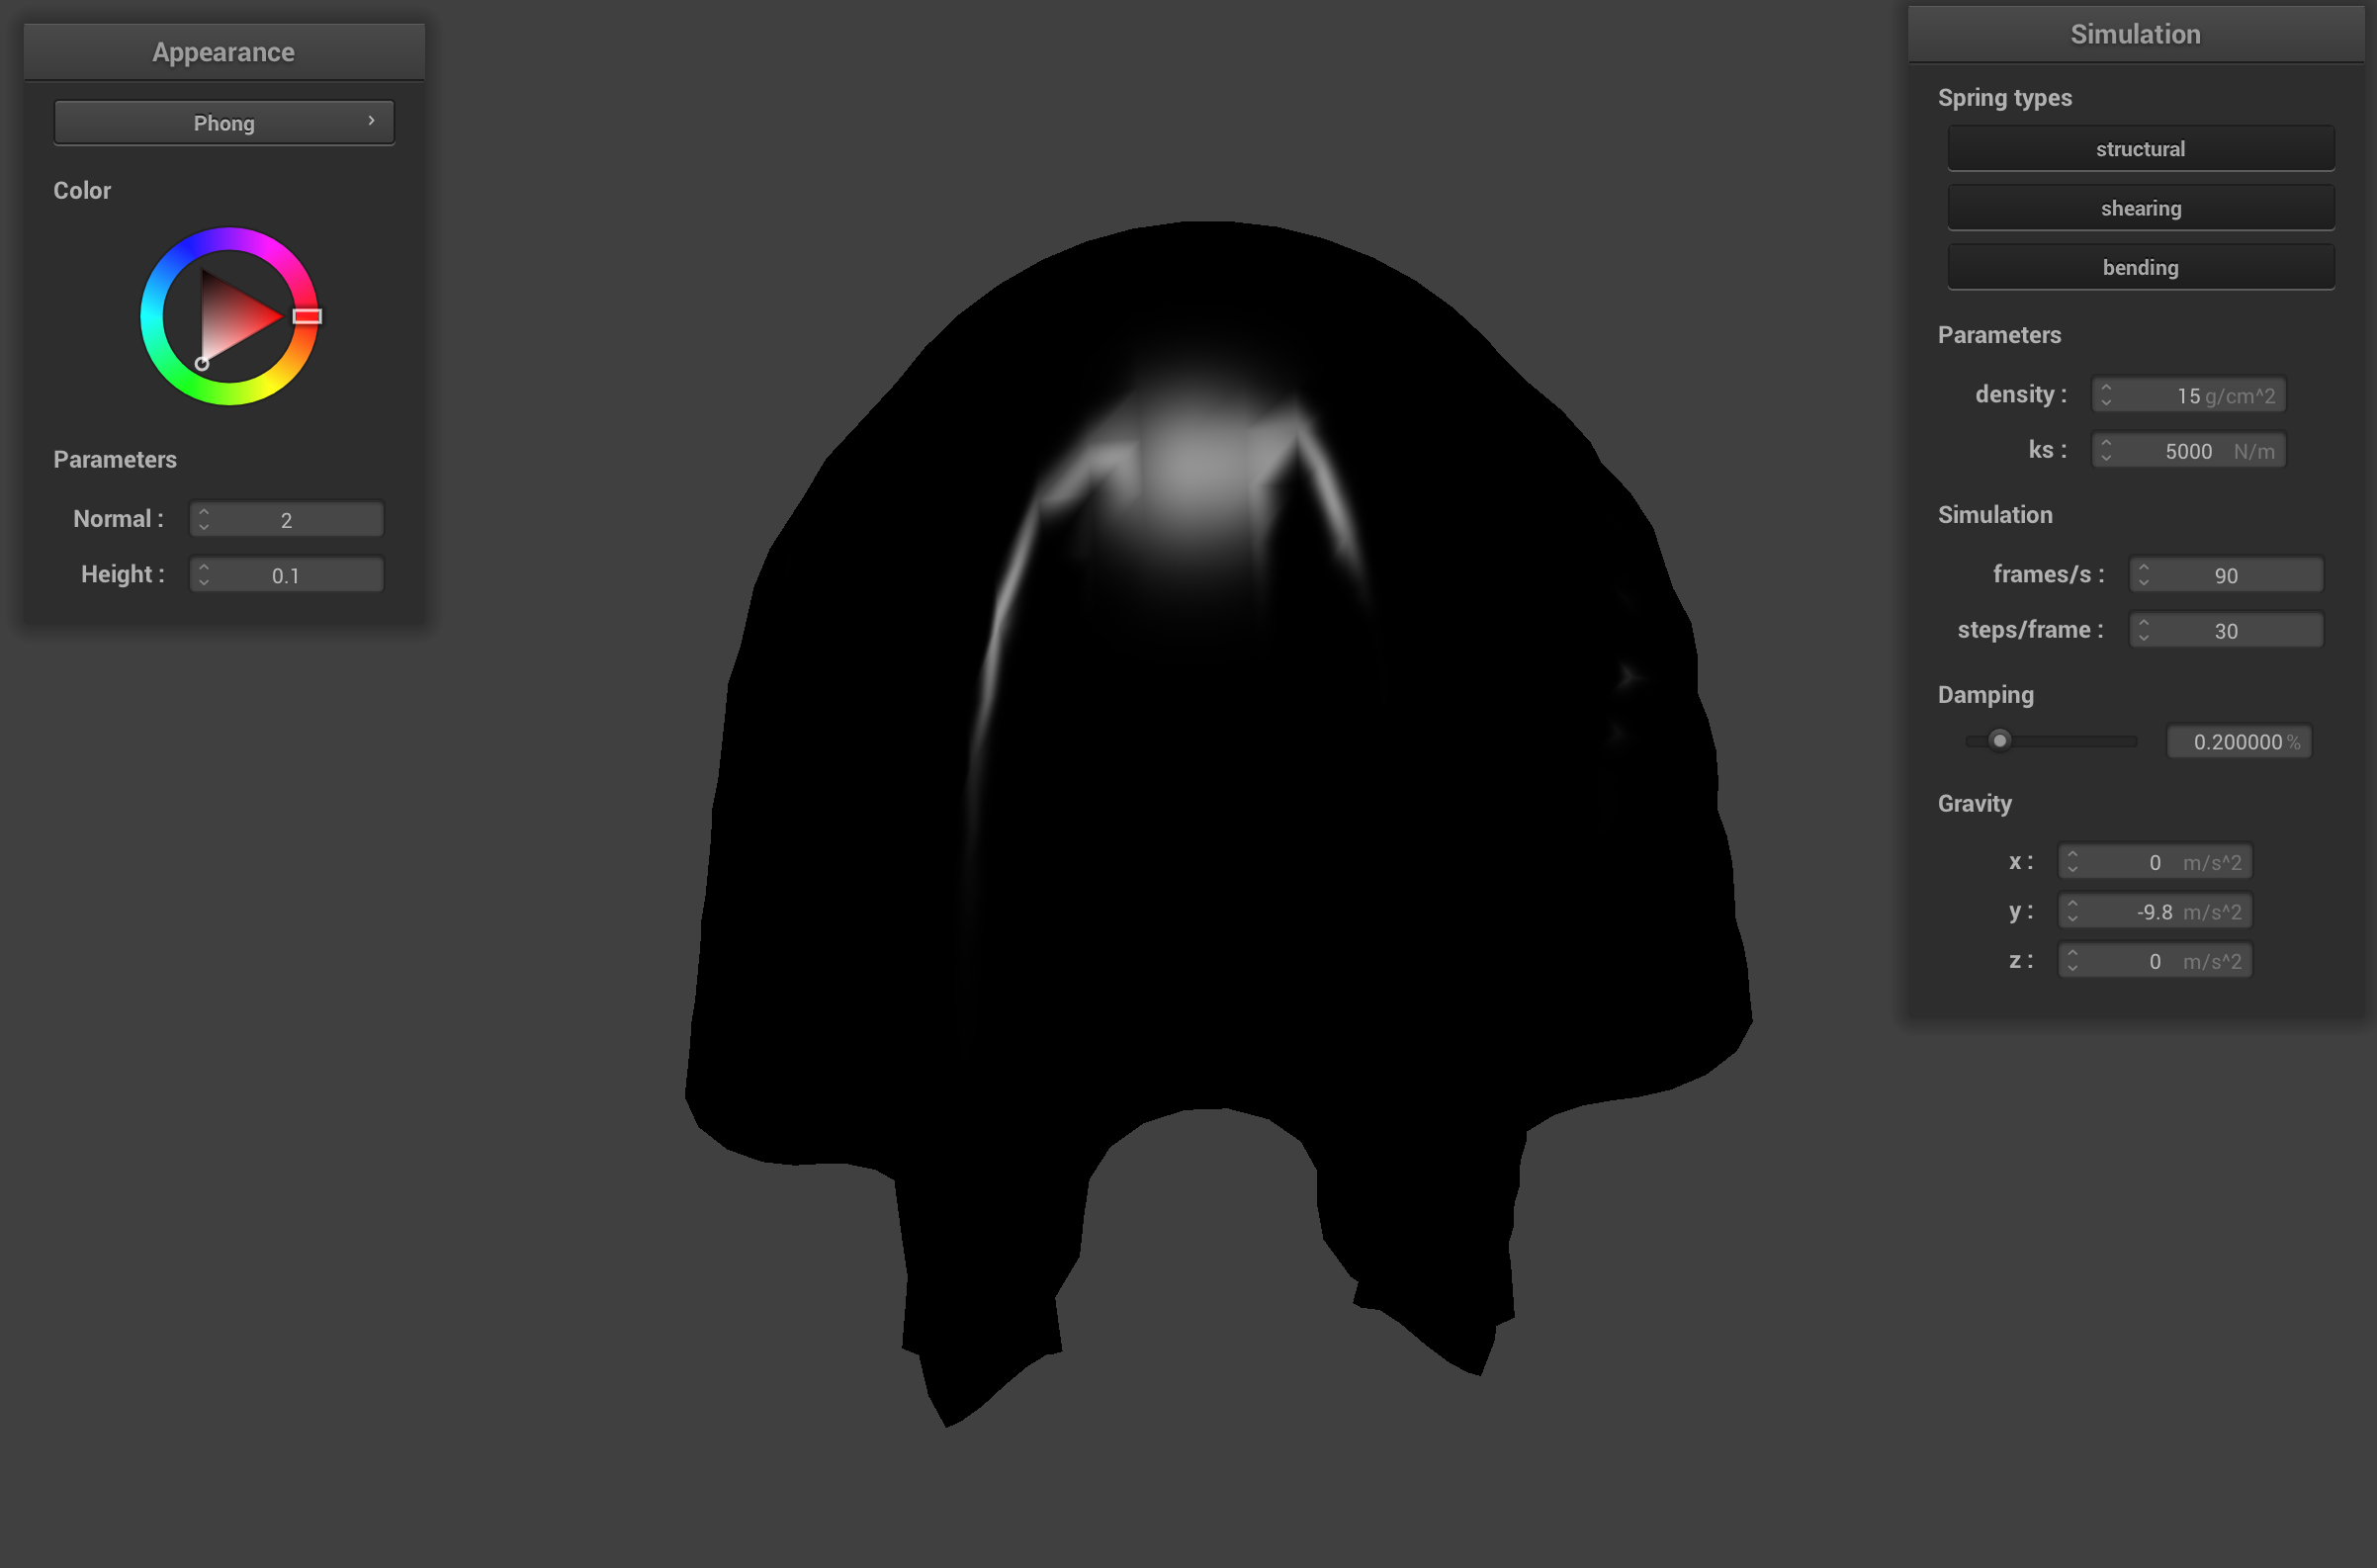
Default cloth with Blinn-Phong shader
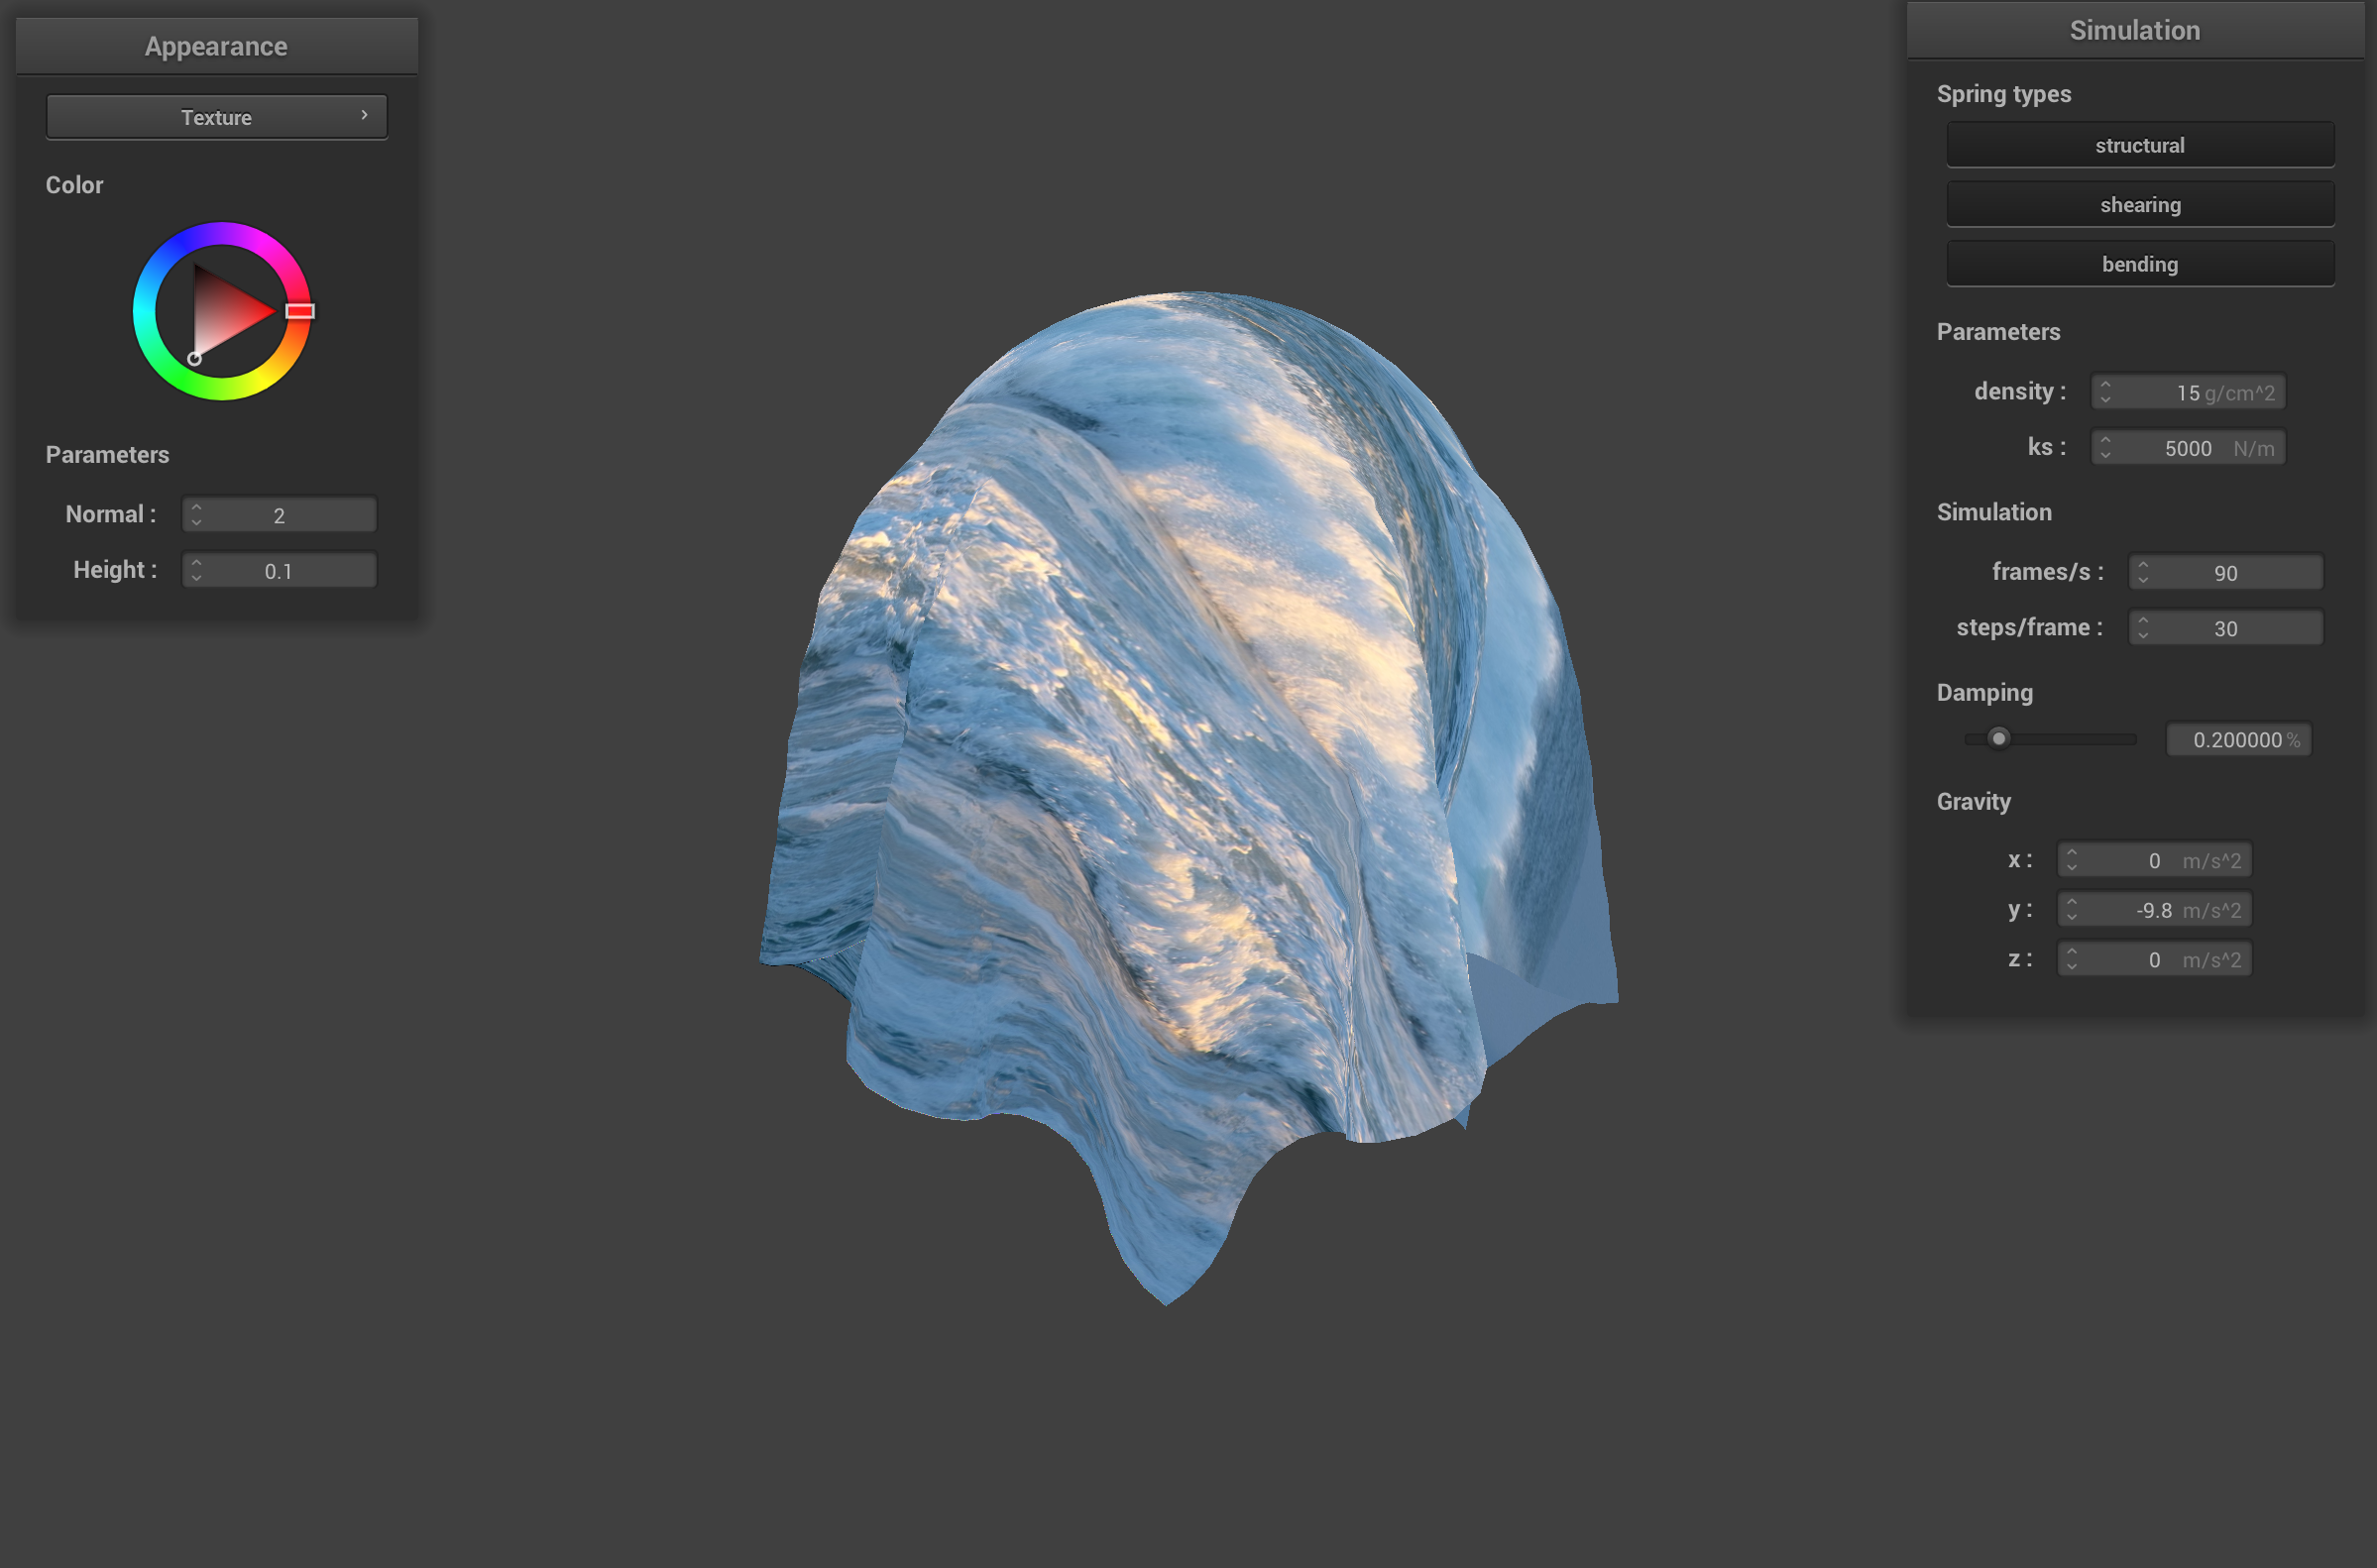
Default cloth with ocean texture shader
Bump mapping gives the illusion of details on a surface by adjusting the normals of an object's fragments. This adjustment depends on a height map which measures the differences in changes to uv coordinates. The modified normal changes the perceived look of a surface by slightly tweaking some of the normals of the surface so the the object doesn't have one normal that spans the whole surface. Displacement sampling builds on bump mapping by also adjusting the positions of a fragment based on the normal and the height map. This adds an actual "displaced" position/bump to the coloring from the bump mapping (which was just an illusion).
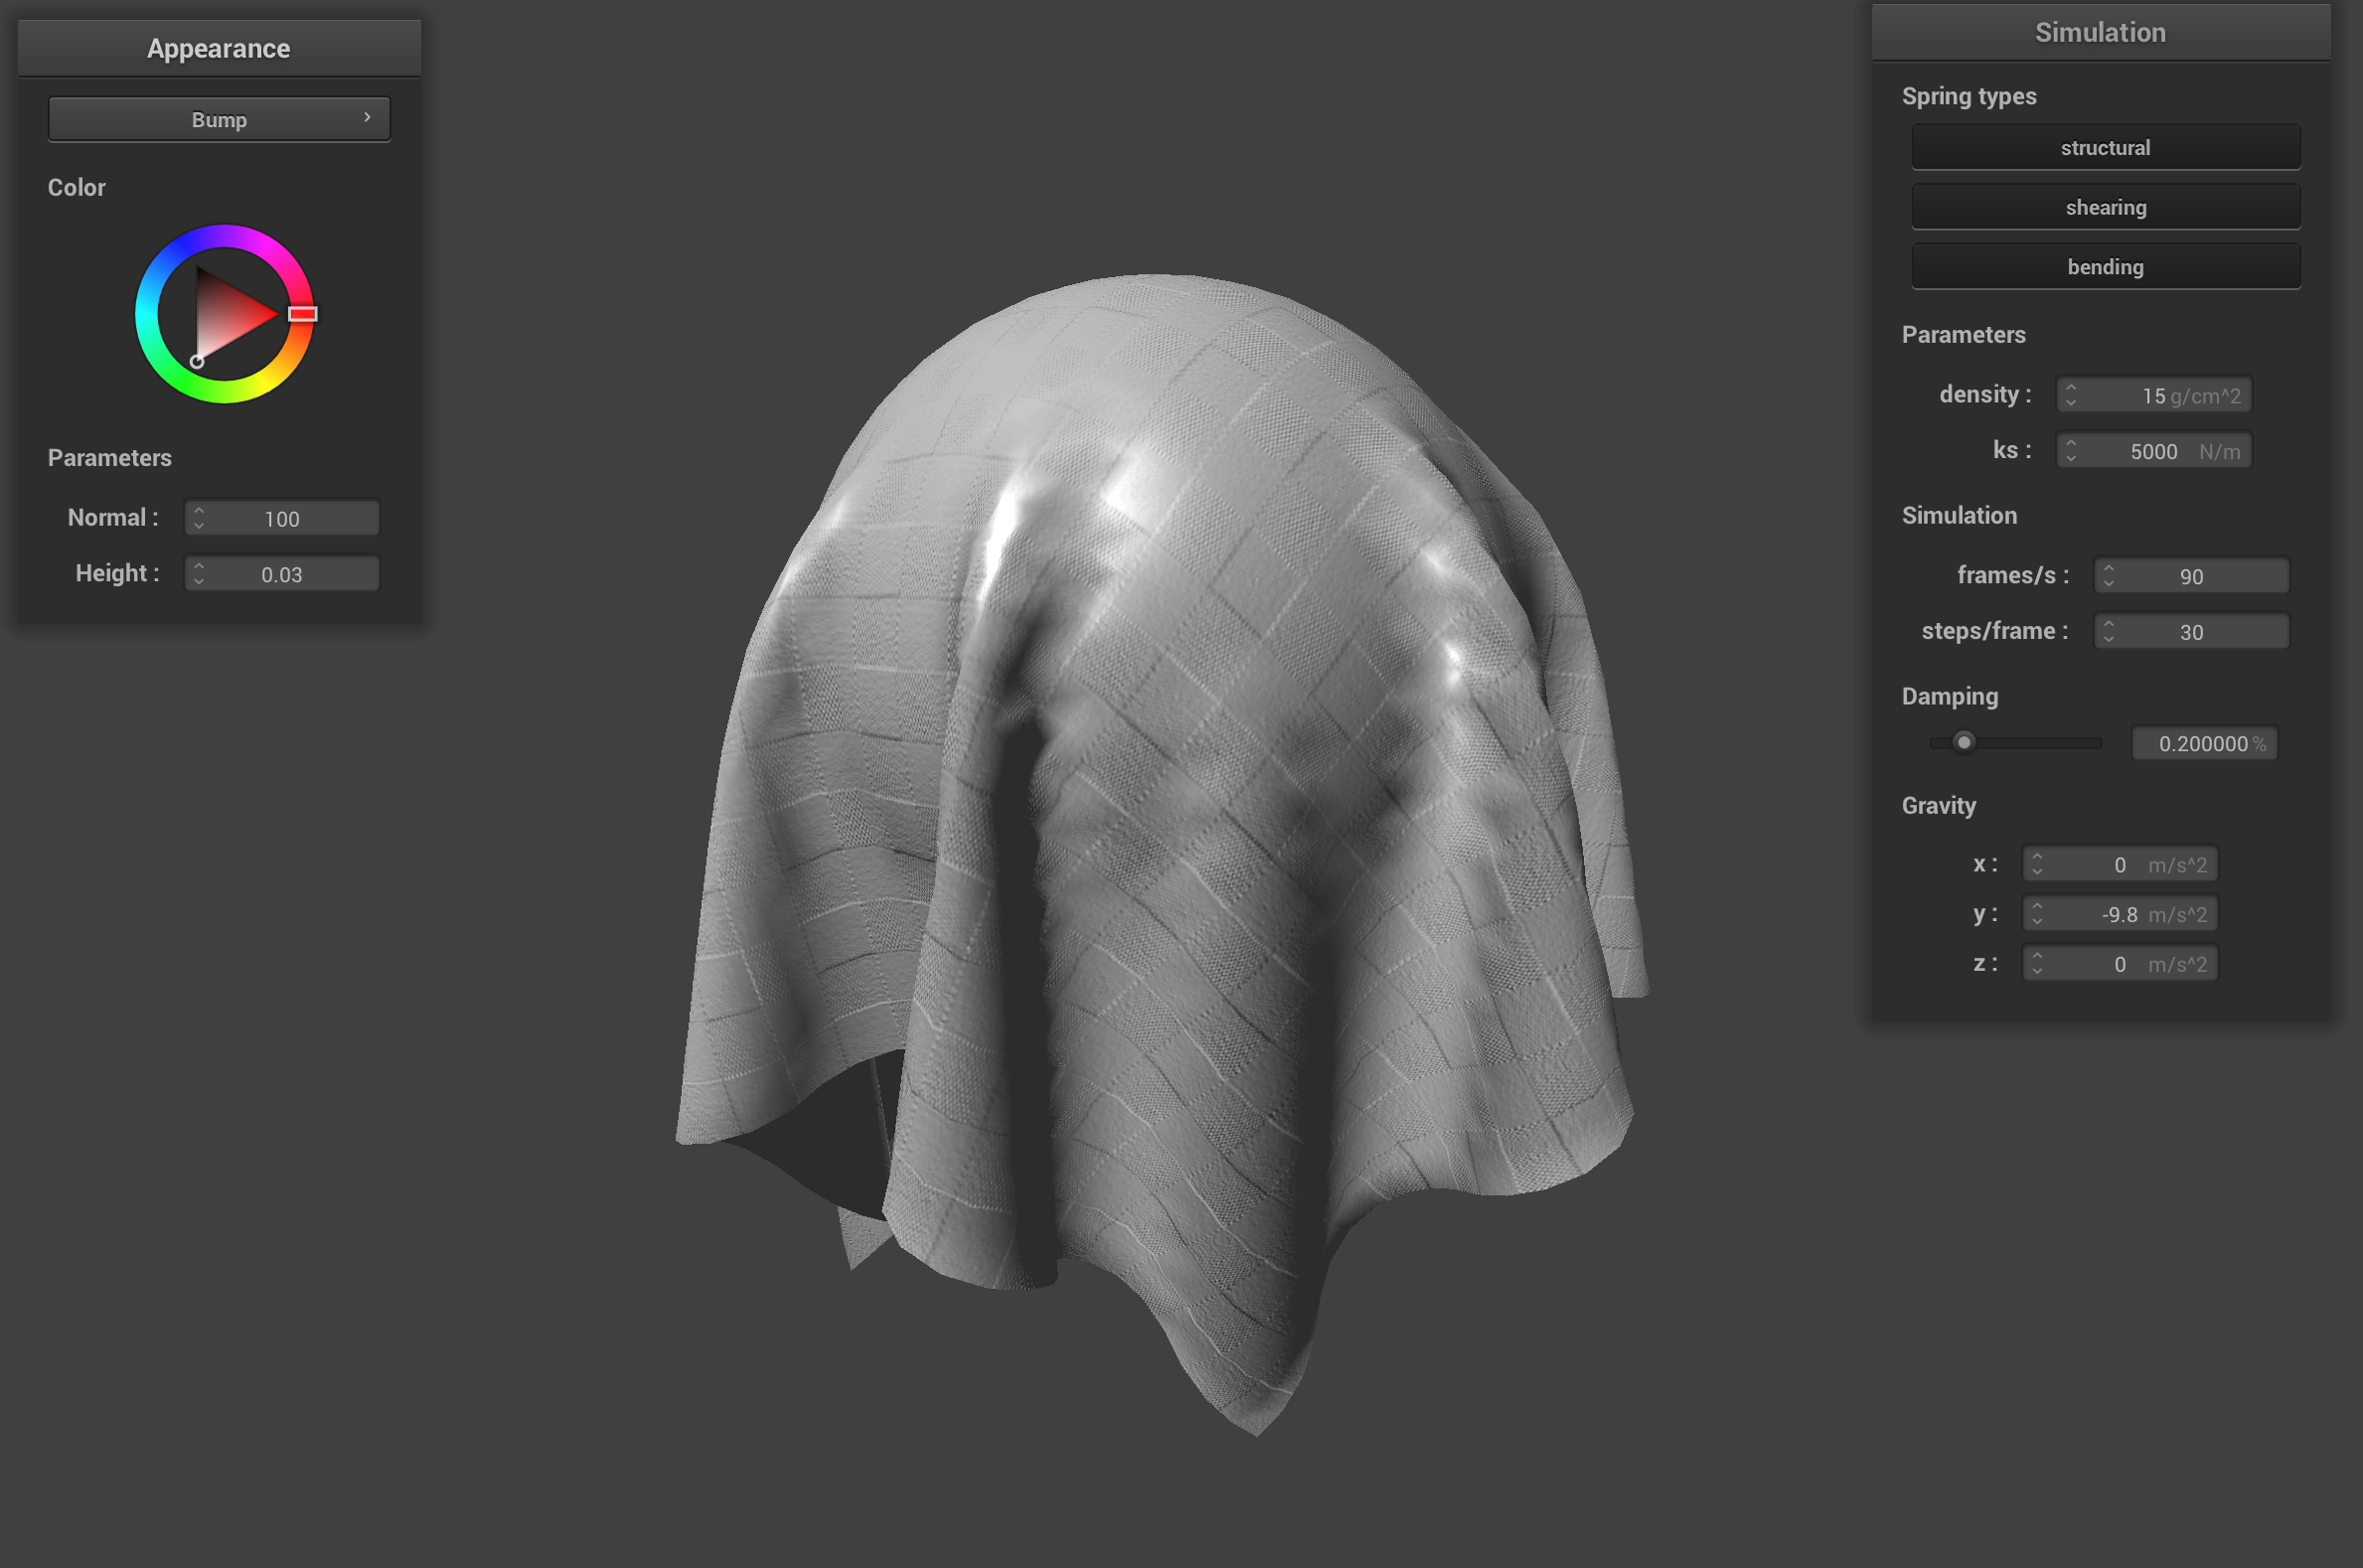
Cloth with bump shader, 100 normal, 0.03 height
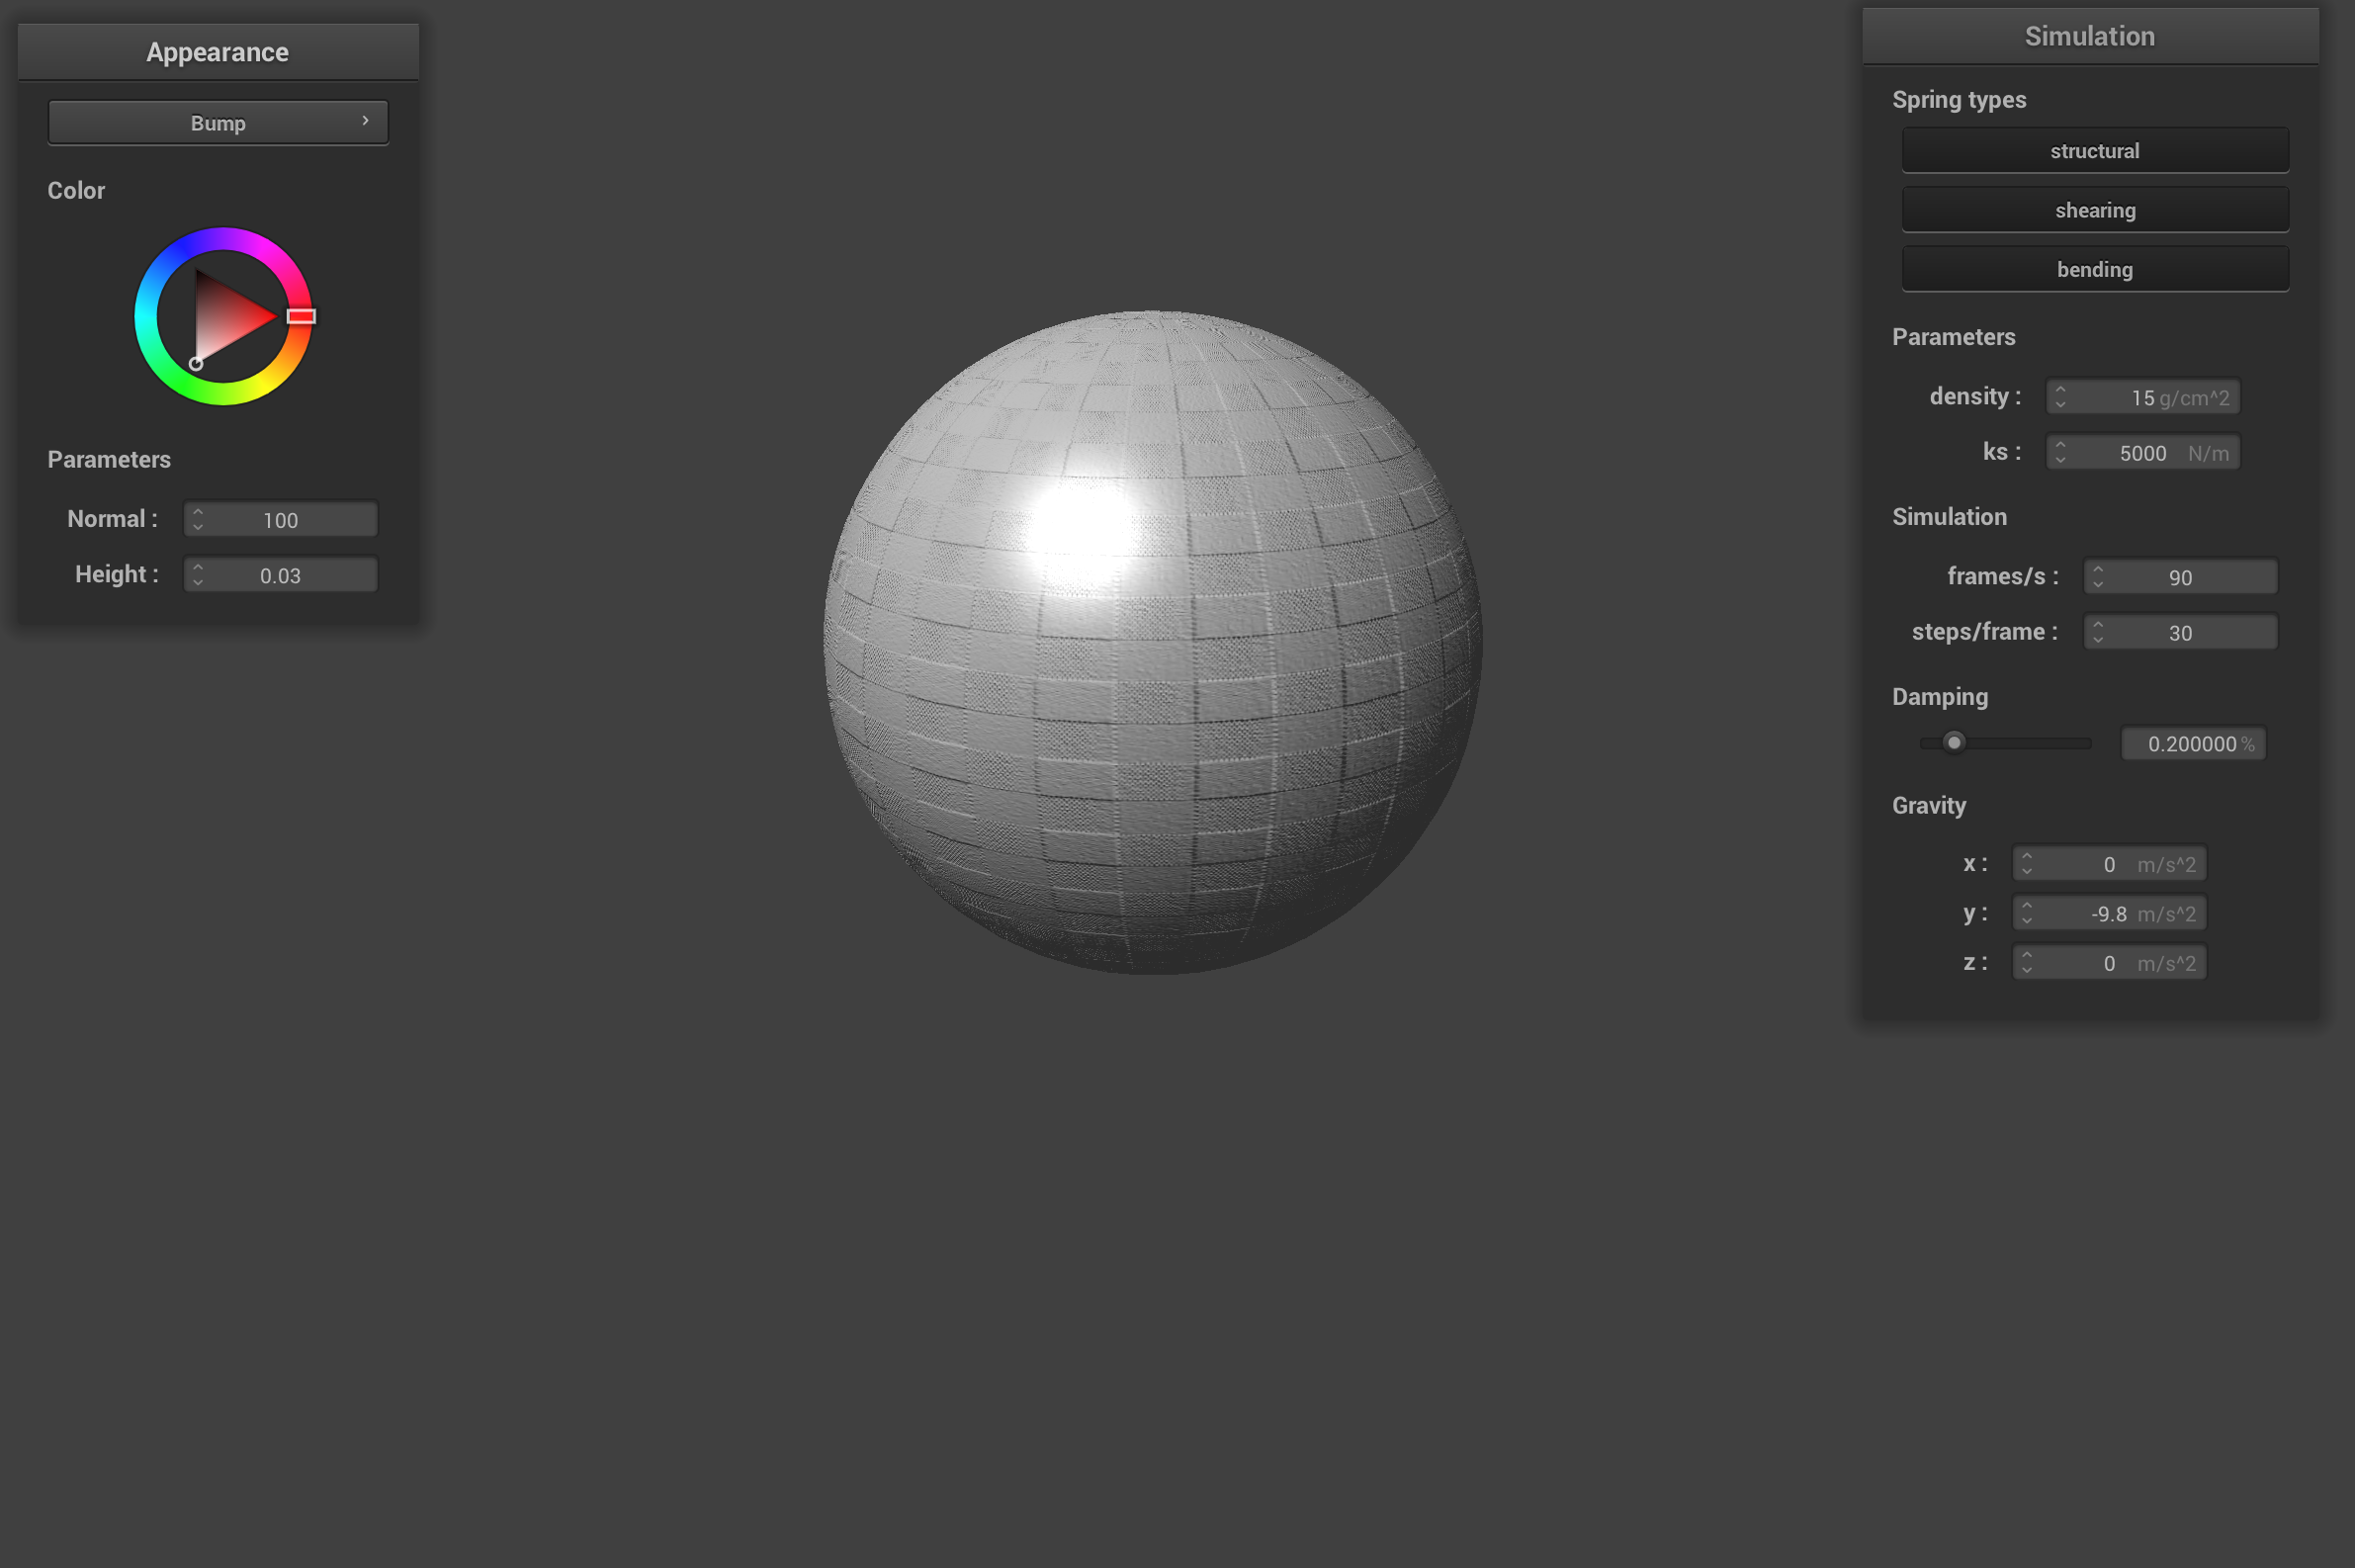
Sphere with bump shader, 100 normal, 0.03 height
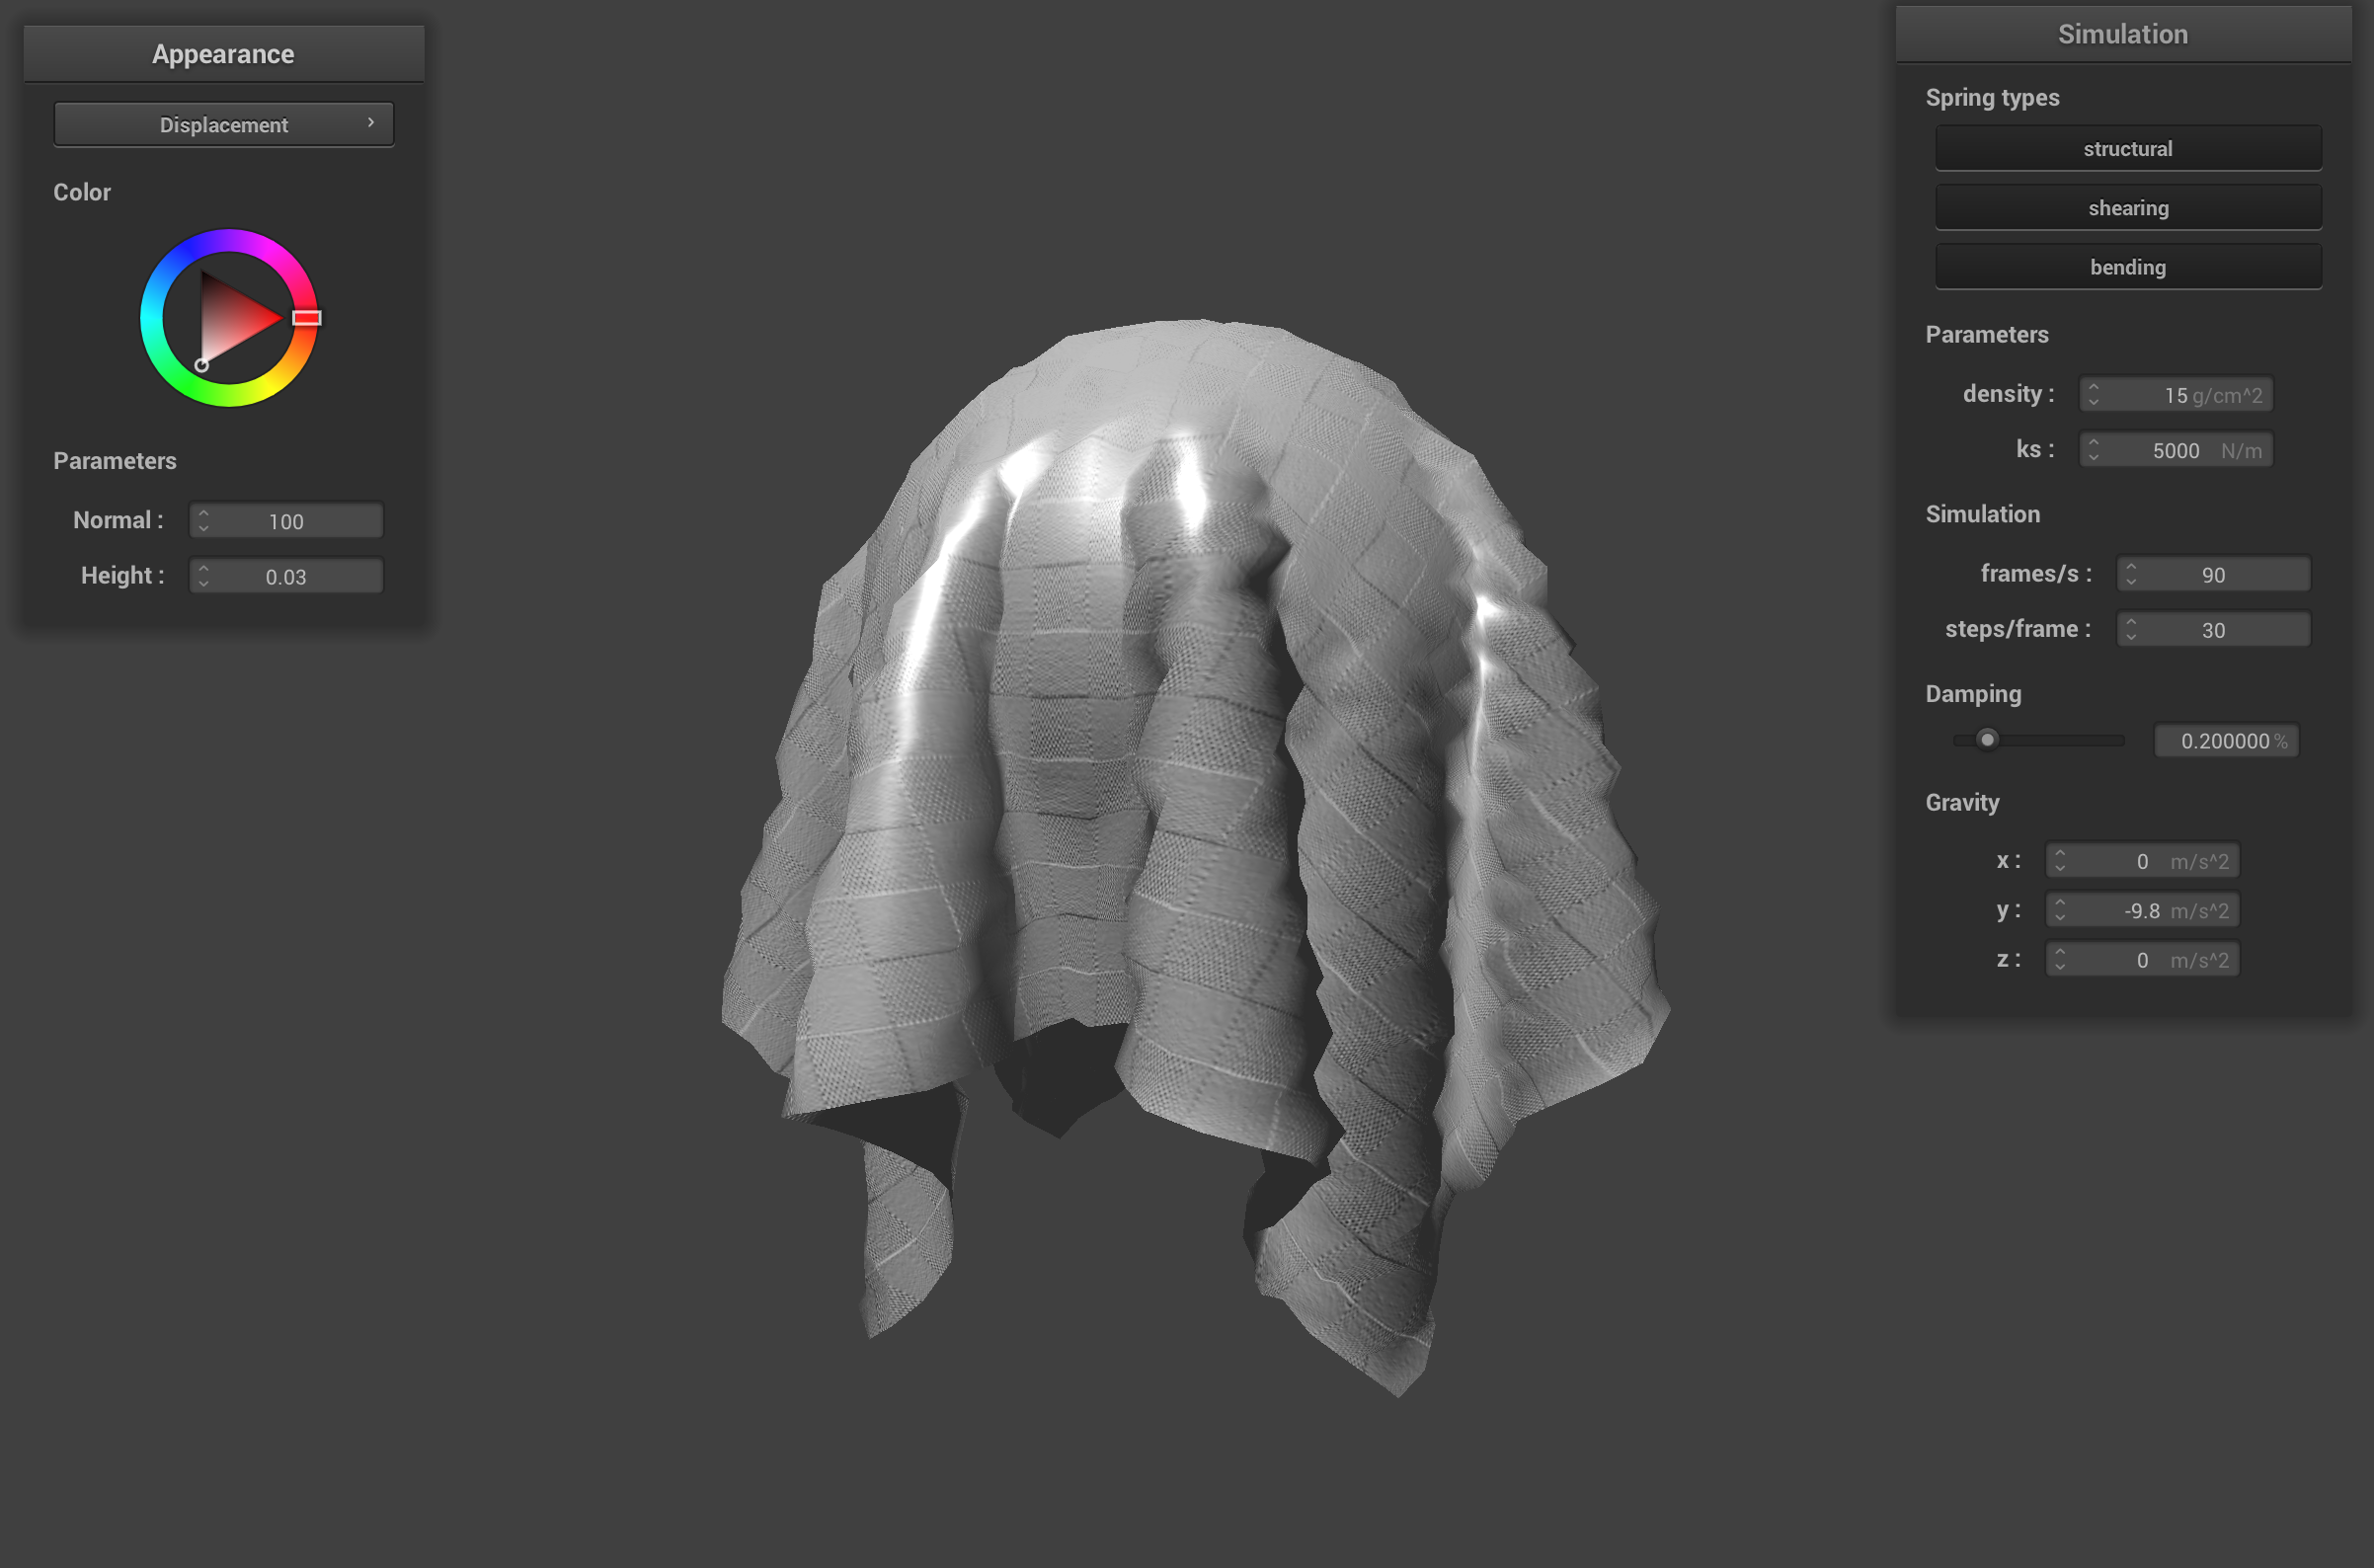
Cloth with displacement shader, 100 normal, 0.03 height
When changing the coarseness of the sphere's mesh, the sphere with -o 16 -a 16 doesn't have a perfectly round look to it. Since it is coarser, the sphere has more visible flat planes that undermine the illusion of the bump mapping and the displacement of the sphere. The -o 128 -a 128 sphere is less coarse and has a smoother shape that actually looks spherical. The illusion of the bump mapping and the displacement look more realistic on the less coarse sphere because there are more fragments to sample and shade.

-o 16 -a 16 sphere with bump shader
-o 16 -a 16 sphere with displacement shader

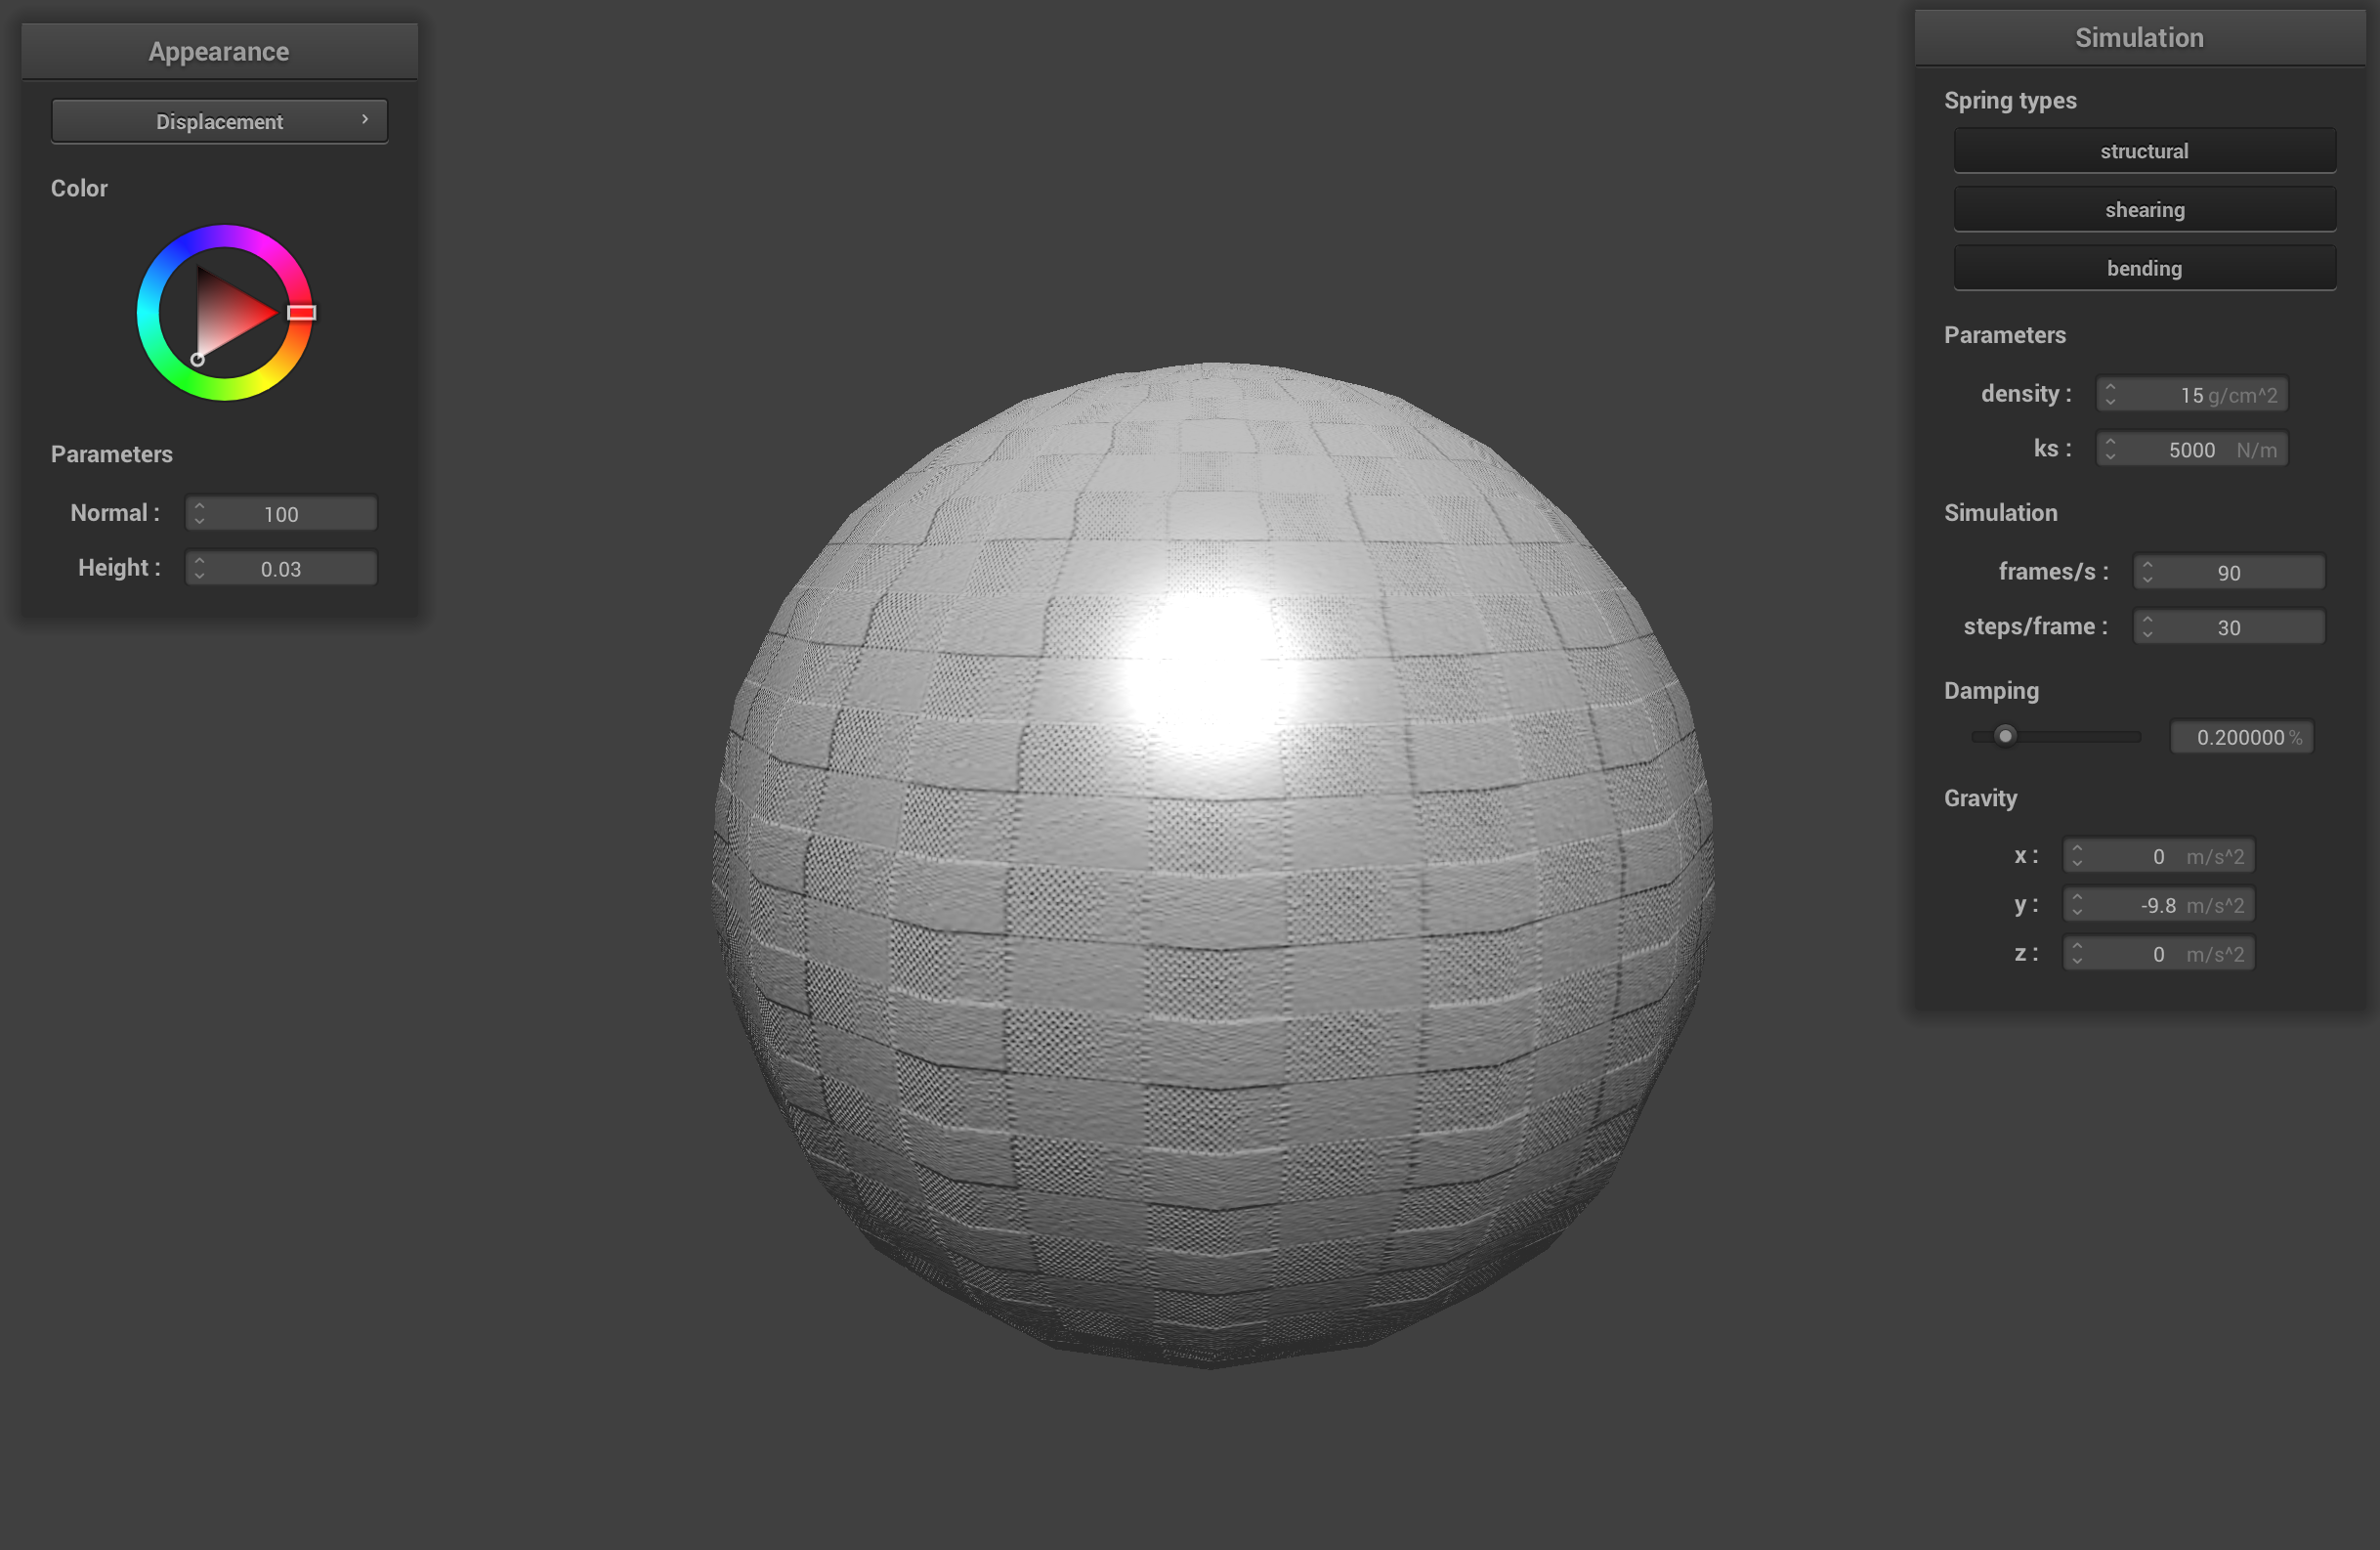
-o 128 -a 128 sphere with bump shader
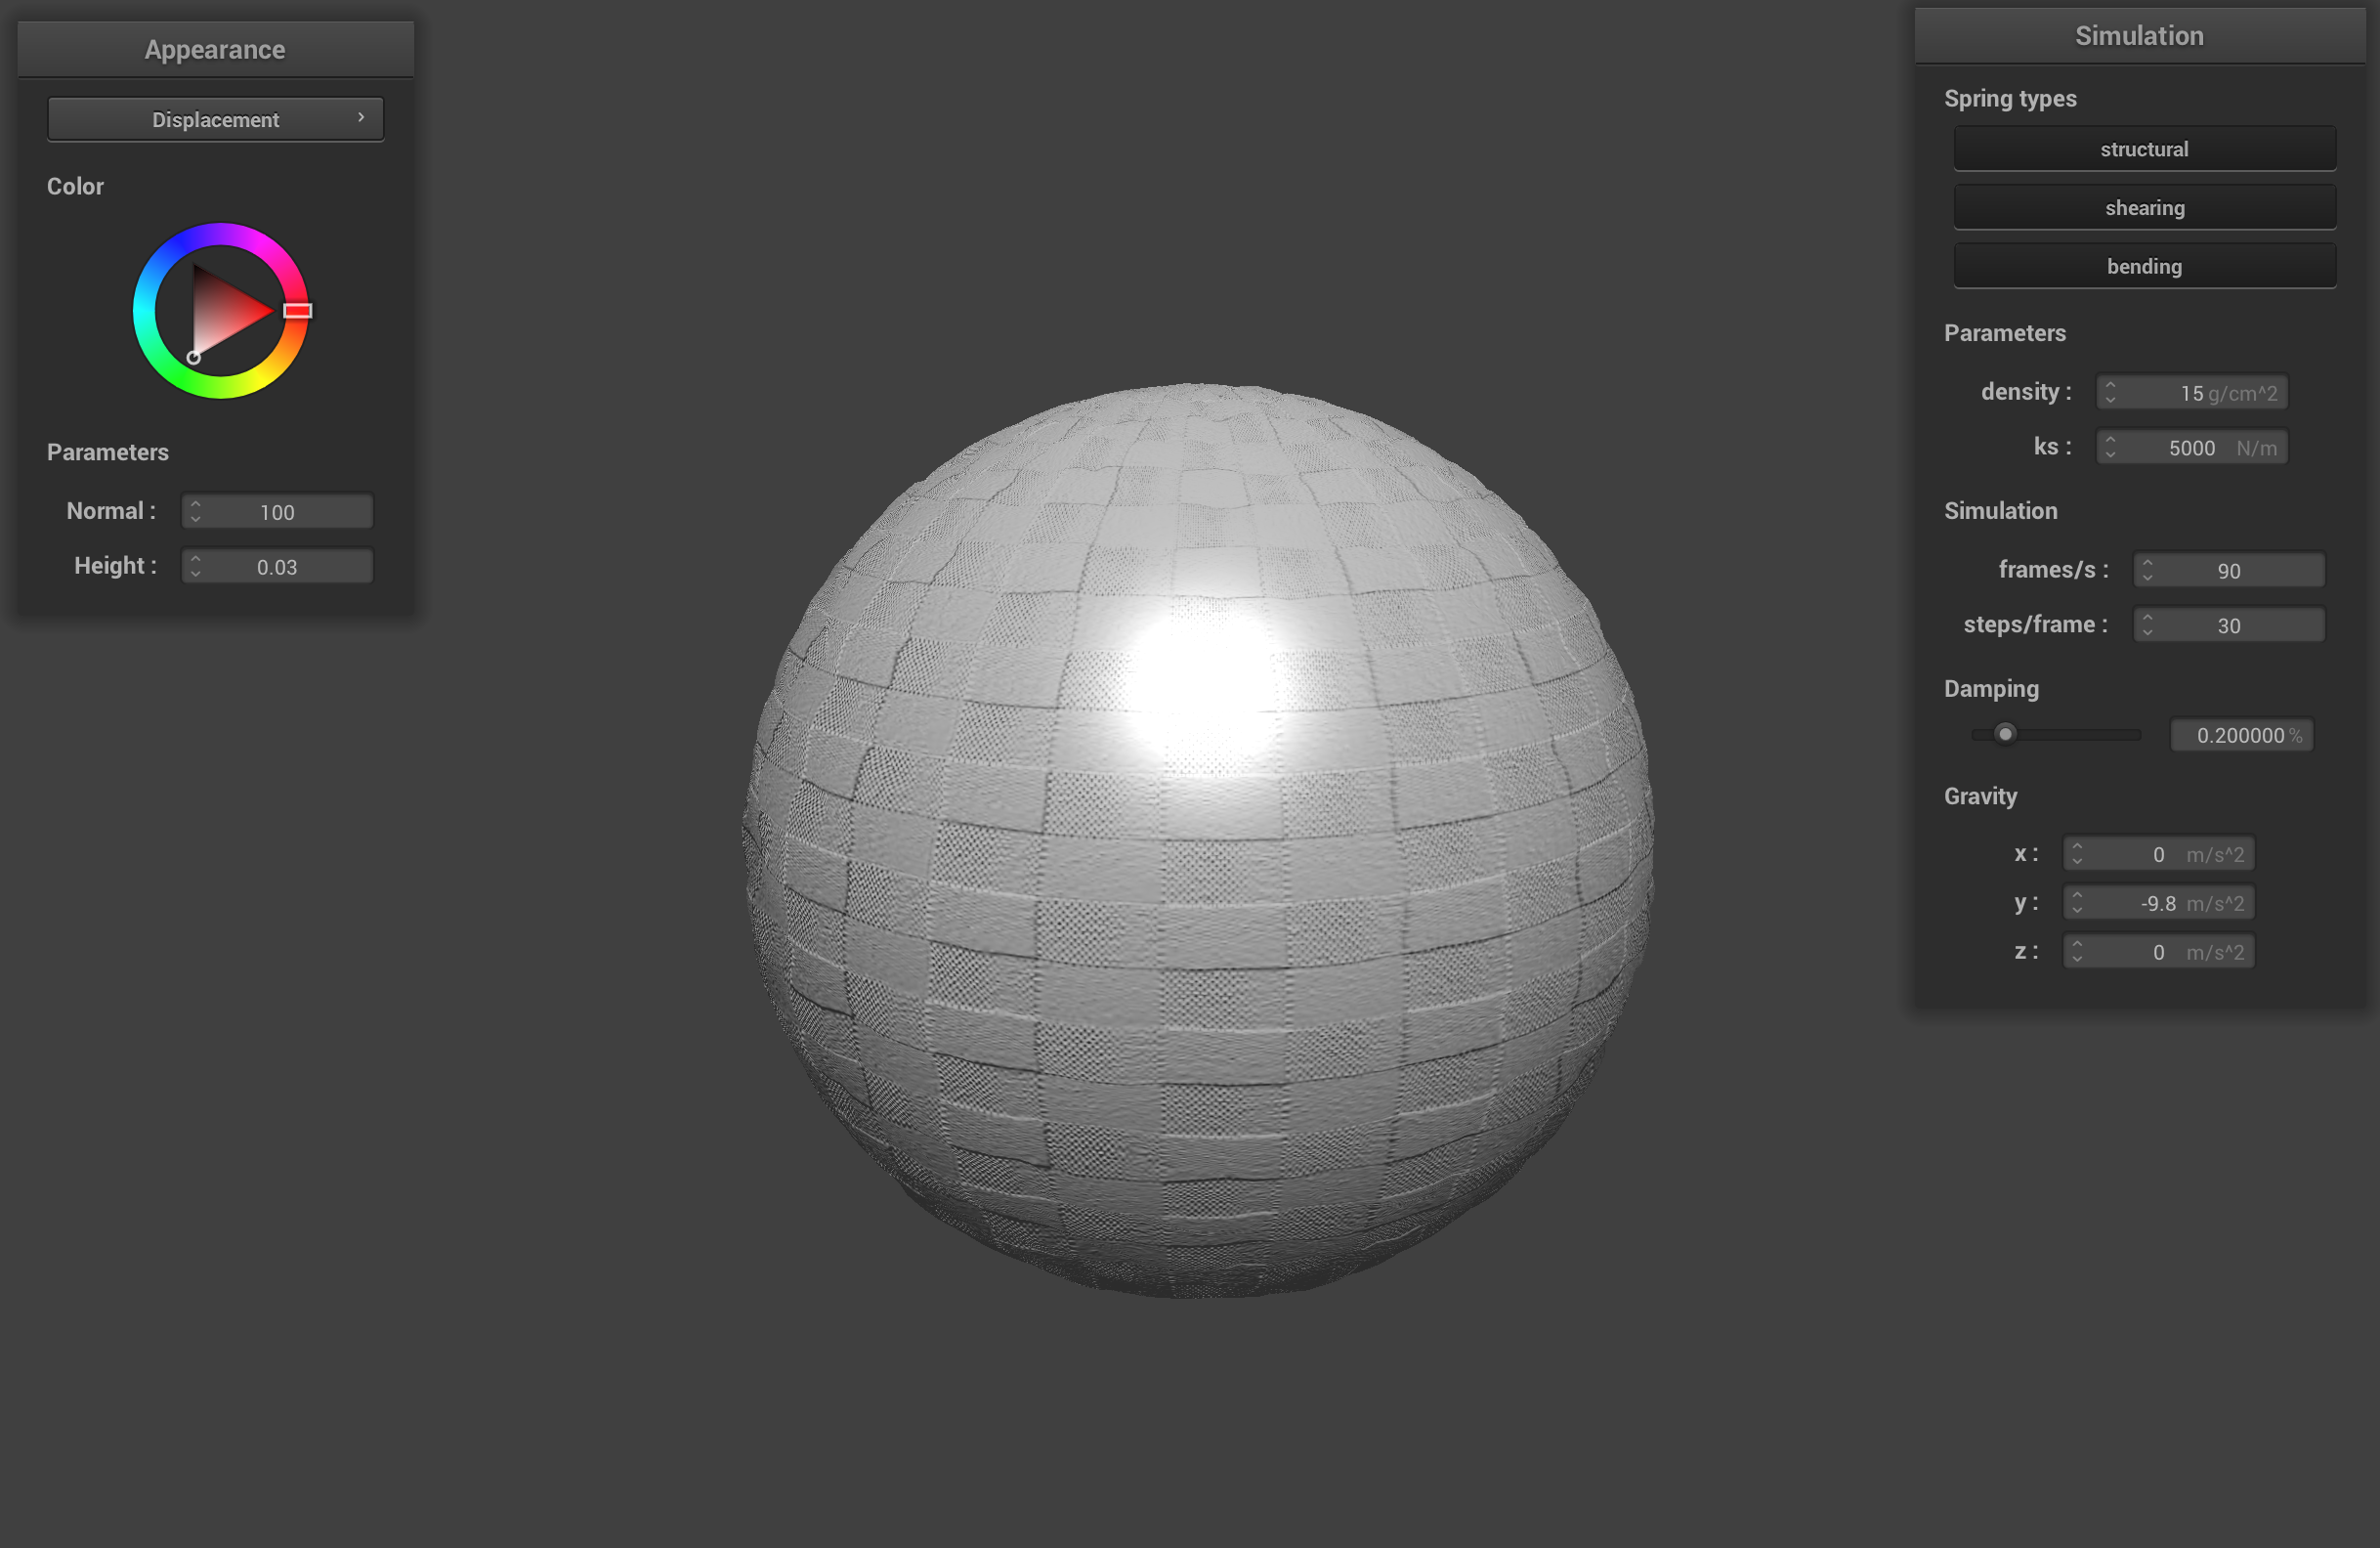
-o 128 -a 128 sphere with displacement shader
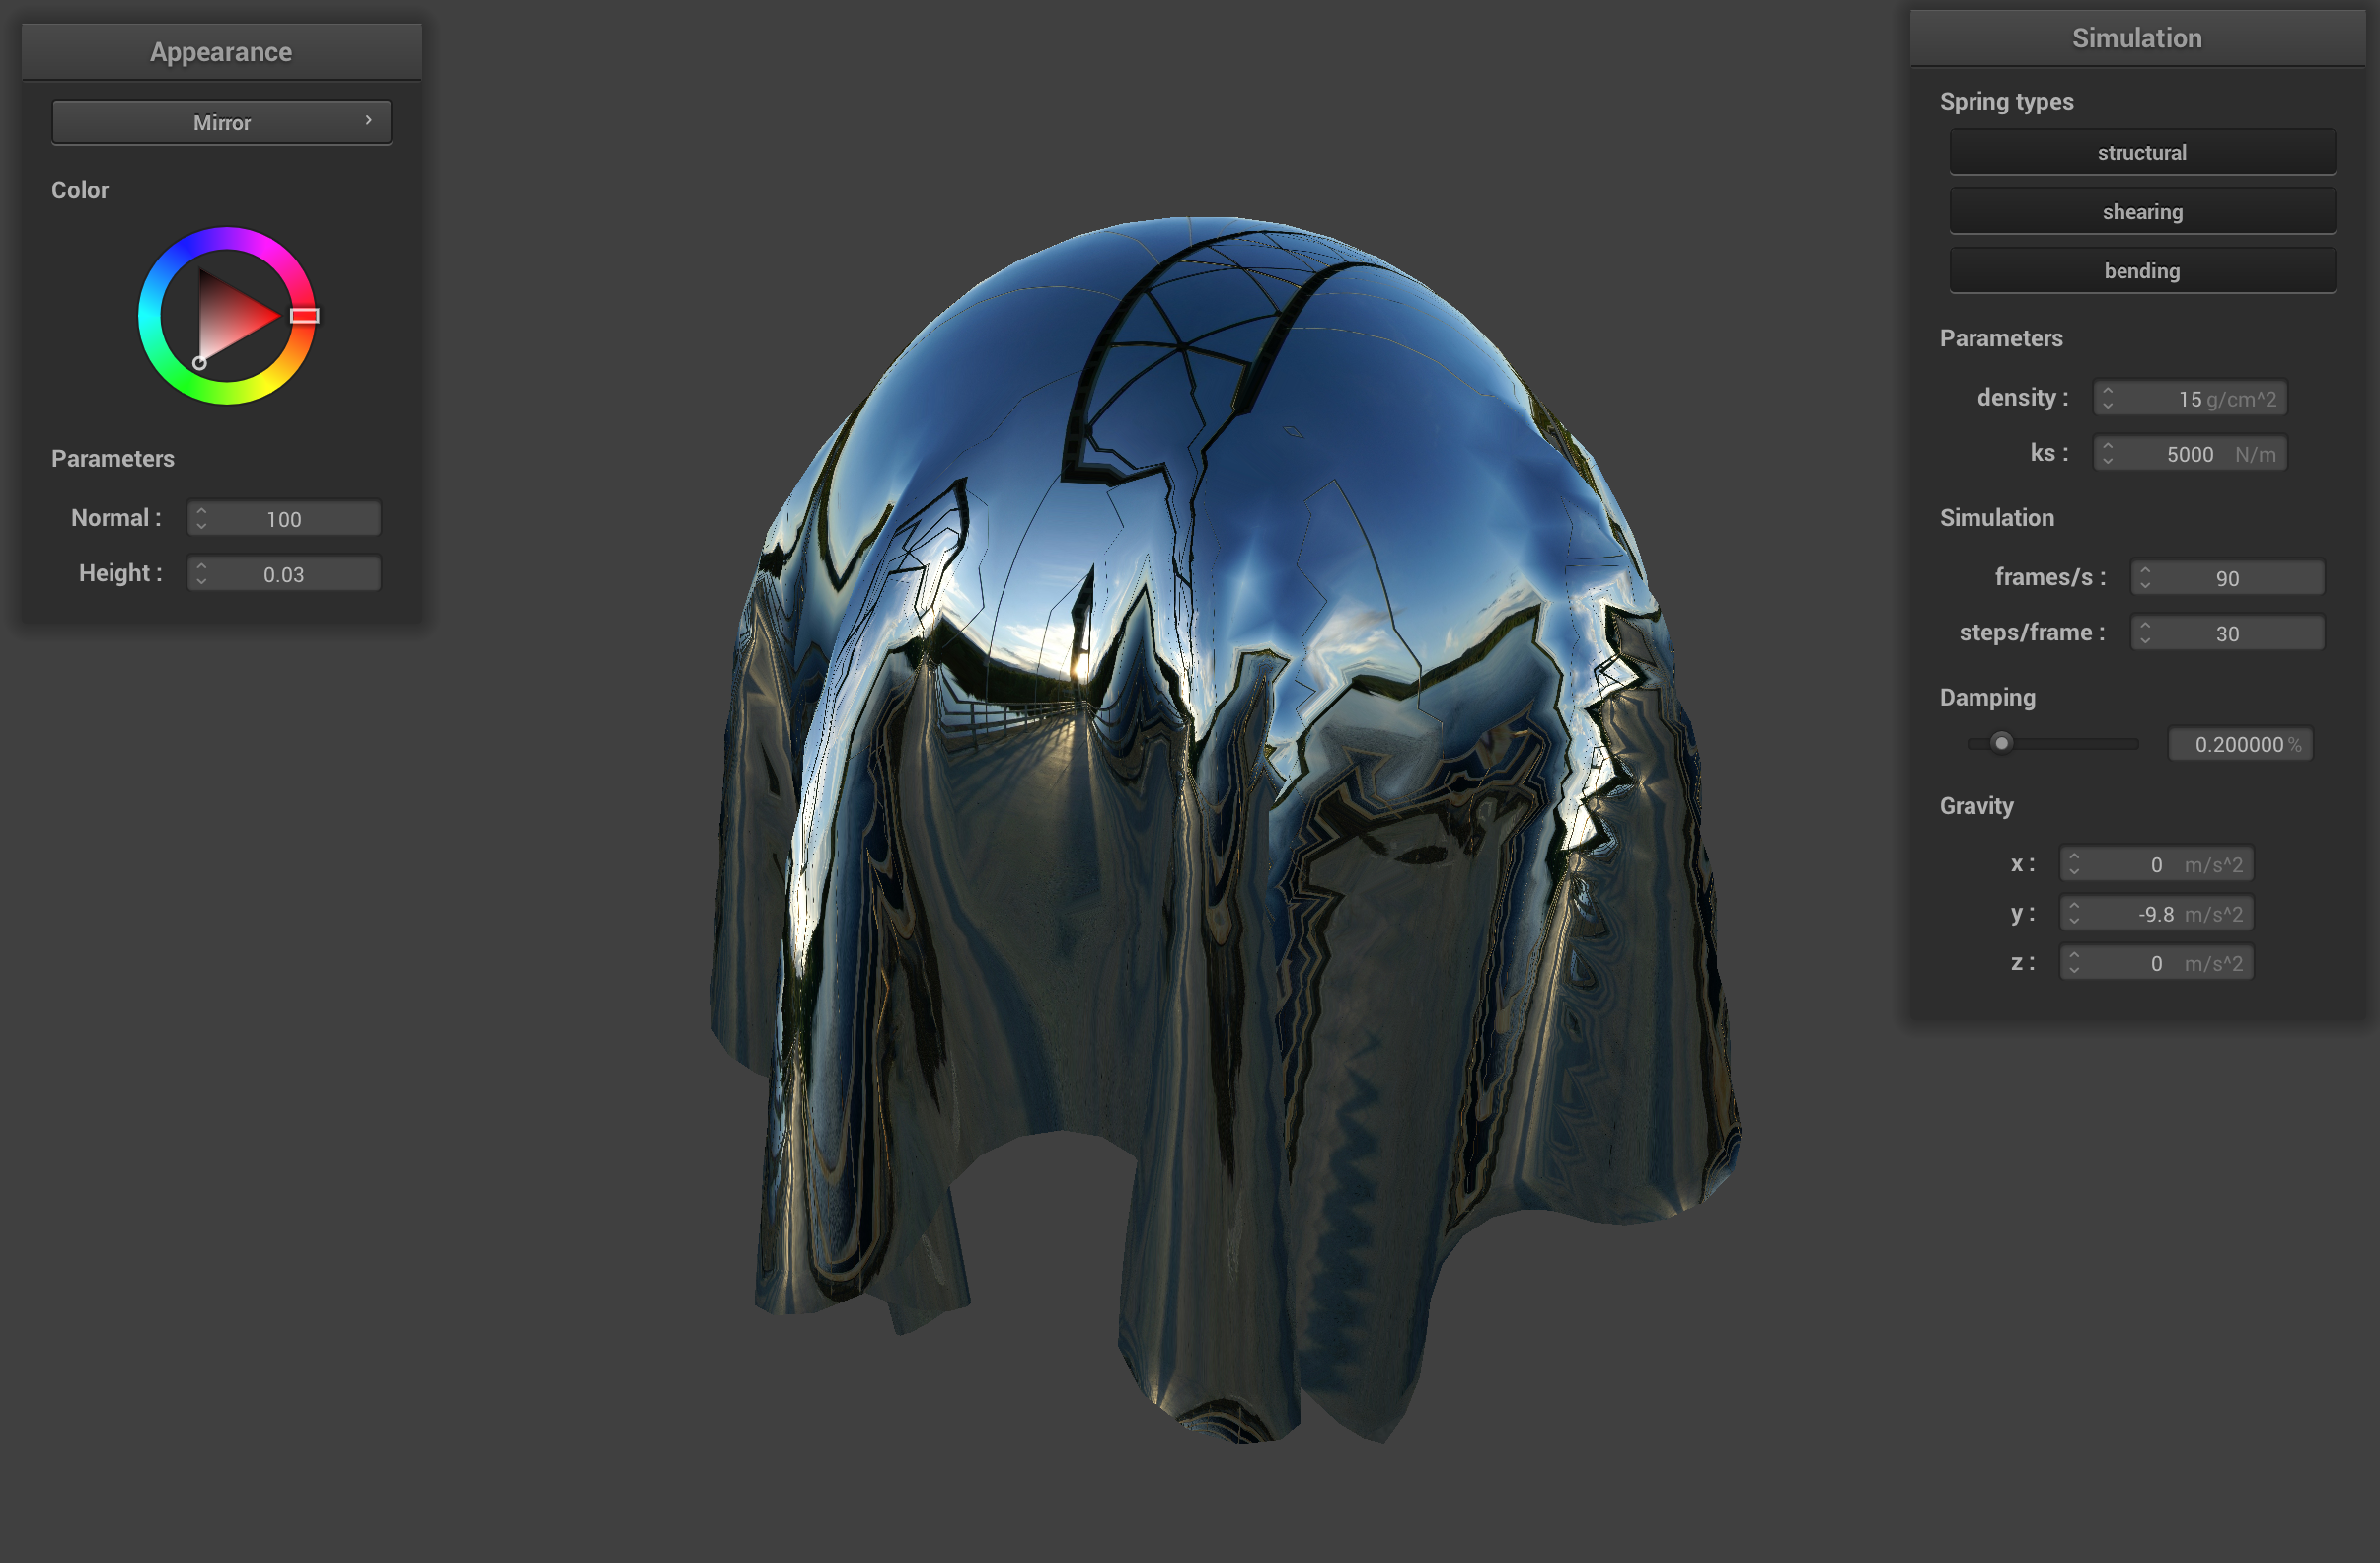
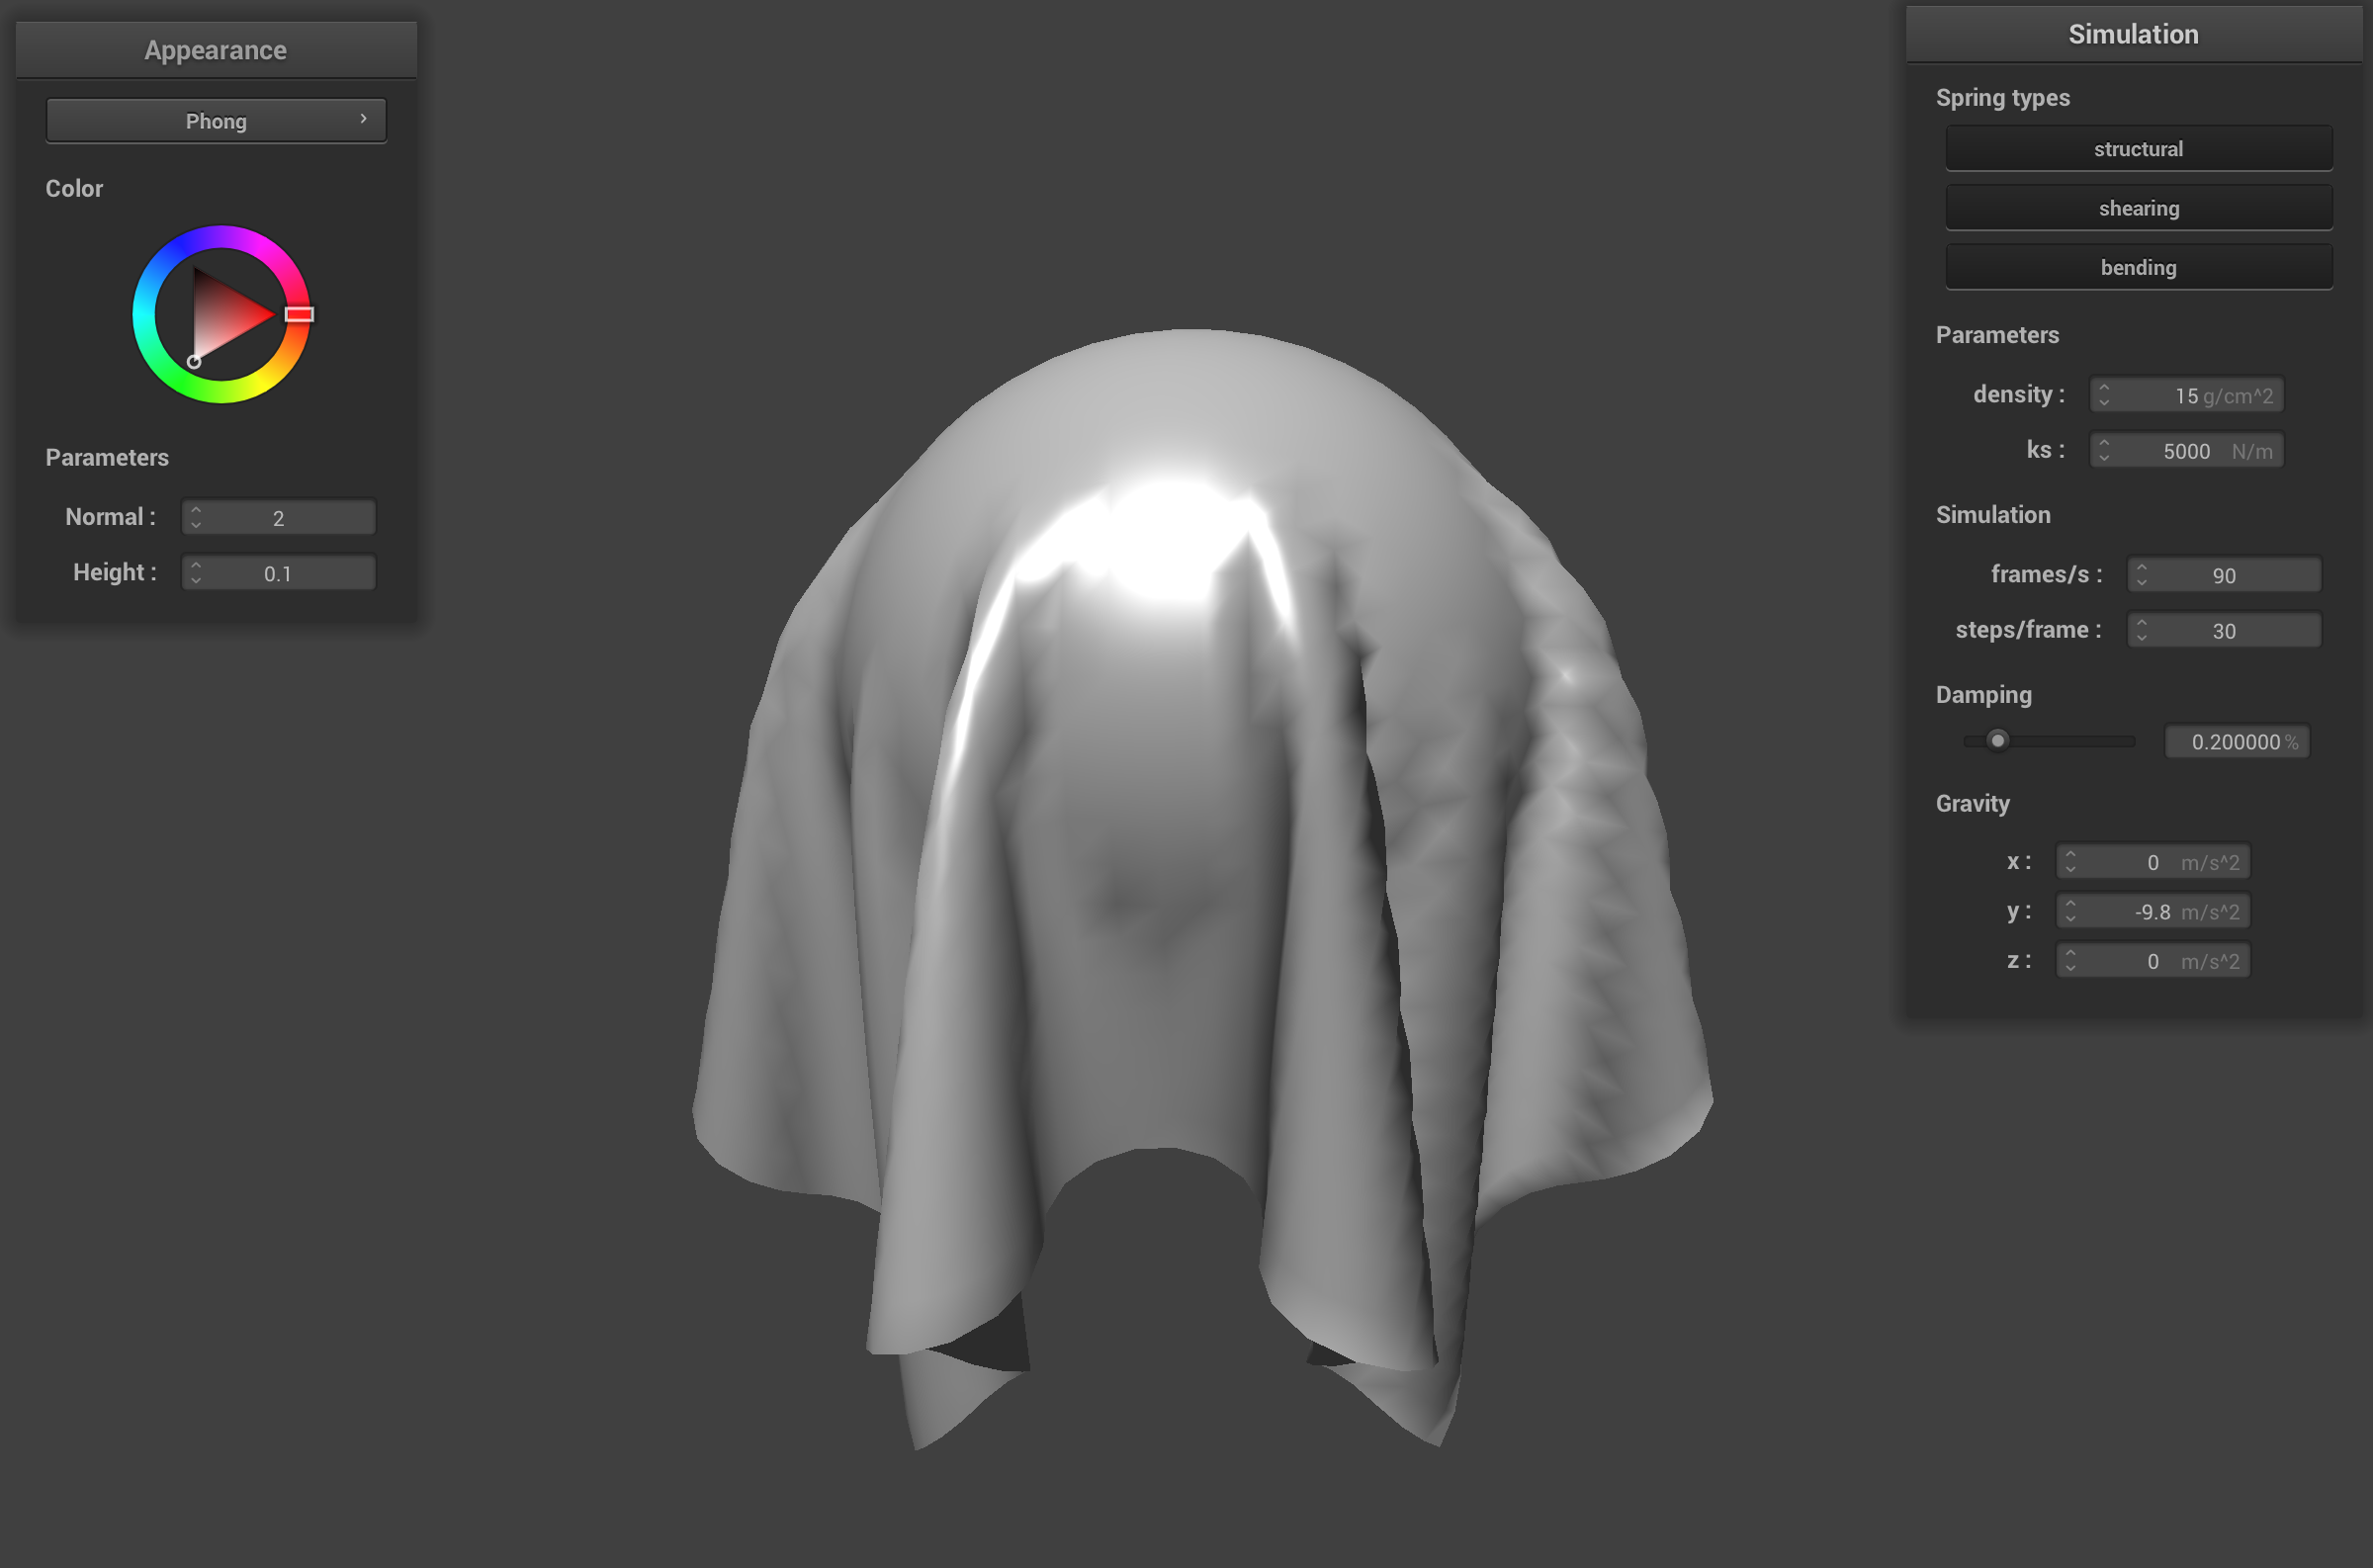
Cloth with mirror shader
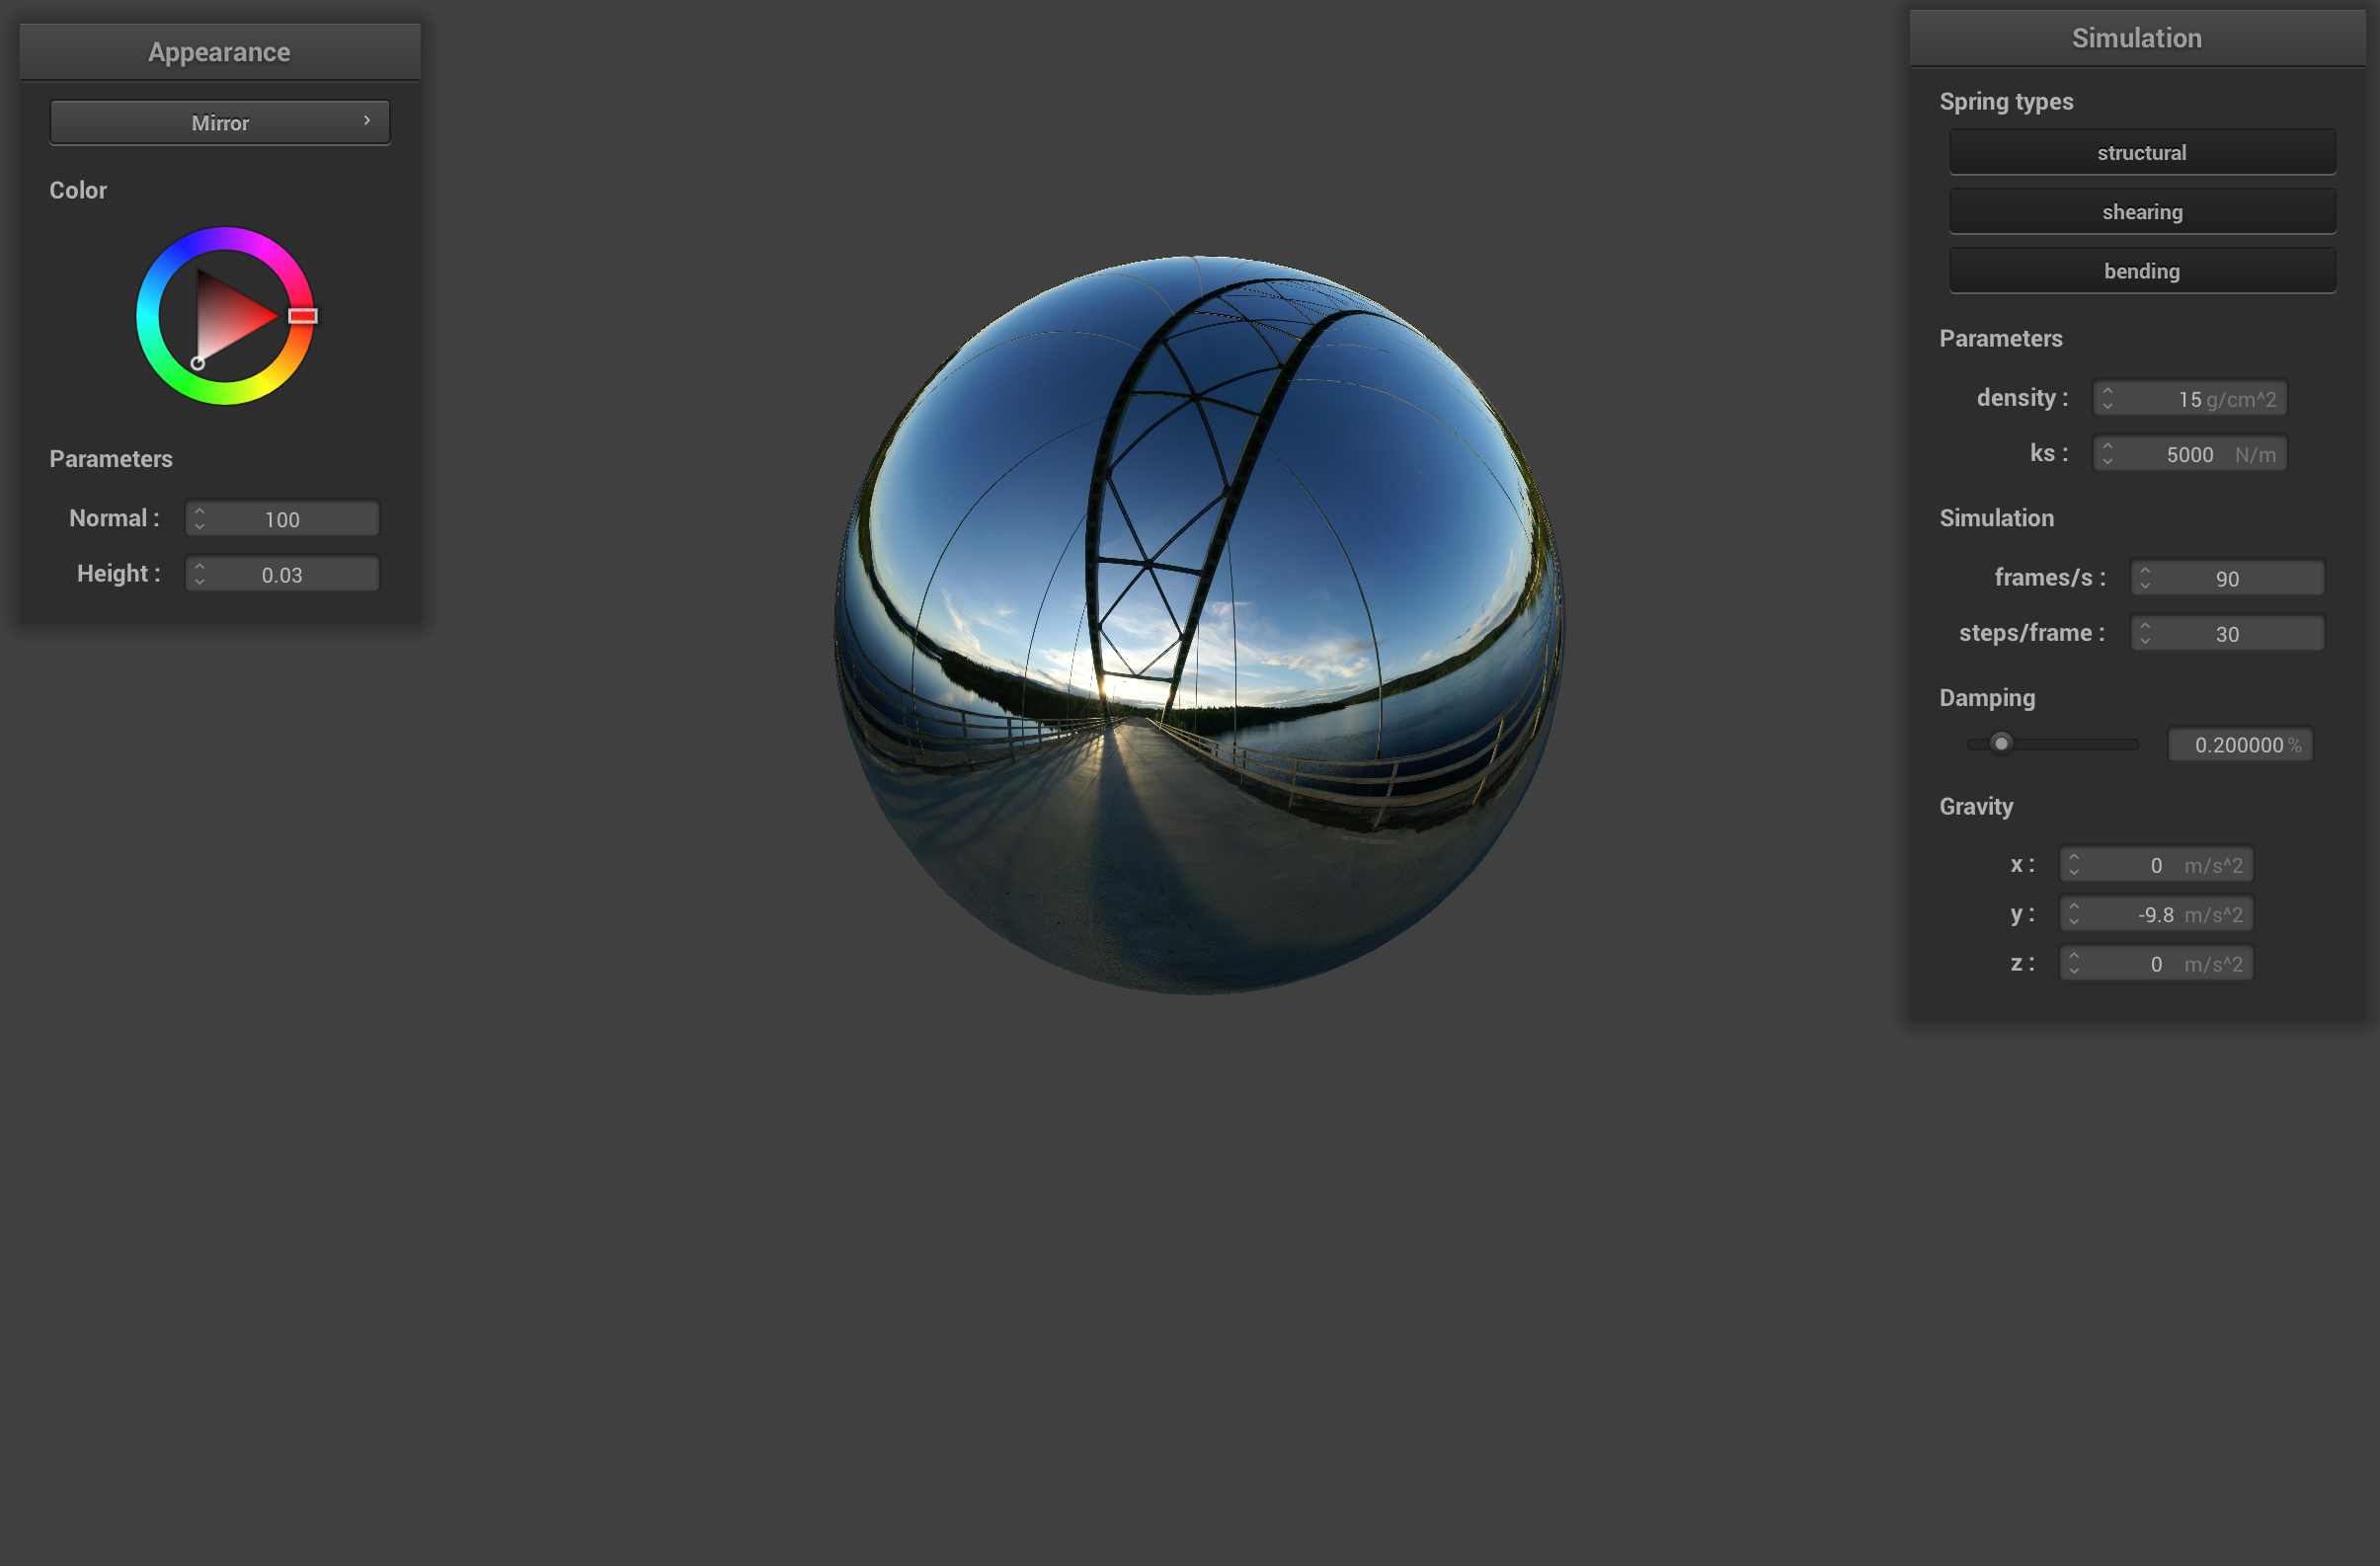
Sphere with mirror shader

