Mesh Editor
UC Berkeley - Summer 2020
Overview
In this project, I implemented multiple algorithms to build and manipulate triangle meshes. Starting with bezier curves and surfaces, I used the de Casteljau algorithm to build the foundation of how to turn control points in the 2D plane into bezier curves. When the algorithm is used in two directions across a grid of n x n points, a bezier surface can be evaluated to build the structure of a mesh. I then used area weighted vertex normals to implement Phong shading, which is a type of shading that works better for smooth surfaces. By weighting the normals of the faces incident to a vertex by their area, the normal of the vertex can be influenced by the size of the faces around it. I then implemented the edge operations edge slip and edge split using the halfedge data structure in preparation for the loop subdivision algorithm. Edge flip and split modify the topography of an existing mesh by rearranging and adding elements to the mesh. Lastly, the loop subdivision algorithm allows for a mesh's triangles to be 4-1 subdivided so that the mesh becomes smoother and regularized. I used edge split and flip operations and position formulas in order to upsample the mesh and move vertices such that the mesh looks more regularized. My program can visualize triangle meshes and upsample them to make them look smoother!
Section I: Bezier Curves and Surfaces
Part 1: Bezier curves with 1D de Casteljau subdivision
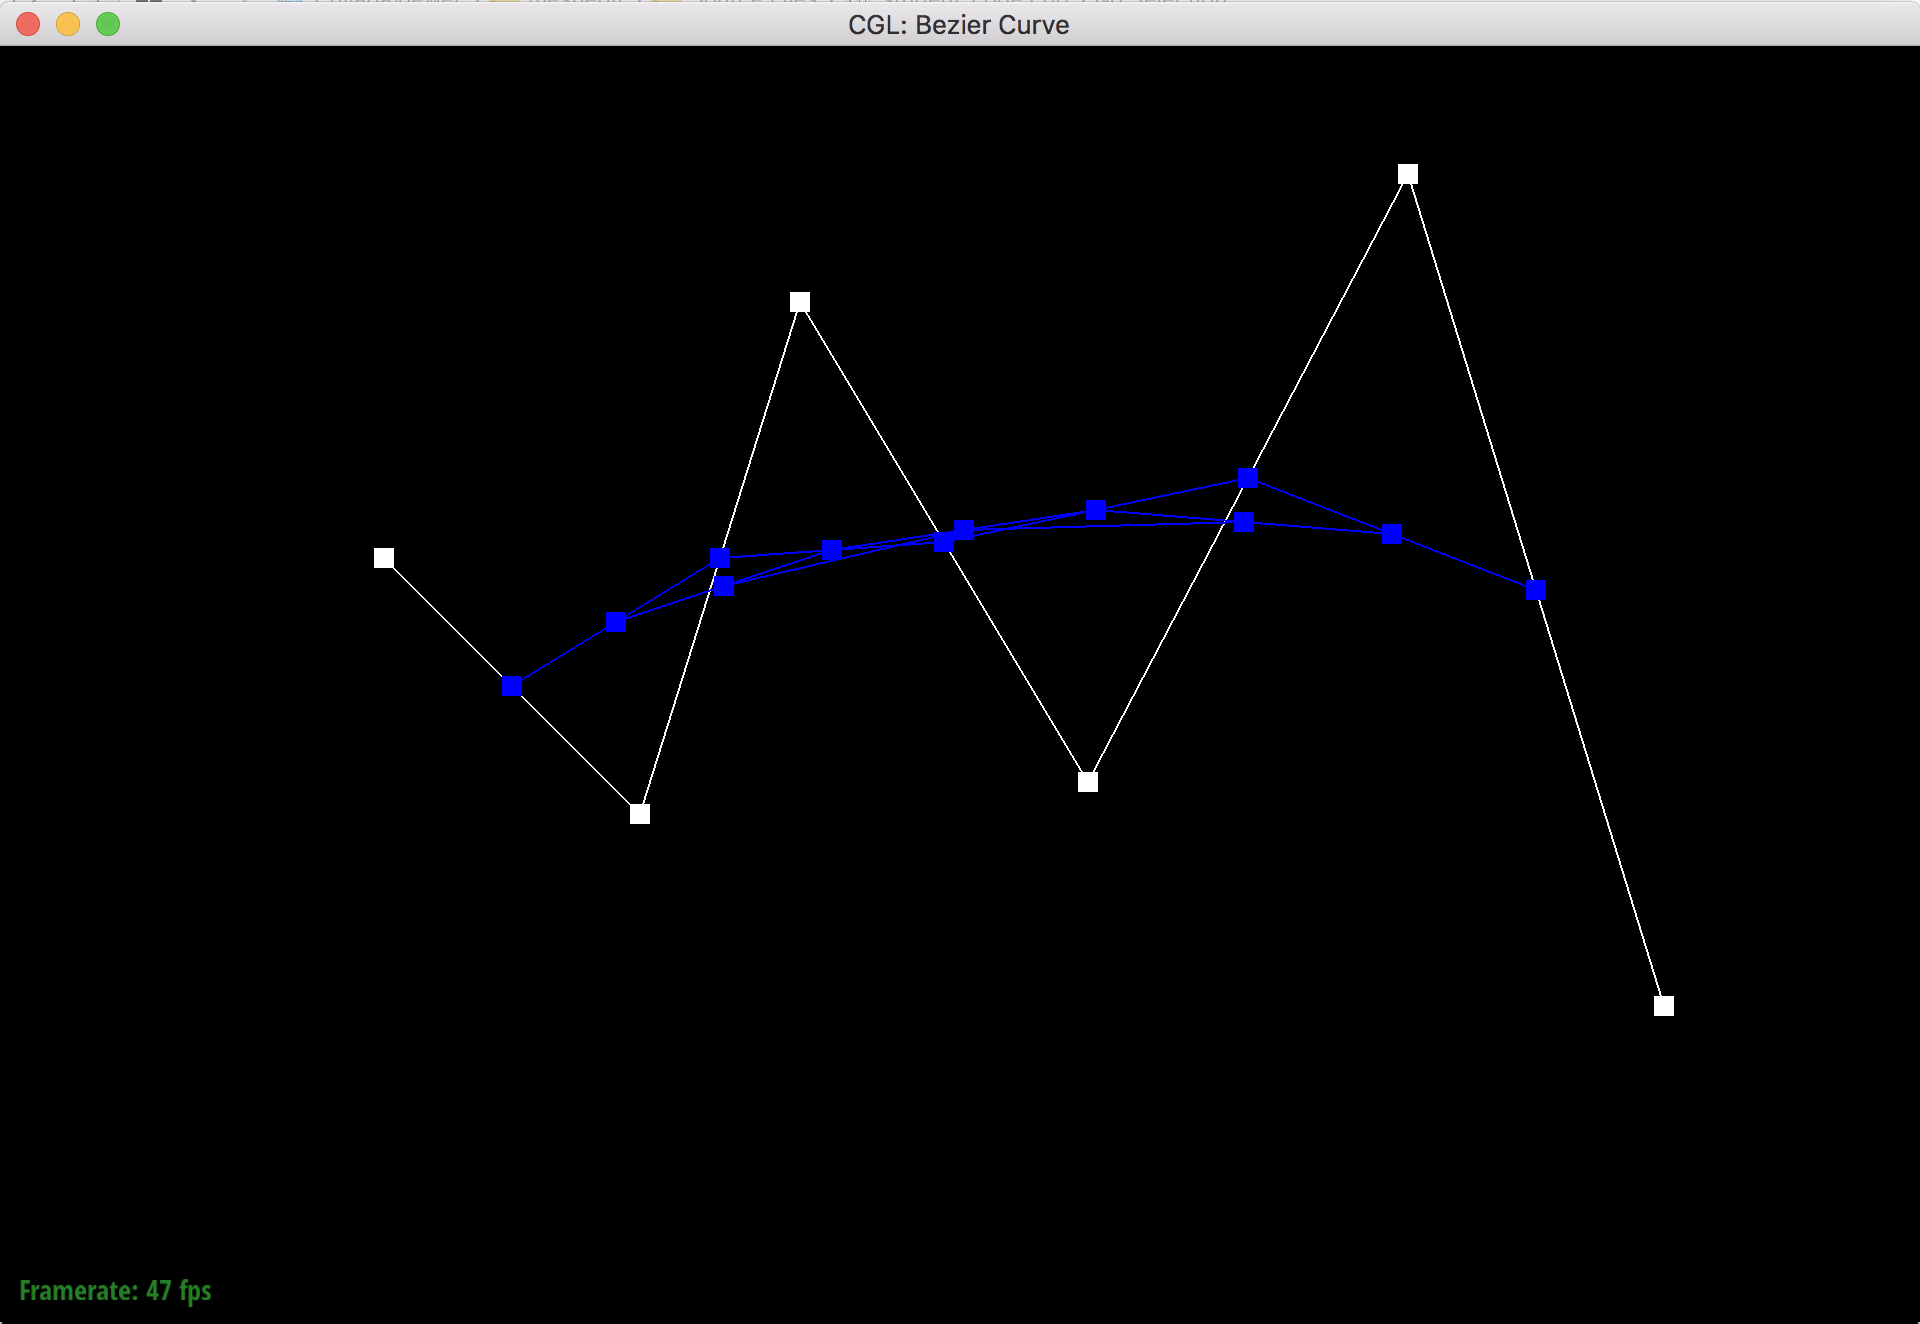
De Casteljau's algorithm is a recursive algorithm that evaluates bezier curves. The algorithm starts with a set of n + 1 control points, and then goes iteratively pairwise through the lines that connect these points to split the lines up into length t and (1 - t) sections using linear interpolation. The points where the lines are split are saved in a new list, and the algorithm will repeat the pairwise interpolation process on the new list. This process repeats n times until only one line is left and it's split into 2 parts of length t and (1 - t). The point where the line is split (the final point) is a point on the degree n bezier curve that the original control points defined.
I implemented de Casteljau's algorithm by using a function that takes in a set of control points and iterates through the points in a for loop to perform the interpolation process. The for loop saves the new points in a vector and then returns the vector so that the function can be called again for the next level of evaluation.
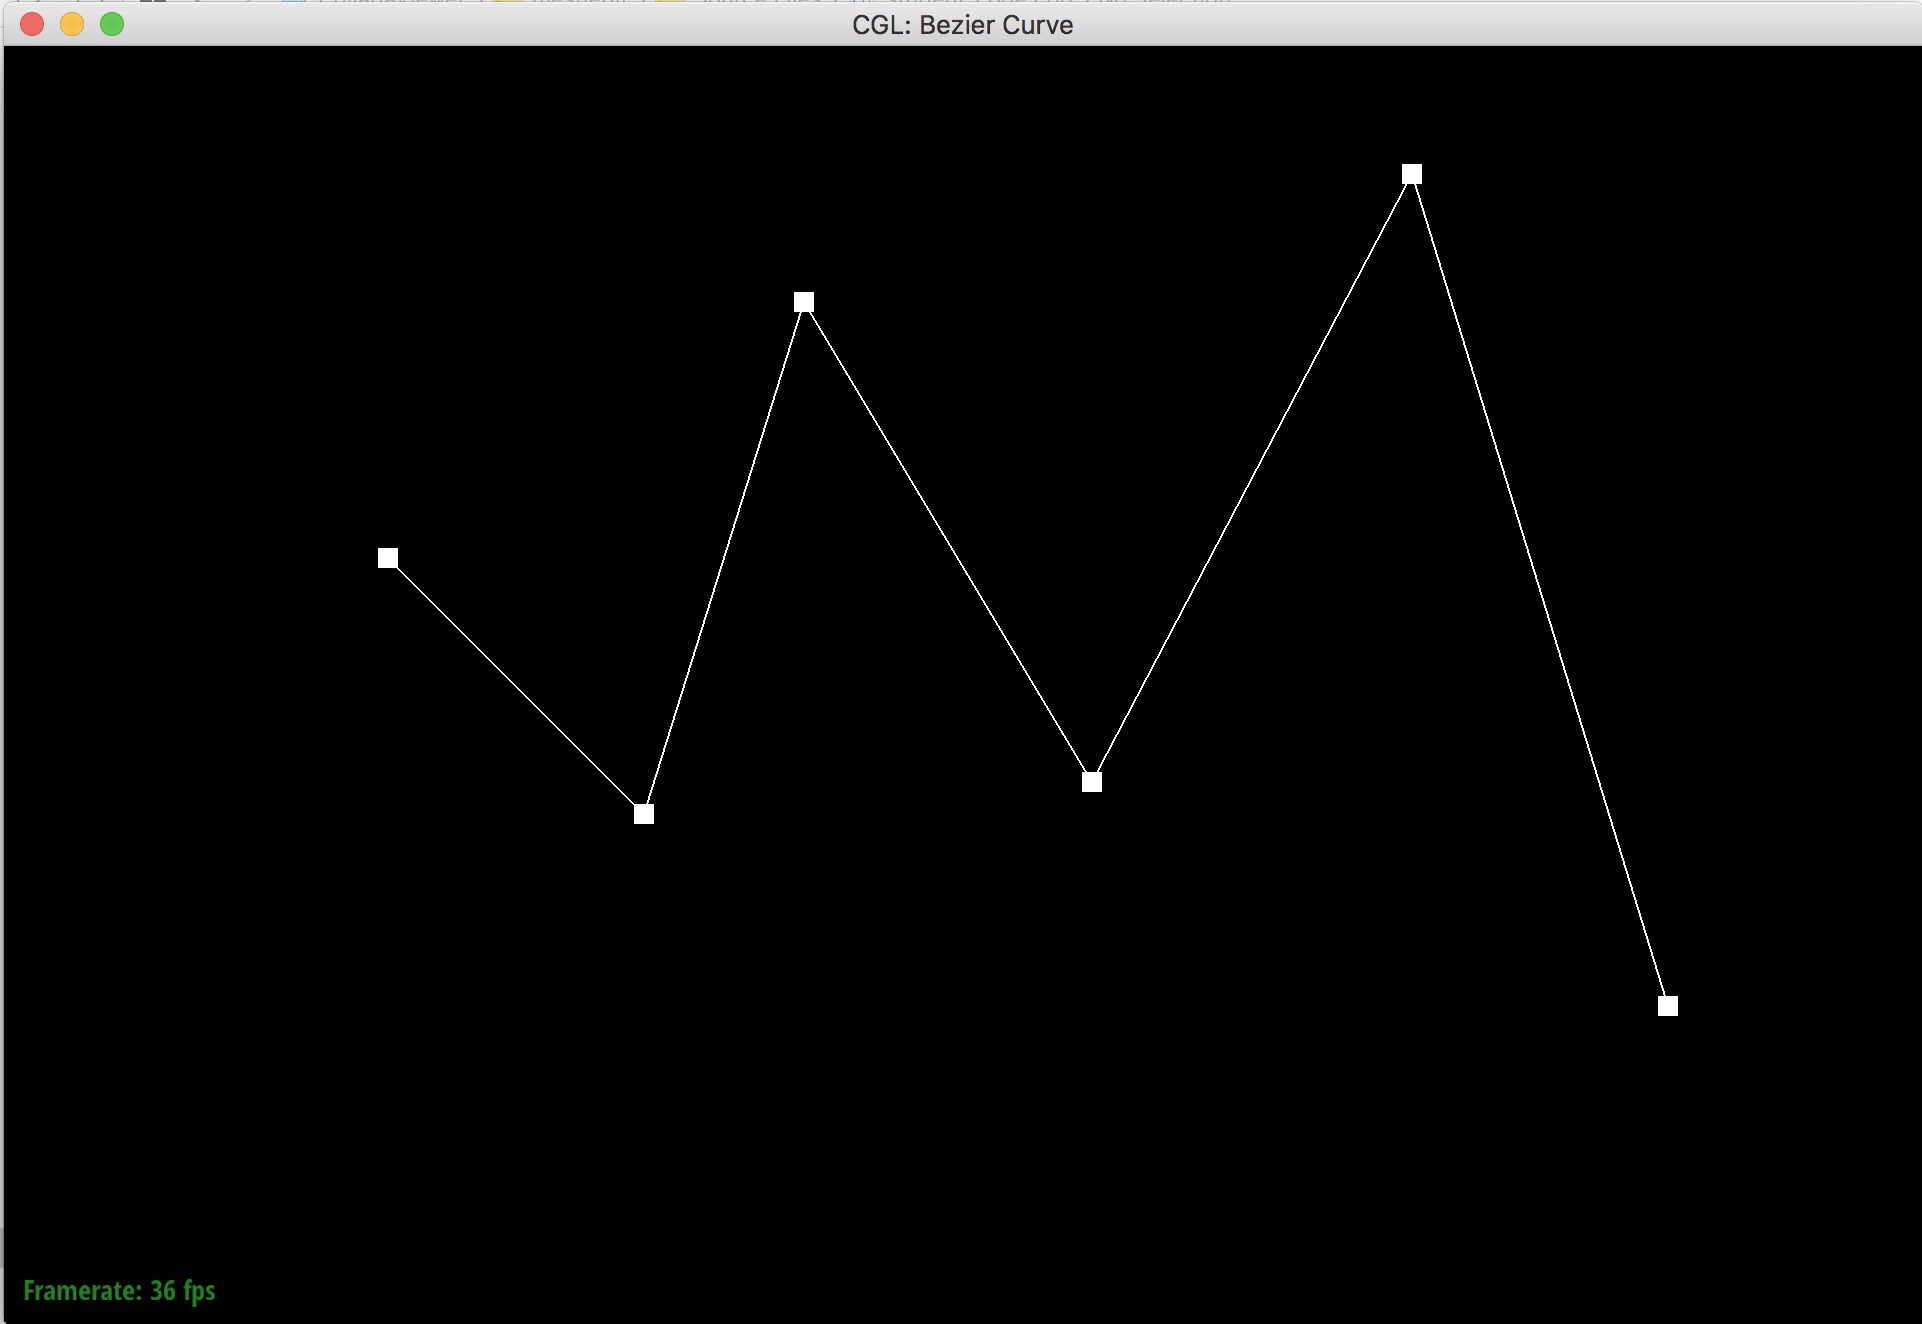
Original control points.
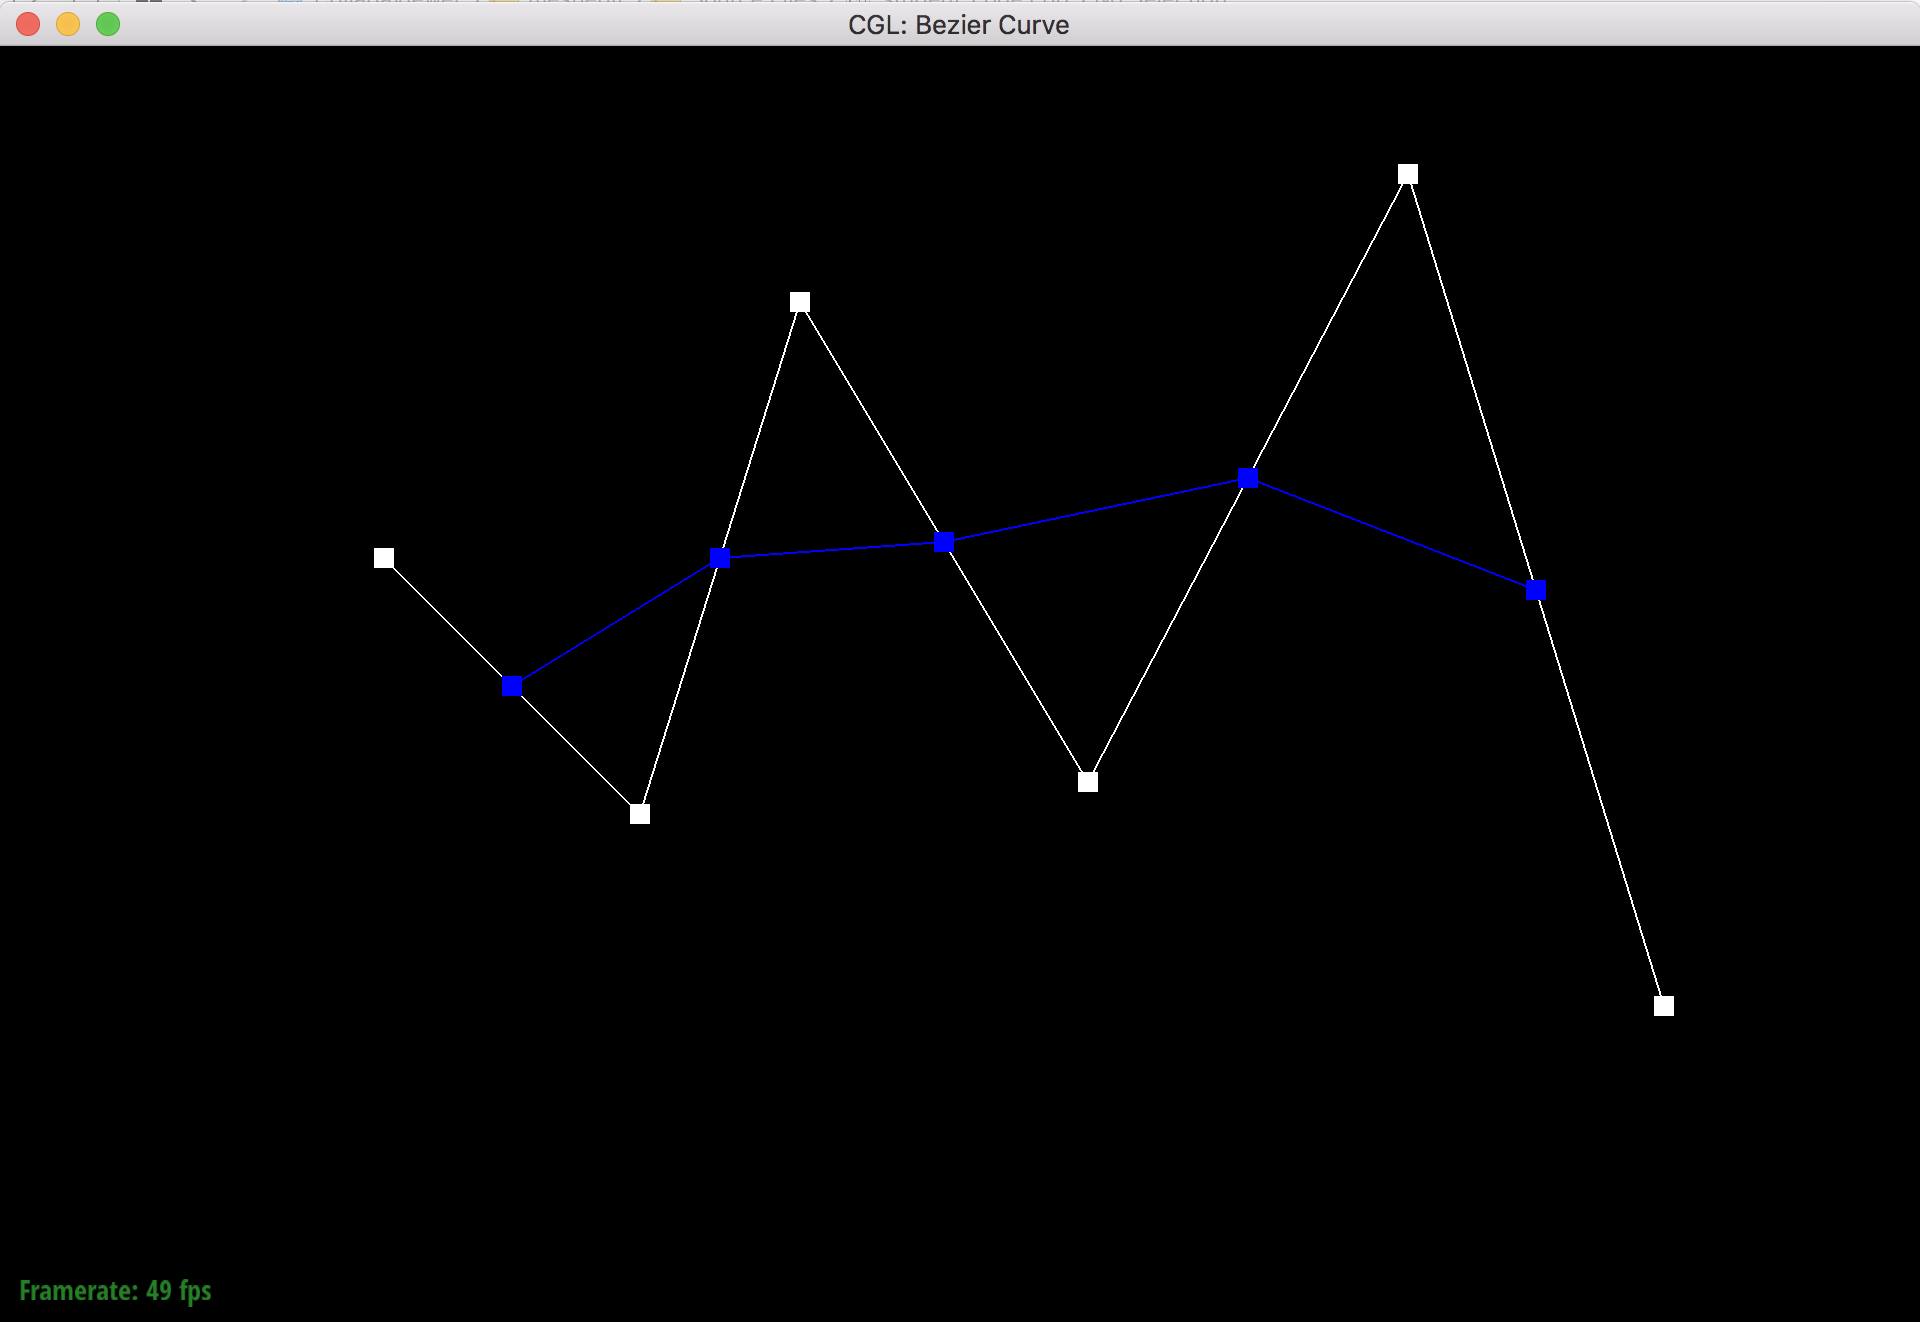
Step 1
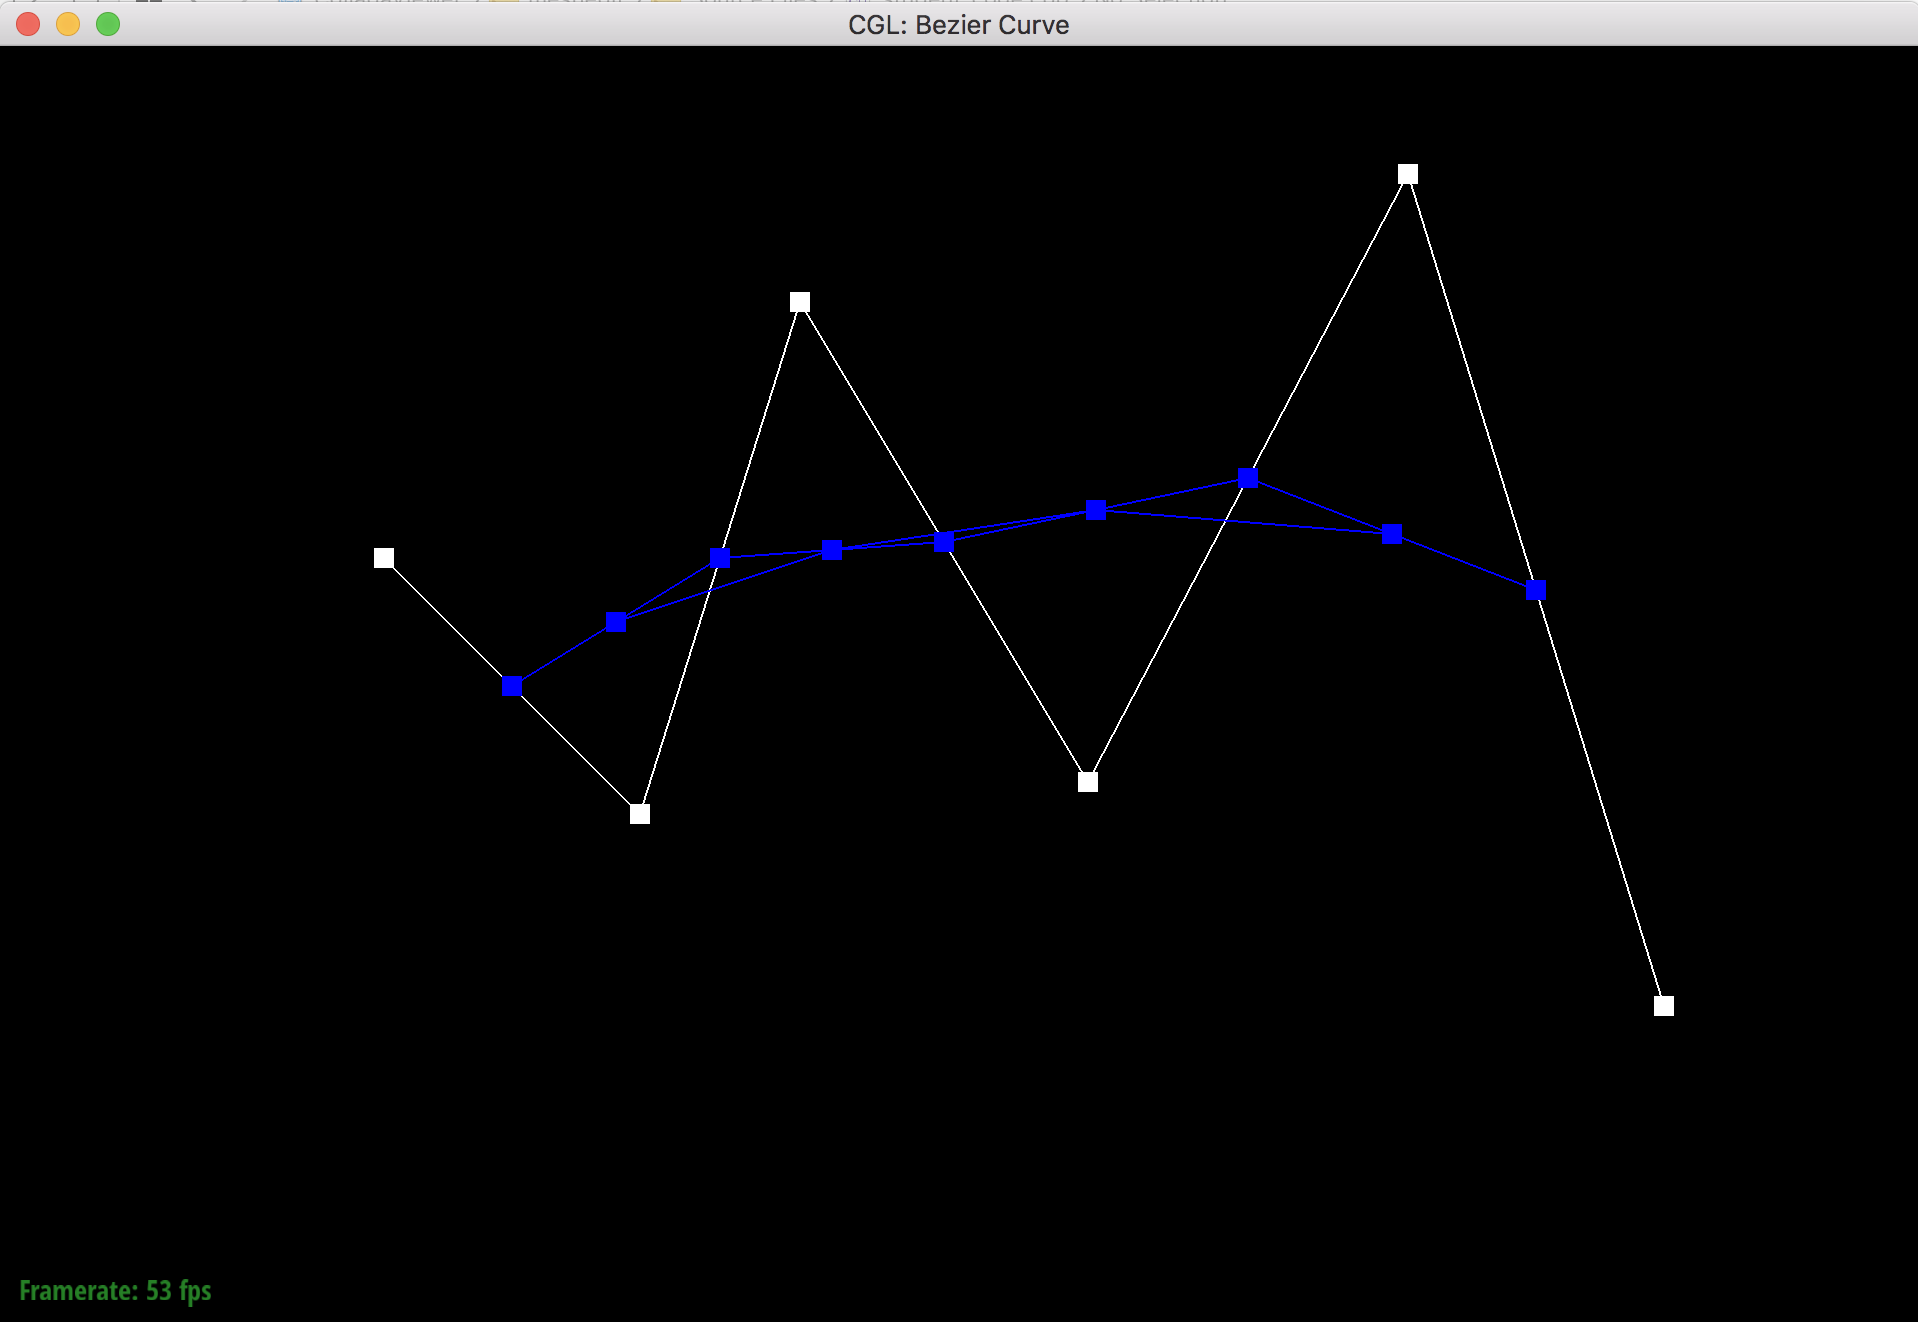
Step 2
Step 3

Step 4
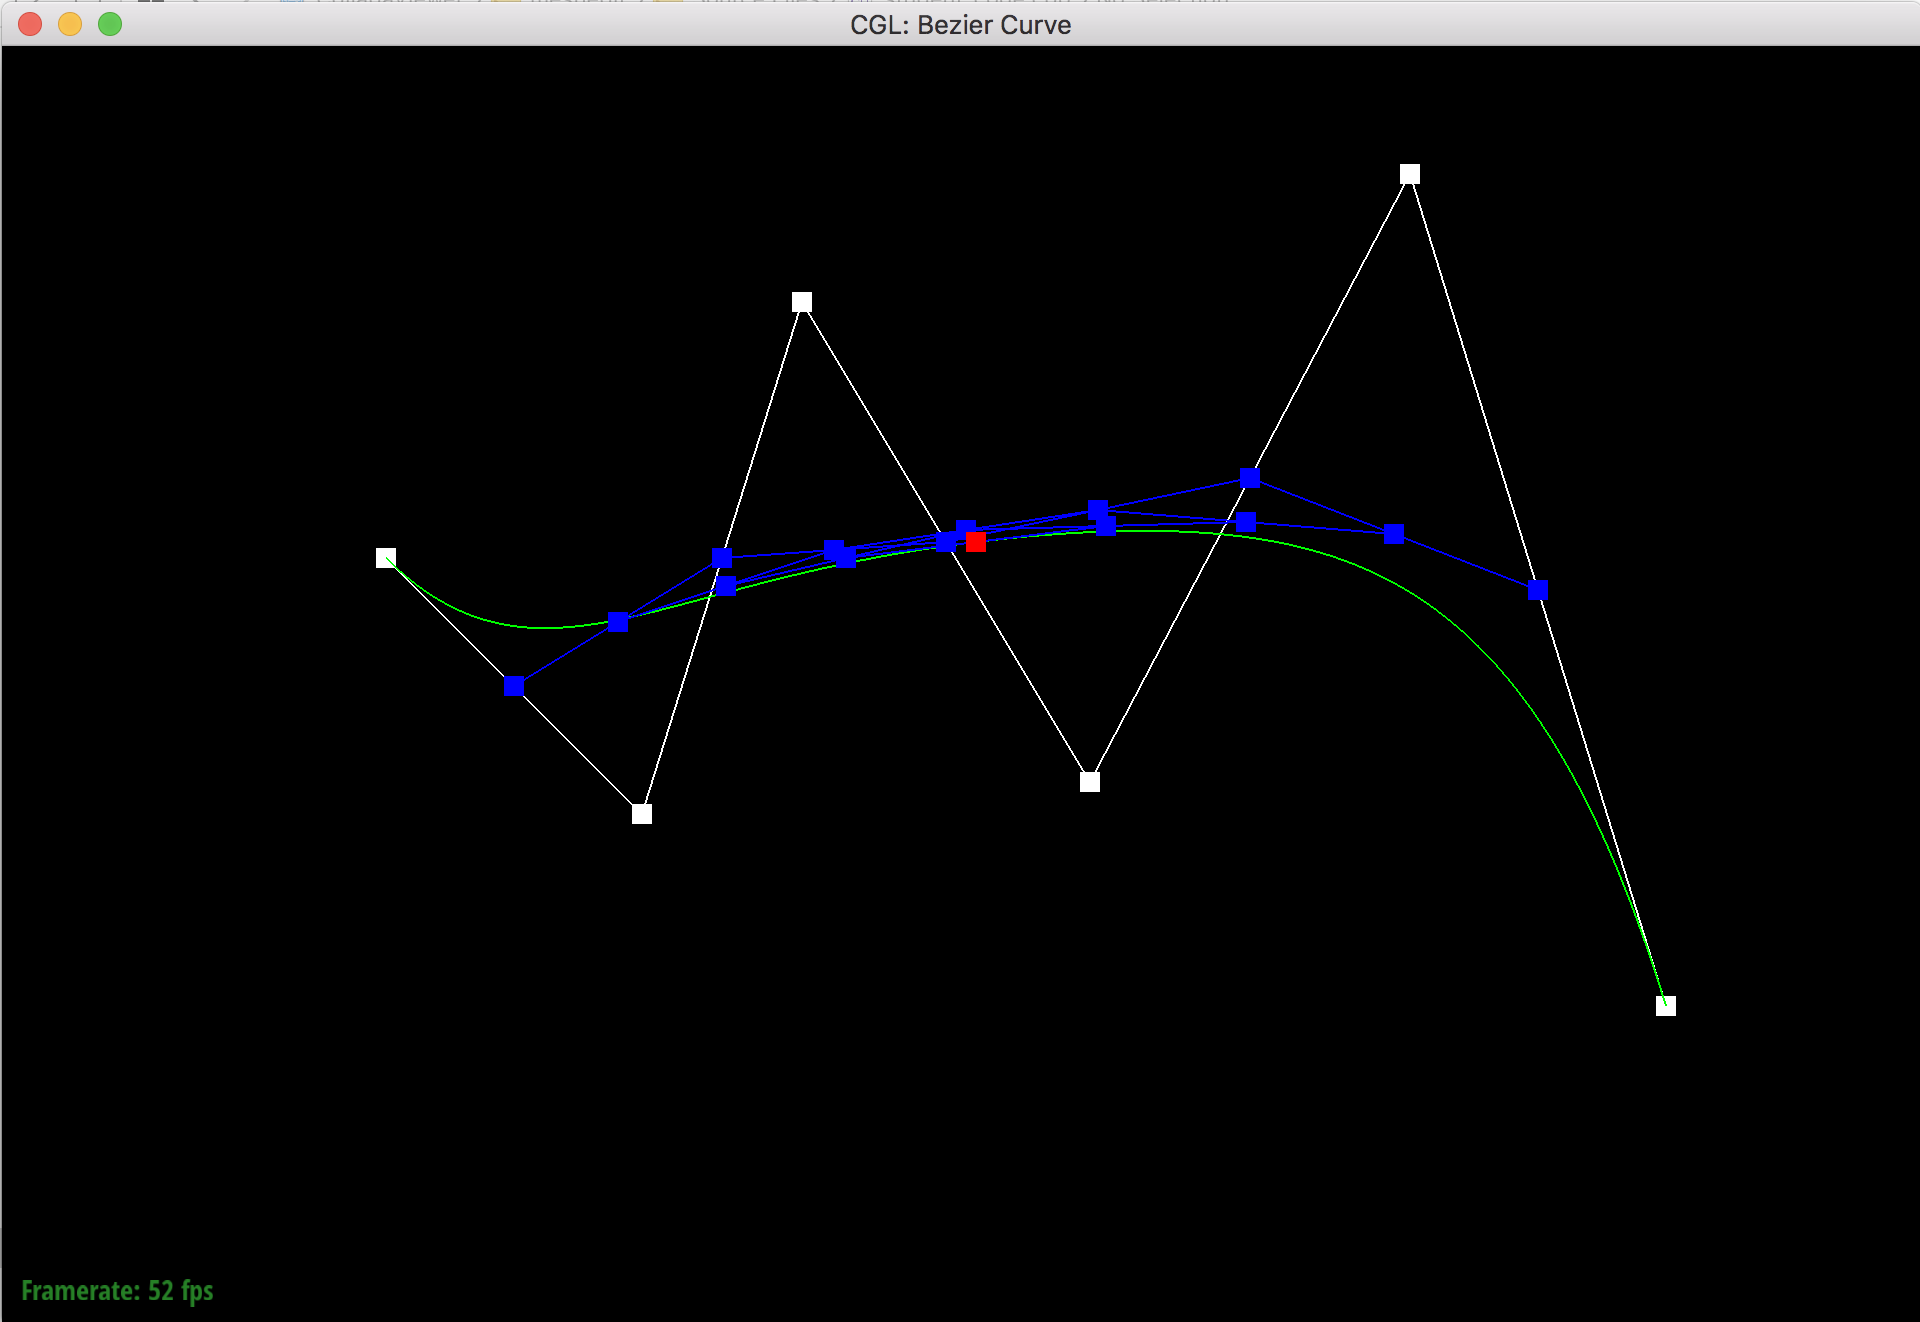
Step 5
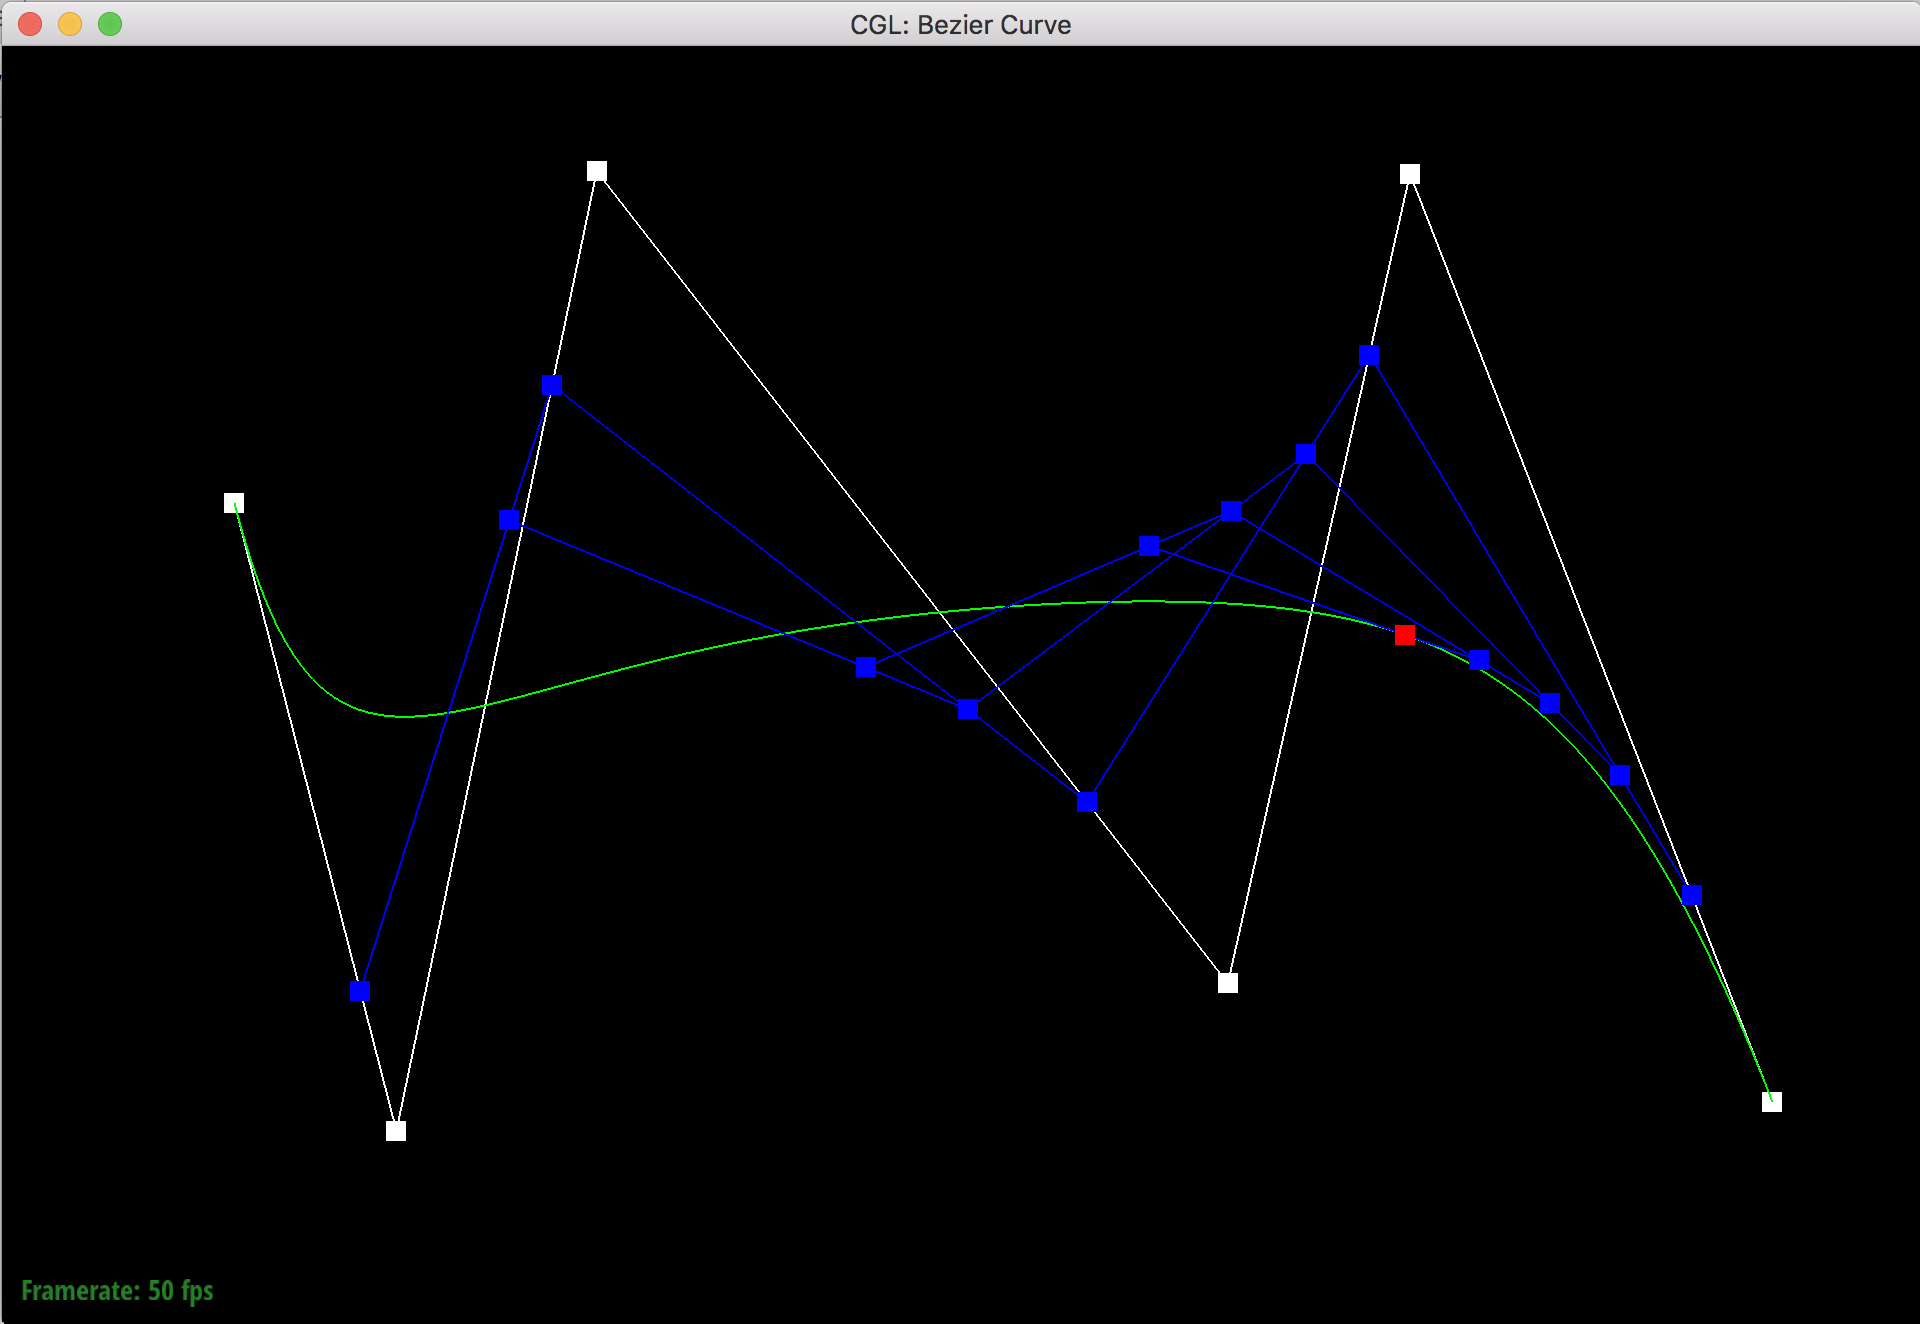
Adjusted control points and different t value.
Part 2: Bezier surfaces with separable 1D de Casteljau subdivision
The de Casteljau algorithm extends to surfaces by evaluating the bezier curves of a n x n 2D vector of control points with parameters (u, v) by first using the 1D de Casteljau algorithm for all of the n x 1 rows and parameter u, and then evaluating again on the bezier points that are returned from each row using parameter v. Basically, de Casteljau evaluation is used in one direction to get one point from each row's bezier curve evaluation, and then a final de Casteljau evaluation is done in the "column direction" using the points from the rows. The final evaluation in the other direction is what creates the bezier surface.
I implemented bezier surfaces by first implementing a function that runs one level of the 1D de Casteljau algorithm using a for loop, linear interpolation on the lines of pairwise control points, and a parameter t. I then used this function to build a function that runs the complete 1D de Casteljau algorithm by recursively evaluating one level of control points, and then re-running the linear interpolation on the new points until a single point is returned that is on the bezier curve. I then ran this algorithm on all of the rows of a n x n 2D vector of points with parameter u, and then used the resulting points to evaluate the bezier curve in the other direction using parameter v to get a surface.
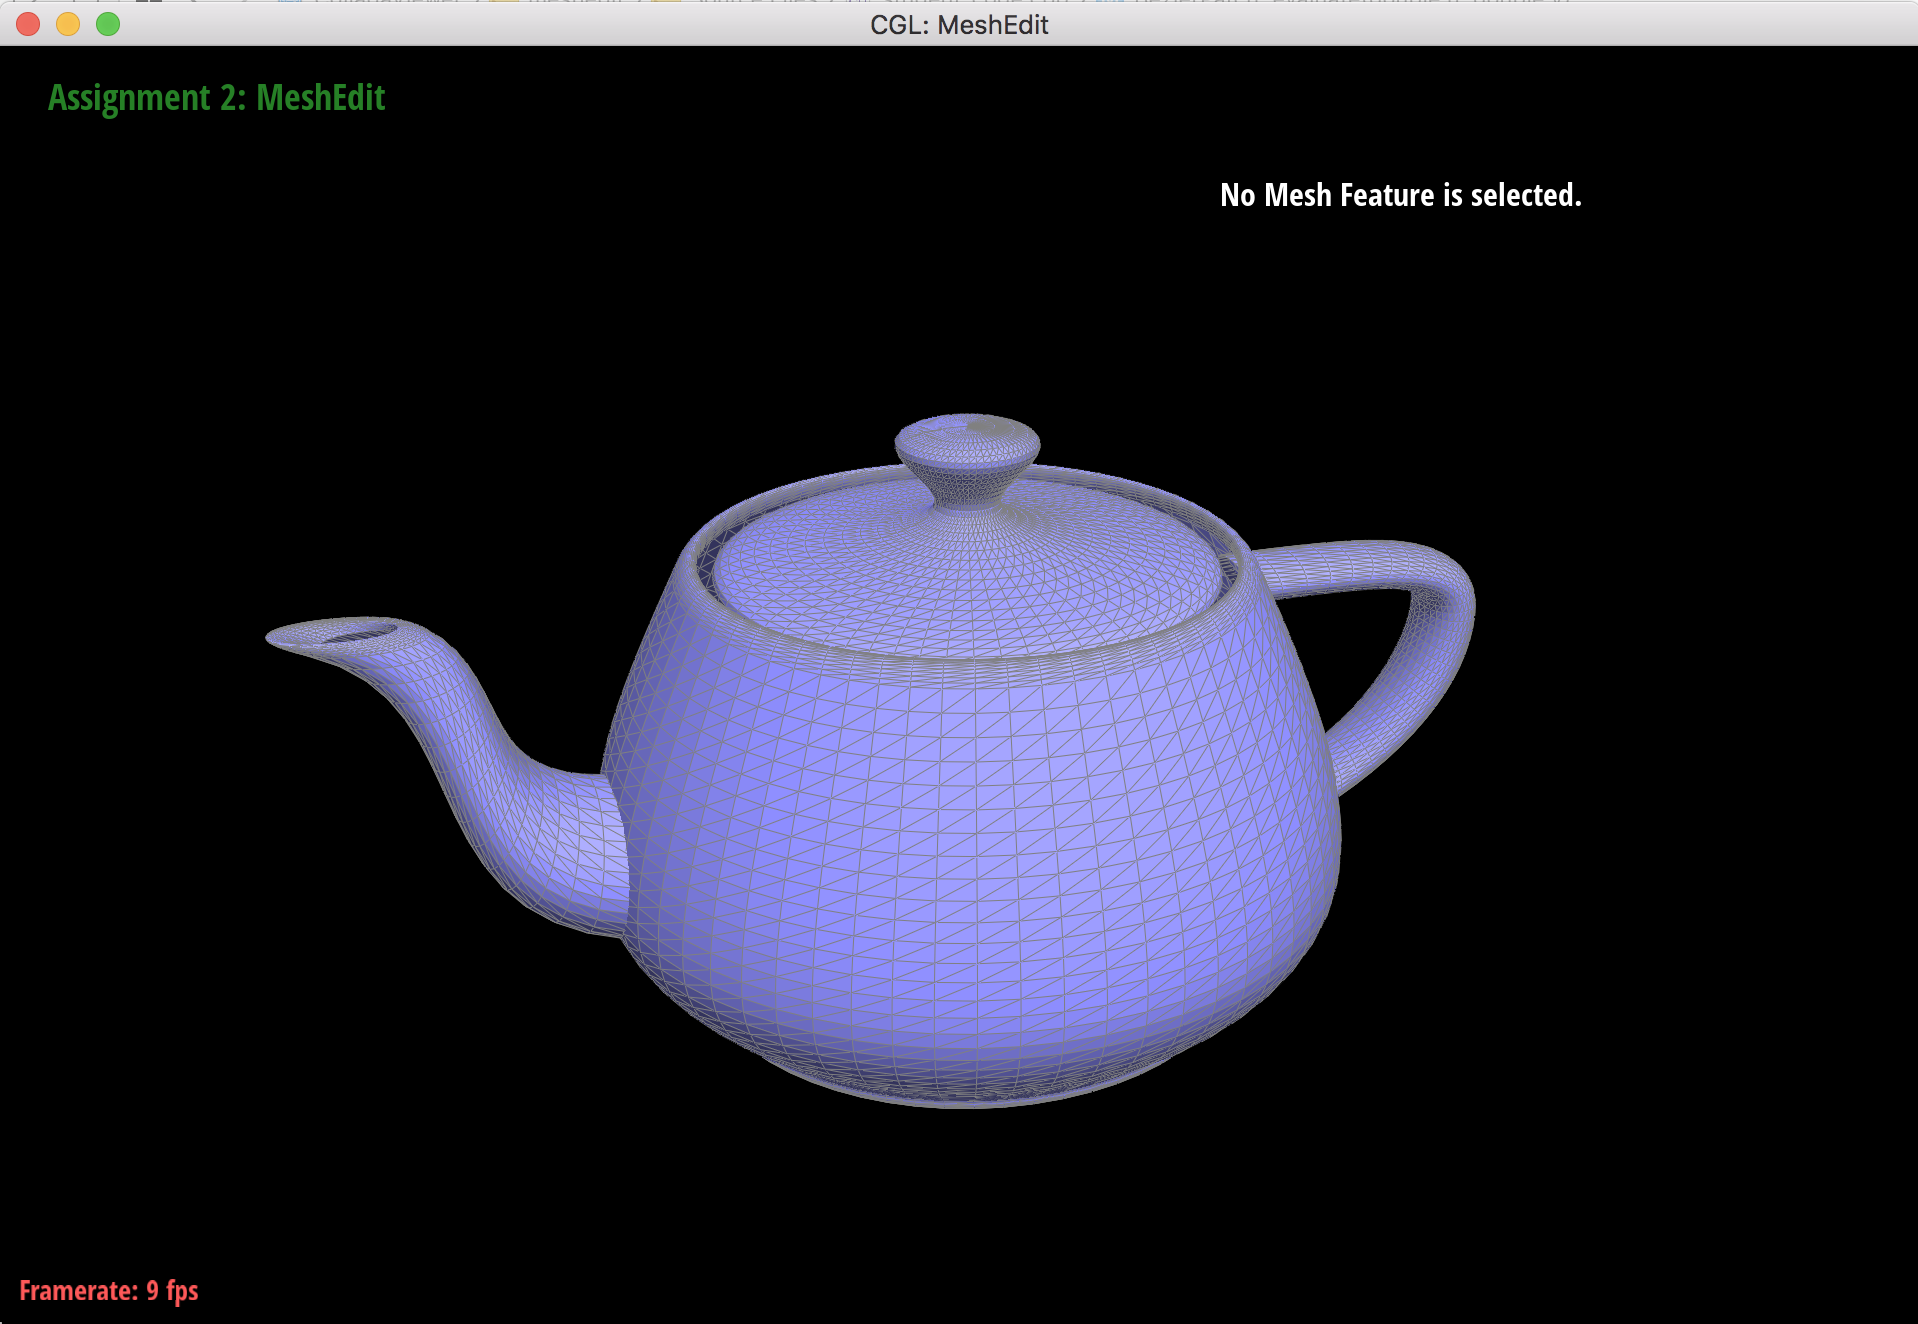
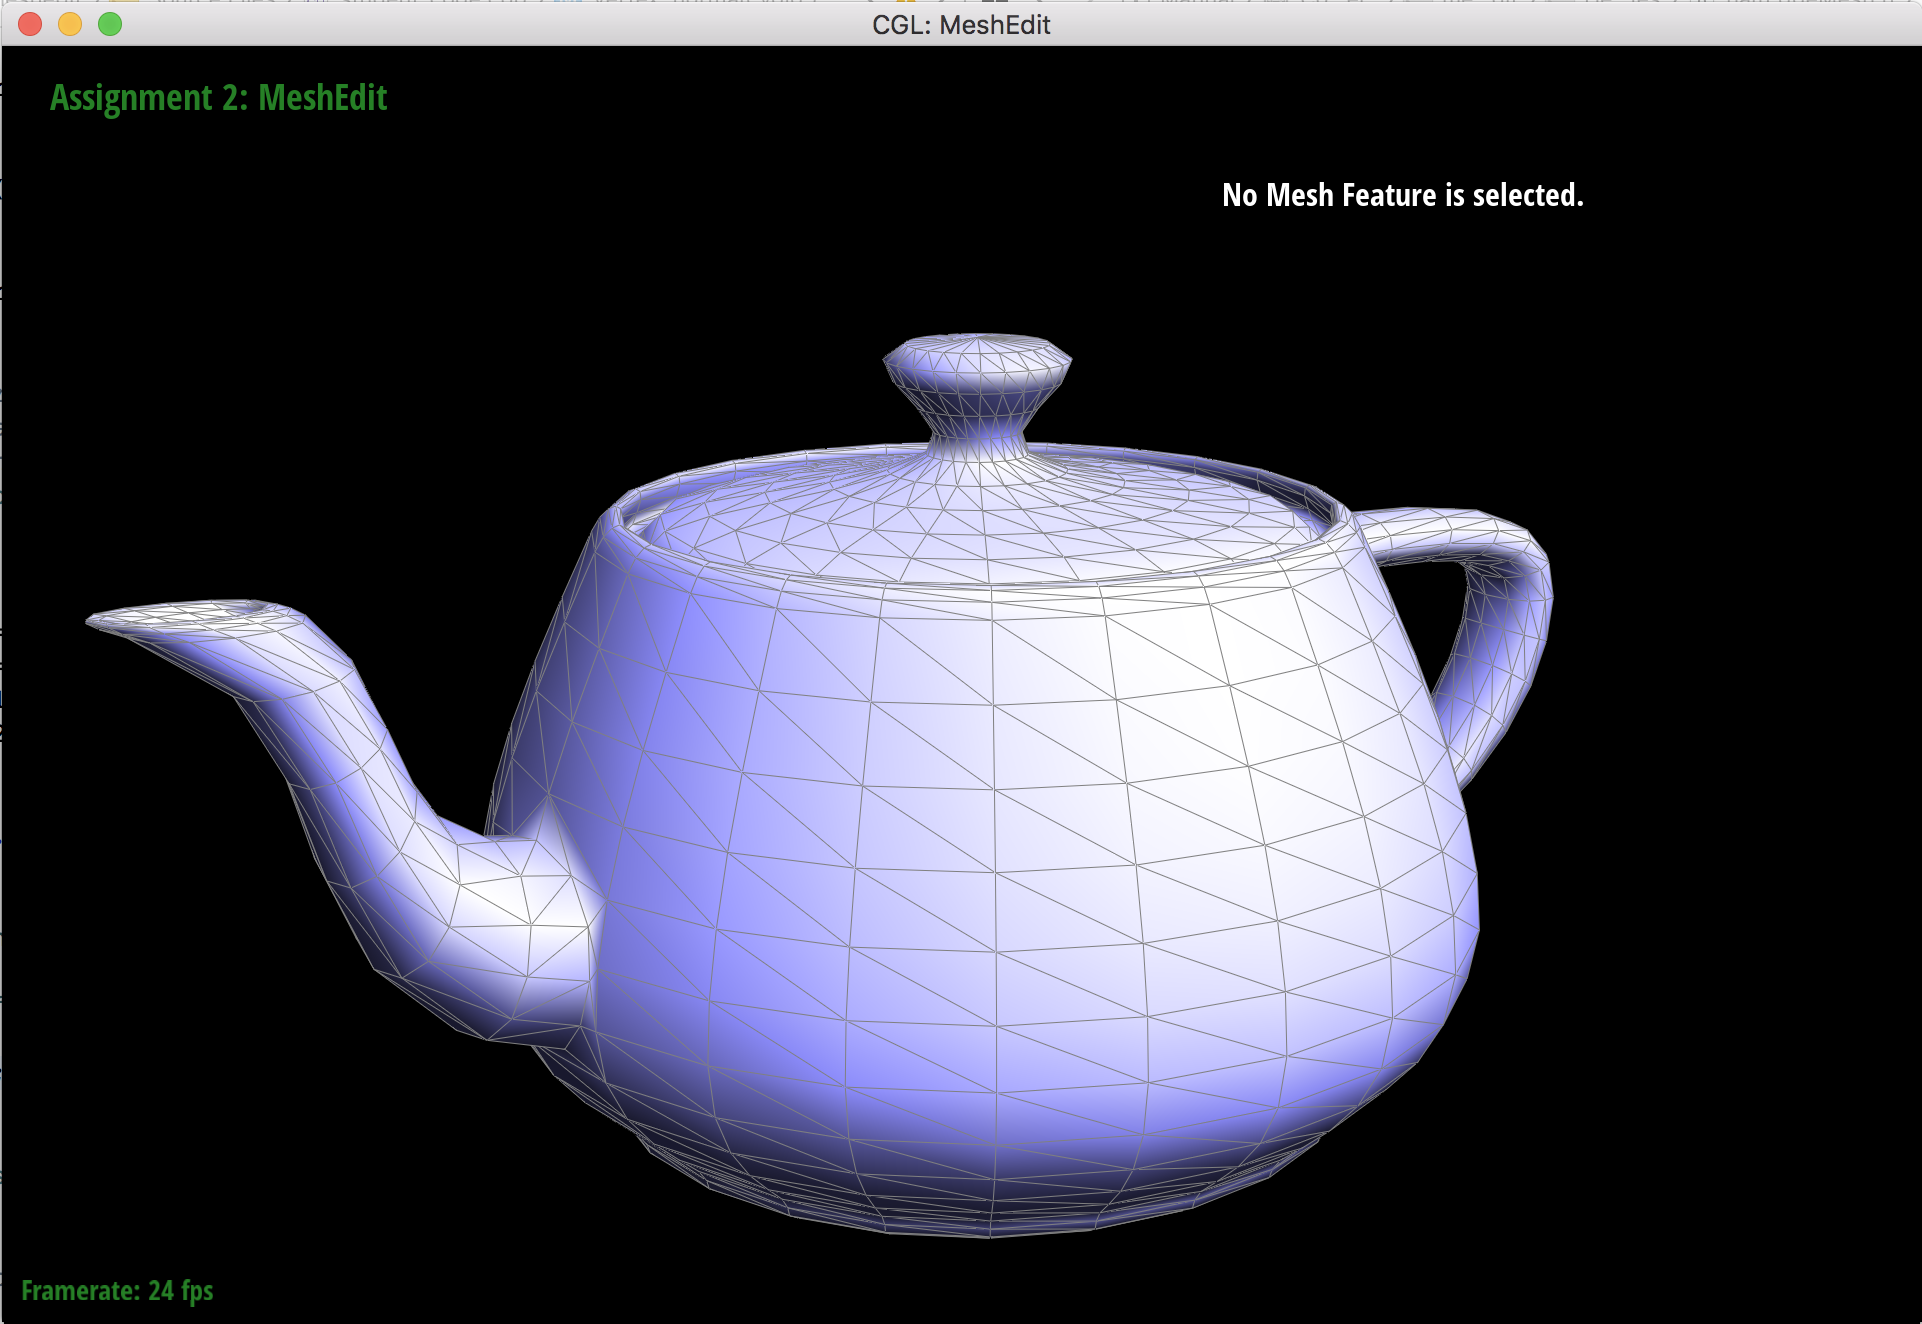
Teapot with wireframe after bezier surface evaluation.
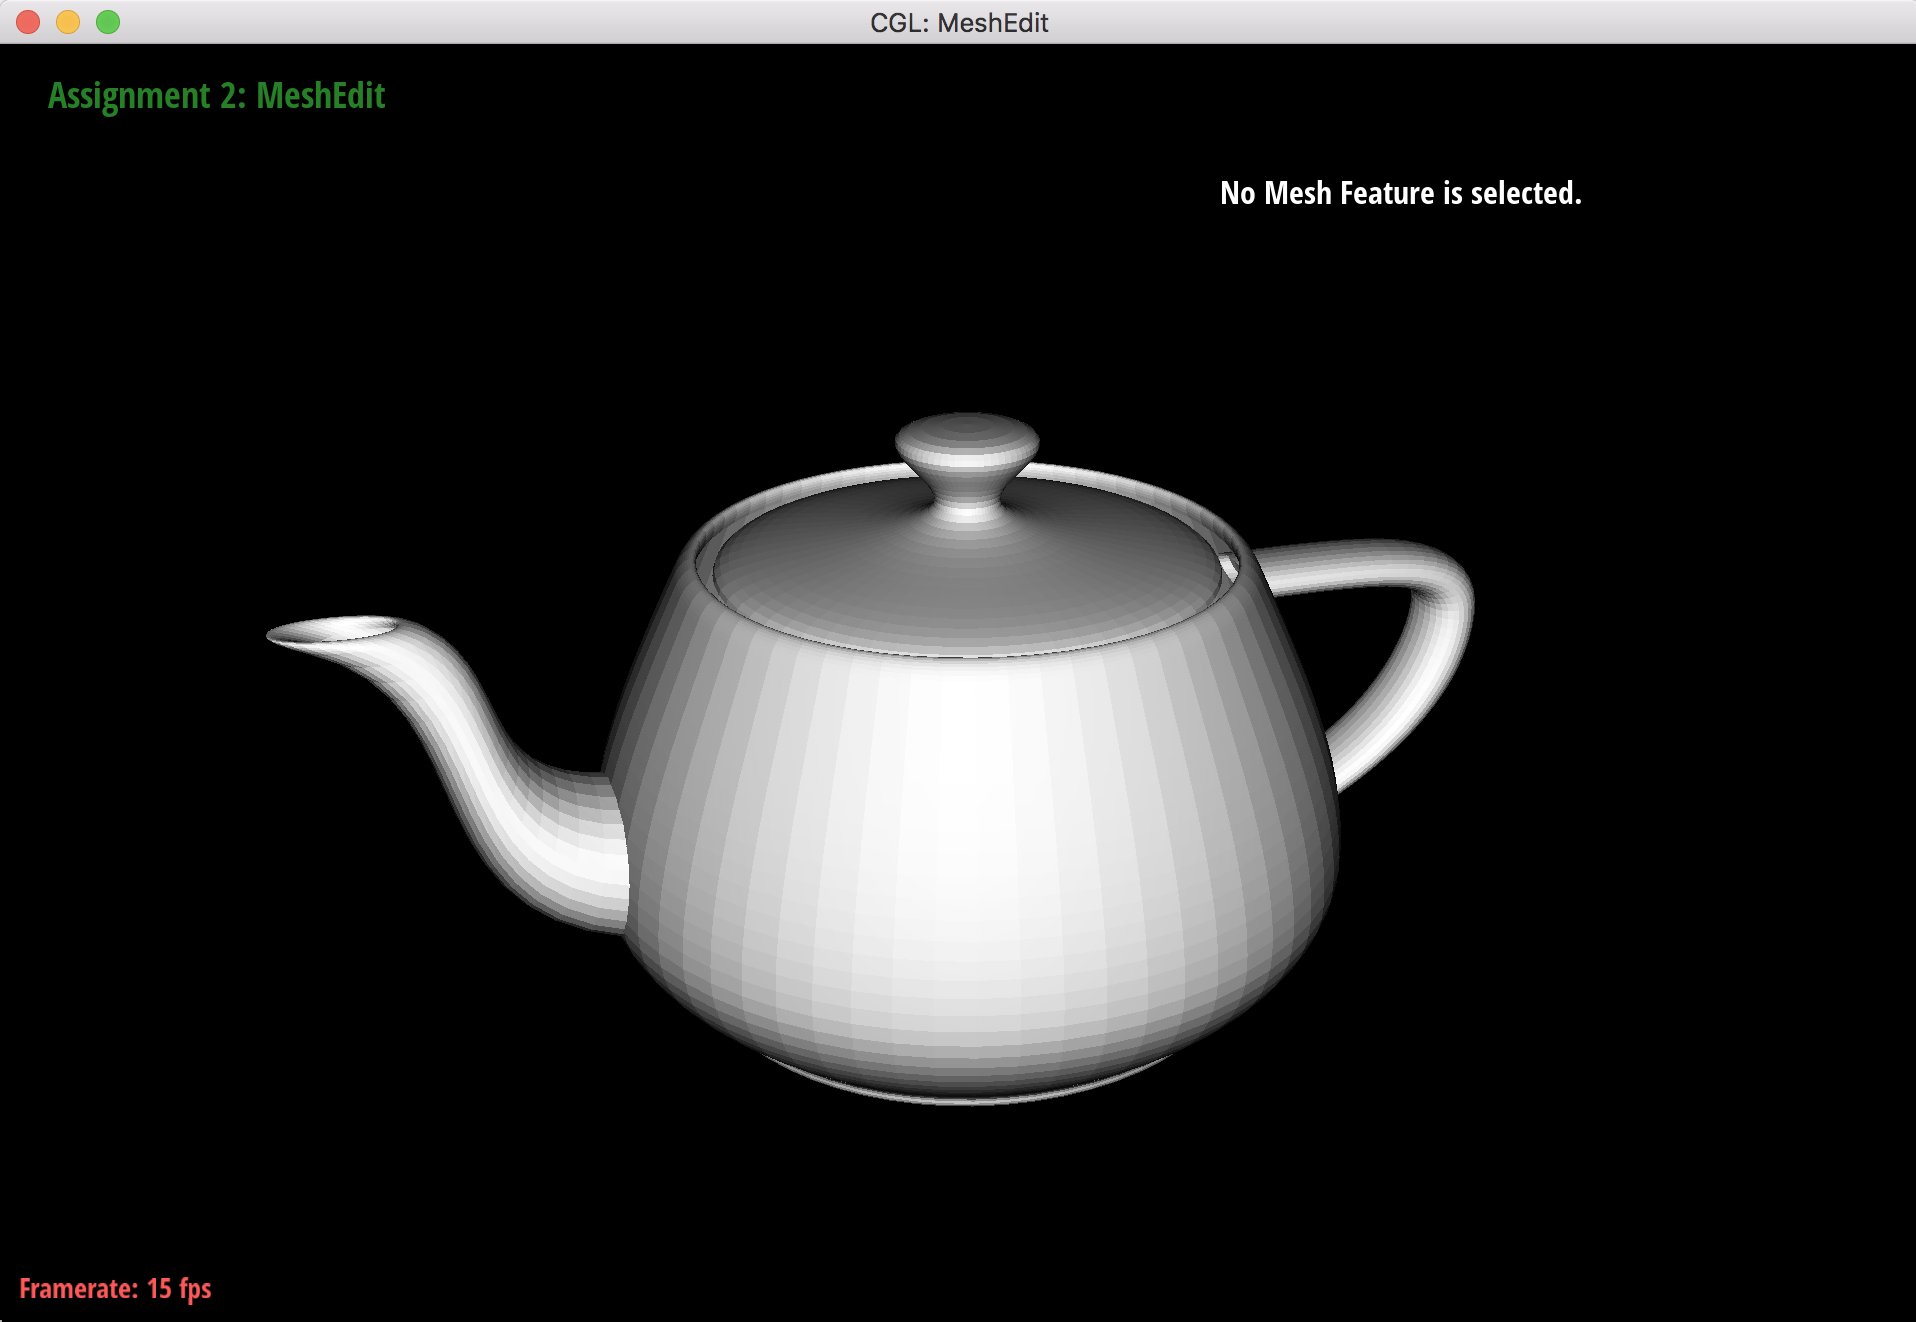
Teapot without wireframe after bezier surface evaluation.
Section II: Triangle Meshes and Half-Edge Data Structure
Part 3: Area-weighted vertex normals
I implemented area-weighted vertex normals by first calculating the normals of all the faces incident to the given vertex which I'll call vertex a. Starting with the halfedge associated with the vertex a, I got b = halfedge->next()->vertex() and c = halfedge->next()->next()->vertex() to get the other vertices of the face associated with the halfedge. I calculated the normal of the face using the cross product of the vectors (b - a) and (c - a). I then multiplied the normal by the area of the face, which is 0.5 * the magnitude of the normal of the face (since the face is a triangle). I repeated this for all of the faces incident to the given vertex by traversing all edges around the vertex using halfedge->twin()->next(). Lastly, I summed up all of the area-weighted normals, and returned the normalized unit vector of the sum.

Teapot shading without vertex normals (flat shading).
Teapot shading with vertex normals (Phong shading).
Part 4: Edge flip
To implement edge flip, I first checked the 2 faces on either side of the input edge to check if they're boundaries. If they aren't, I collected pointers to all of the halfedges, edges, vertices, and faces that are connected to the edge that needs to be flipped. I totaled 10 halfedges, 5 edges, 4 vertices, and 2 faces. I then reassigned all of the Iter pointers of the various mesh elements I had collected so that the input edge had flipped directions. The halfedges all needed to be updated using setNeighbor to have combinations of new vertices, edges, and/or next and twins, and I reset the halfedge pointers of vertices, edges, and faces to be sure that they point to valid, corresponding halfedges.
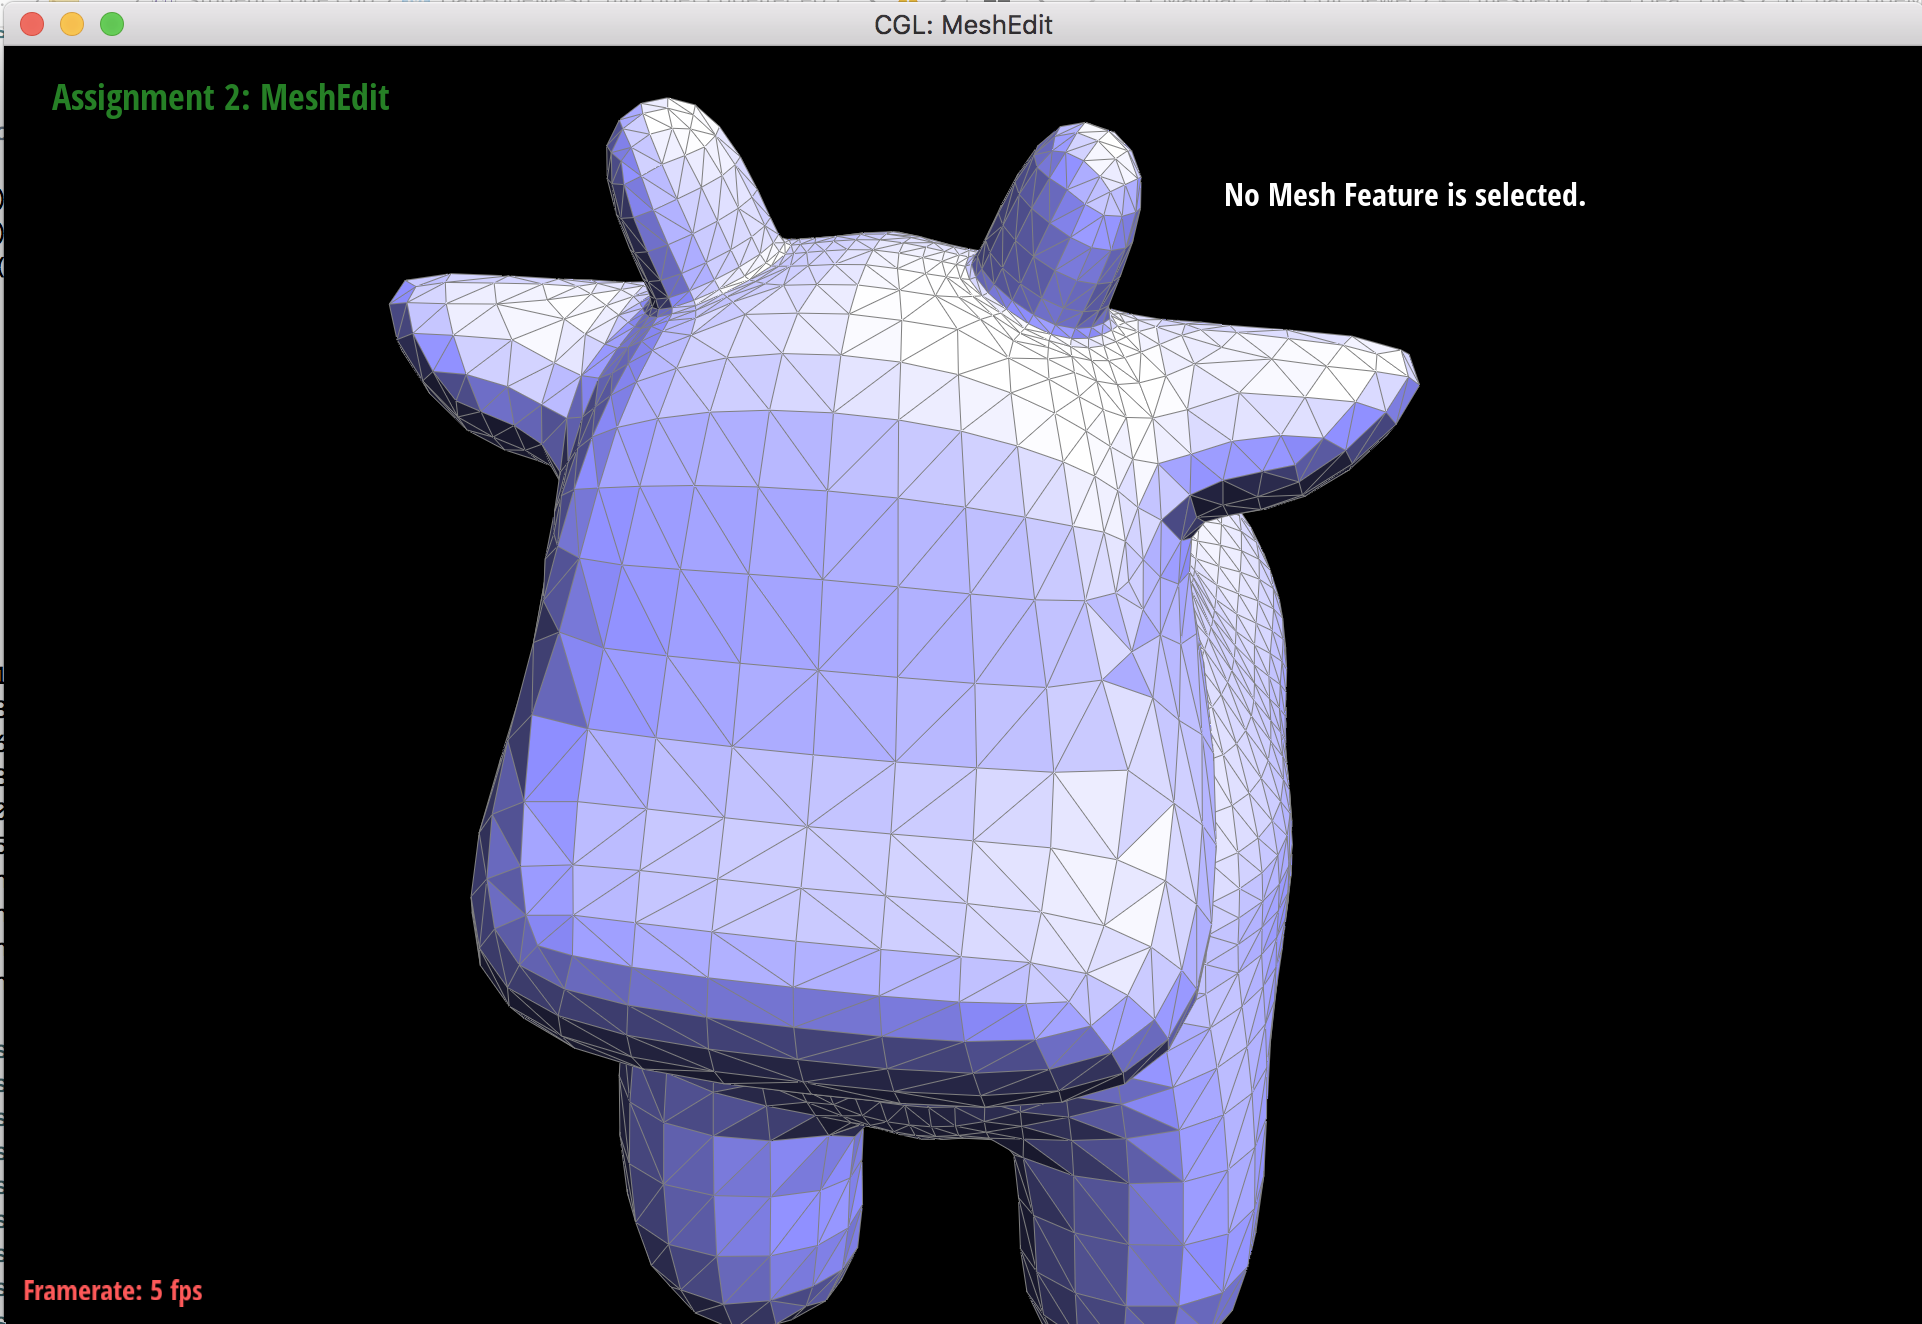
Cow before edge flips.

Cow after edge flips.
Part 5: Edge split
I implemented edge split by collecting pointers to mesh elements, creating new mesh elements for the split, computing the position of the new vertex, and reassigning pointers. After checking to make sure the input edge isn't on a boundary, I first collected pointers to the 10 halfedges, 5 edges, 4 vertices, and 2 faces that are associated to the edge that will be split. I then created the new vertex m and computed its position by computing the midpoint between the vertices at the endpoints of the input edge. I then created the new mesh elements that included 6 halfedges, 3 edges, and 2 faces. Lastly, I reassigned the pointers for all of the halfedges' values using setNeighbors, and then set the halfedge pointers of the vertices, faces, and edges to point to their new values. My implementation followed the same structure as edge flip, except this time I added new mesh elements.
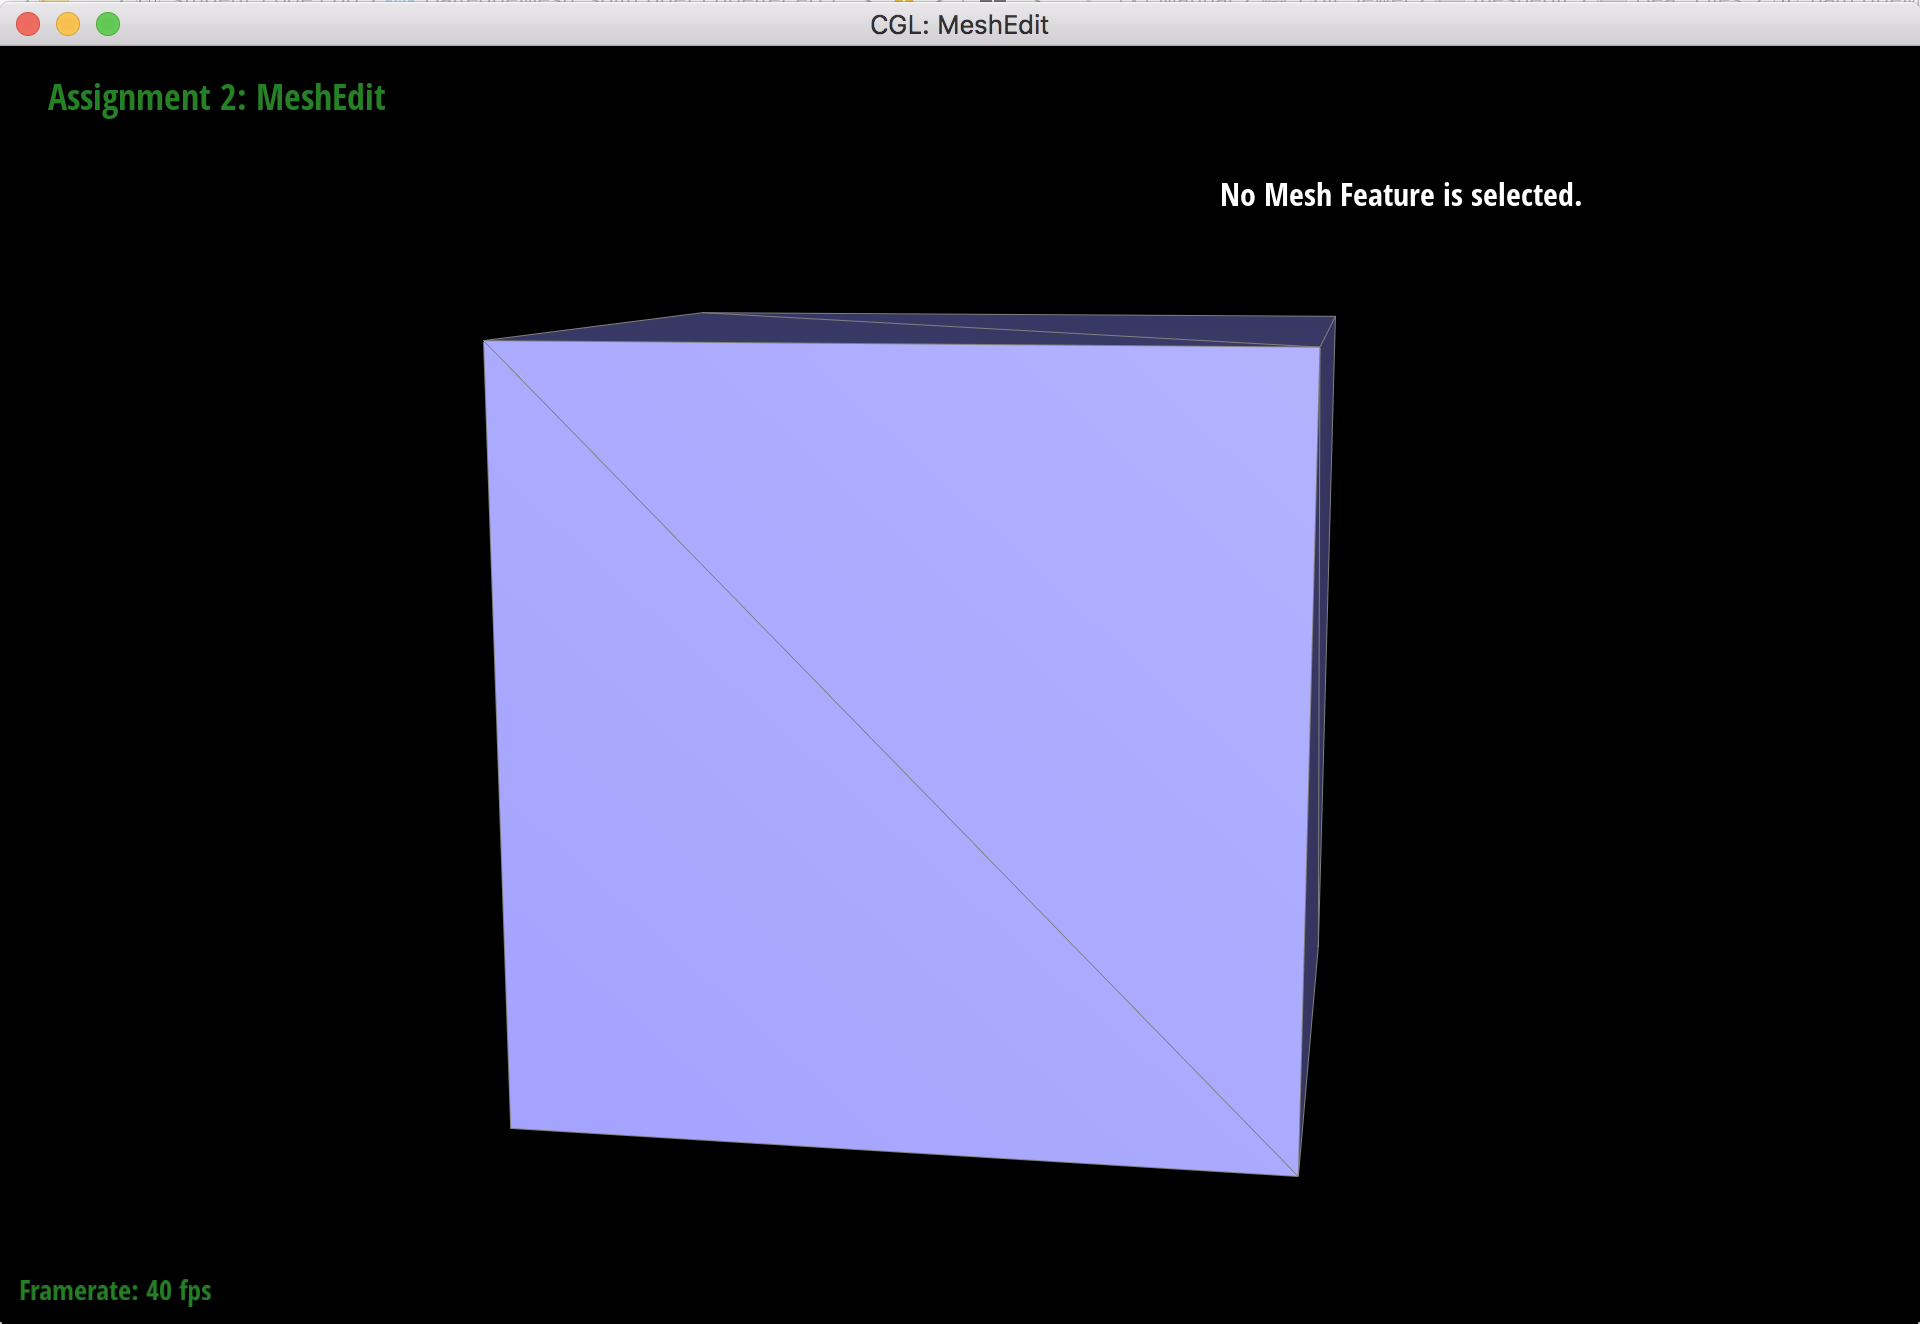
Cube before splits.
Cube after splits.
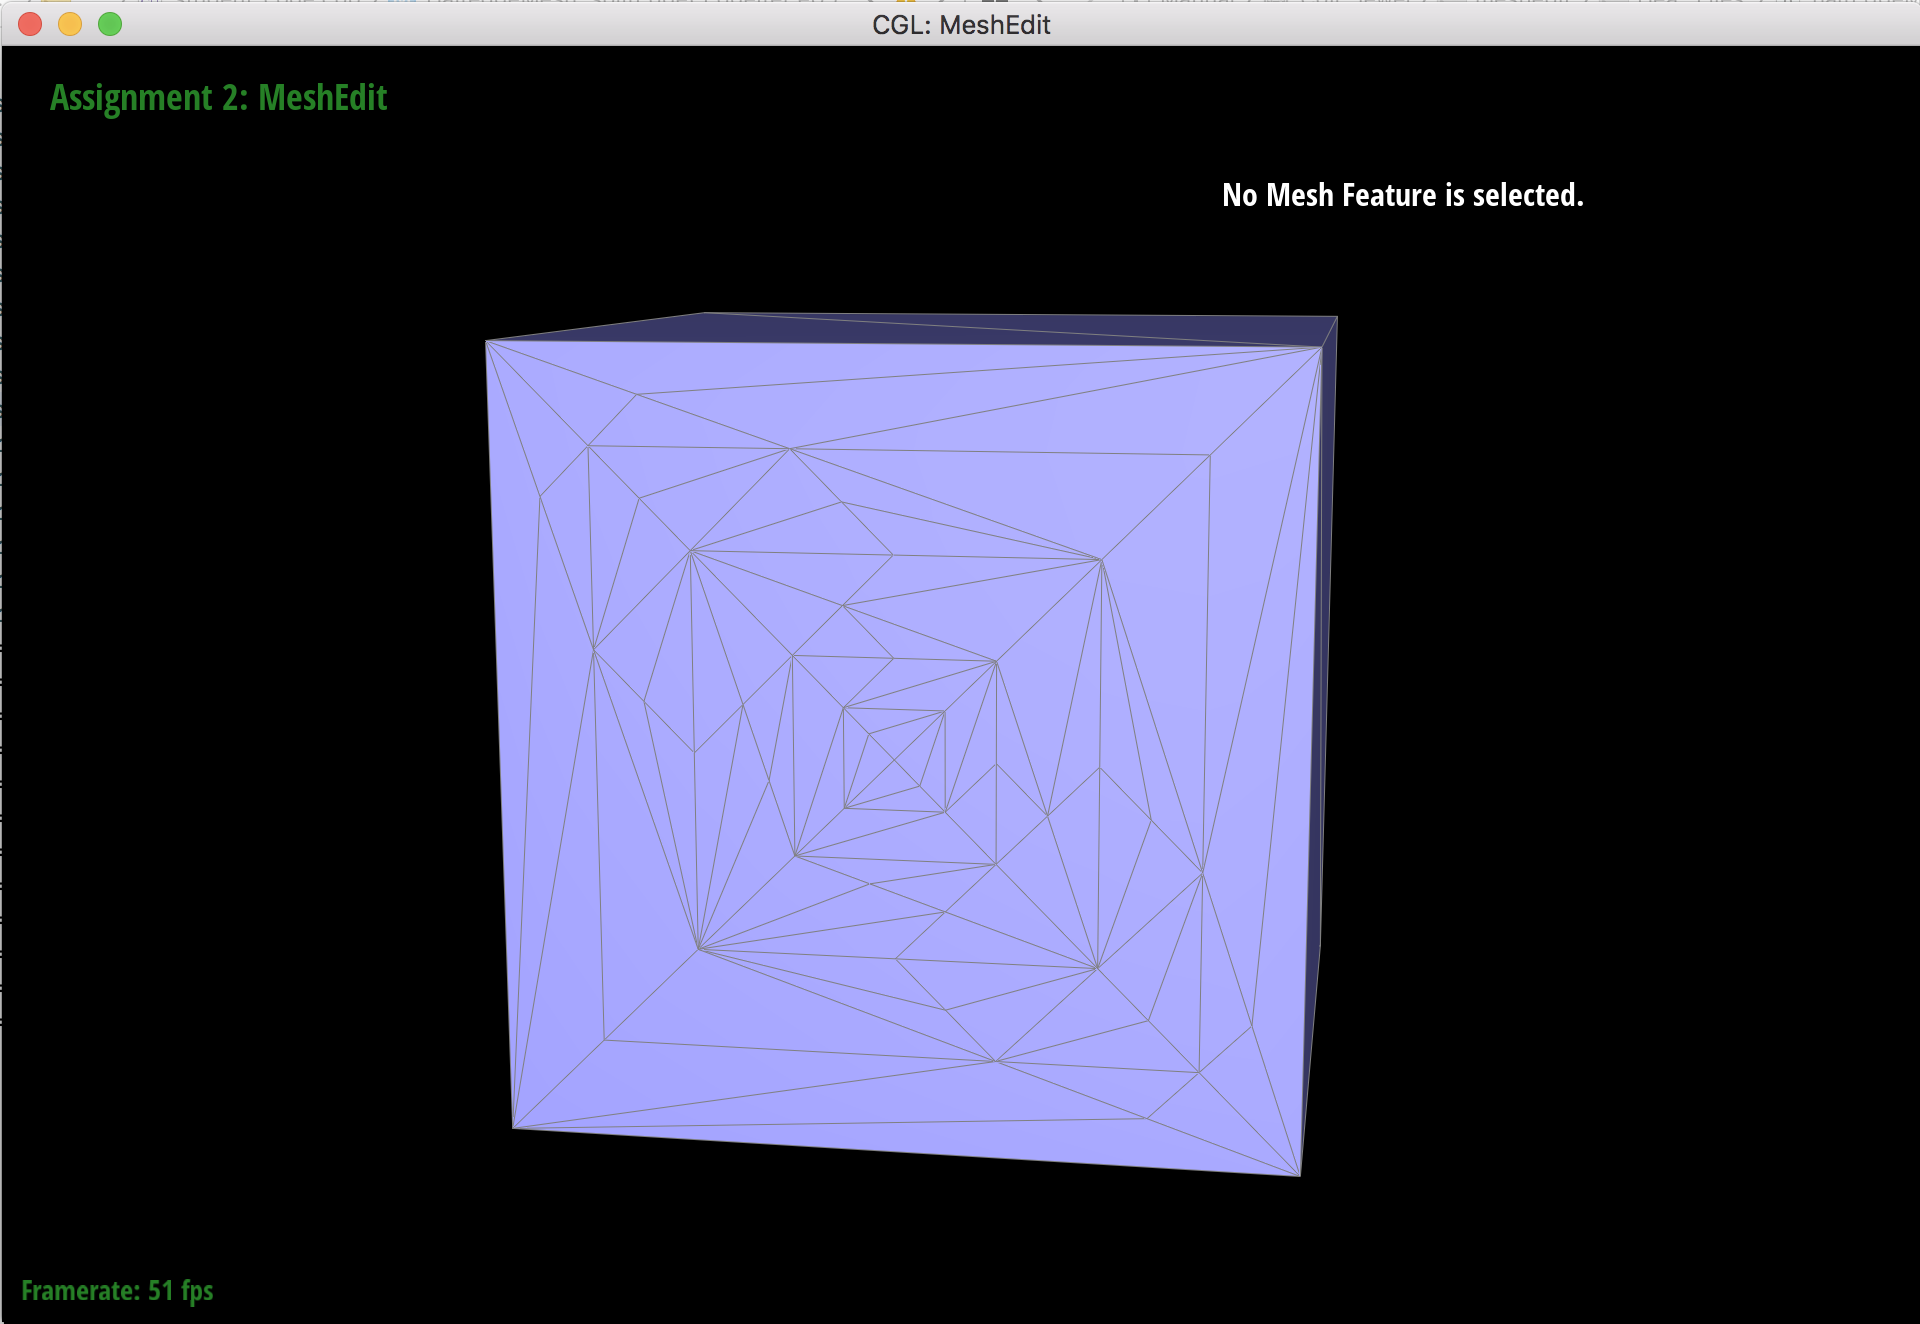
Cube before combo of splits and flips.
Cube after combo of splits and flips.
When I was debugging, I used the cube mesh to try out a bunch of different splits and flips. I had some problems where I would split an edge, and then a hole in the mesh would appear a few faces over from where I did the edge split. After trying to figure out where the holes came from, I looked back at the drawing I did to figure out how to move around pointers, and realized I had messed up the pattern for some of the halfedges' face reassignments. Debugging tricks-of-the-trade: Double checking what you just typed and drawing things out.
Part 6: Loop subdivision for mesh upsampling
I implemented loop subdivision by computing new, weighted average positions for new and old vertices, subdividing the mesh using edge splits and flips, and updating all of the vertices' positions. To compute the weighted average positions of new vertices that would be created when an edge is split, I iterated through all of the edges in the mesh, collected the edge's four neighboring vertices, and used the 3/8 and 1/8 edge proportion formula to calculate where a new vertex would be inserted along the midpoint of an edge. I saved these calculations in Edge->newPosition. I then iterated over all of the vertices in the mesh to compute a weighted average using all the vertex's original incident neighbors, its degree, and the (1 - nu) * og position + u * sum of neighbor positions formula. I stored these calculations in Vertex->newPosition. After doing the calculations, I iterated through all of the edges again and performed edge splits. For every original edge that connects two old vertices, I split the edge using edgeSplit and used the returned pointer to the new midpoint vertex to set Vertex->newPosition = Edge->newPosition so that the new vertex could be updated to its weighted average position at the end of the loop subdivision process. I made sure that my edge split function only marked the two new edges that crossed a triangle and the new midpoint vertex as isNew = true so that no original mesh edges would be flipped later. After edge split, I performed edge flips on the new edges that had isNew set to true and connected a new vertex to an old vertex. After flipping an edge, I would set its isNew to false so that the edge would become part of the original mesh for the next level of upsampling. Lastly, I iterated through all of the old and new vertices and updated their Vertex->positions to Vertex->newPositions. After the update, I marked the vertices as isNew = false for the next round of upsampling.

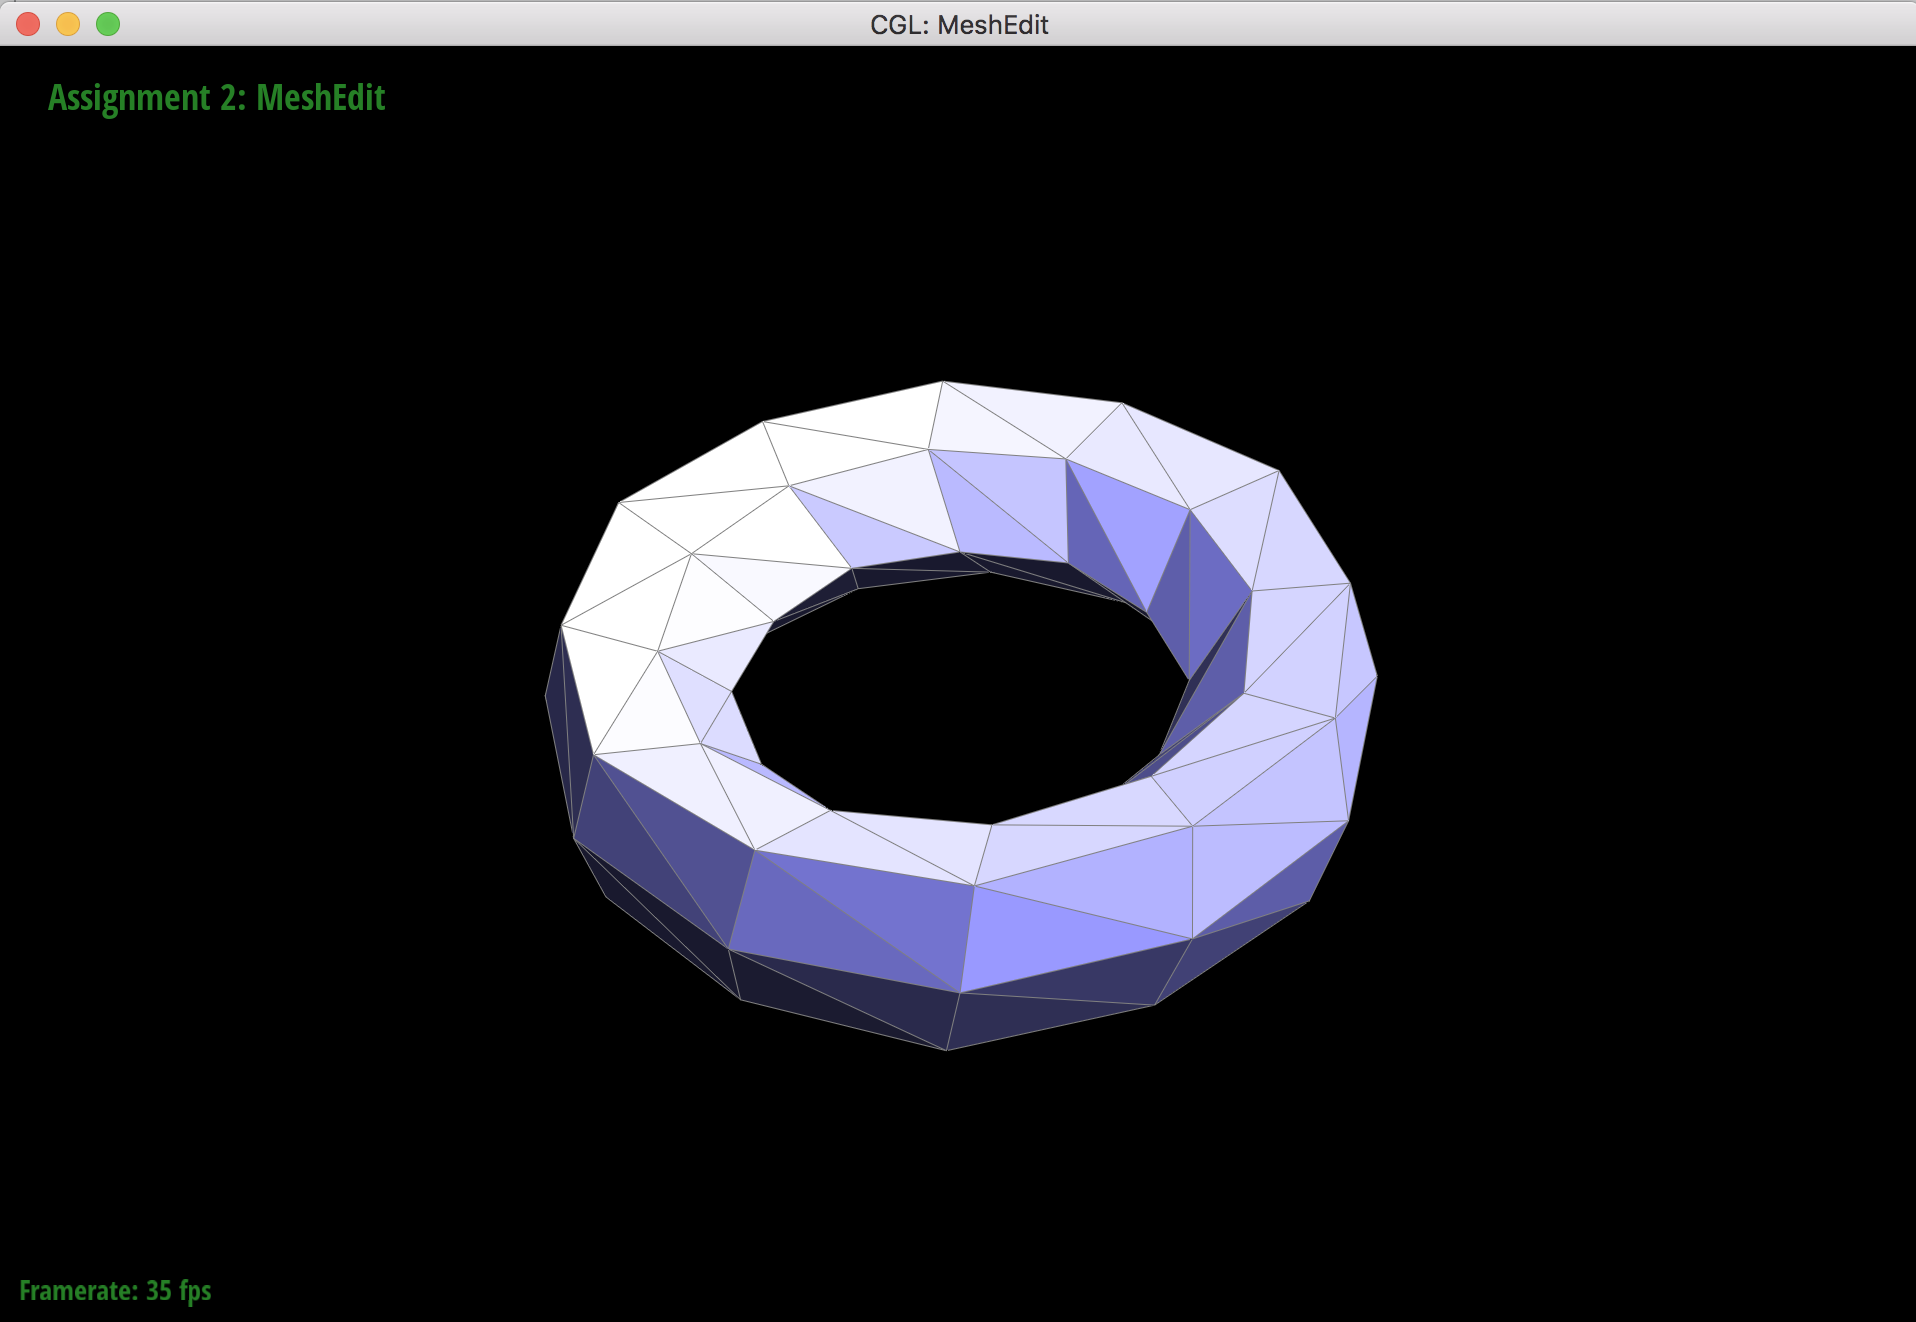
Original torus mesh with no extraordinary points (vertices with non 6 degree).
1 upsample

2 upsamples
3 upsamples

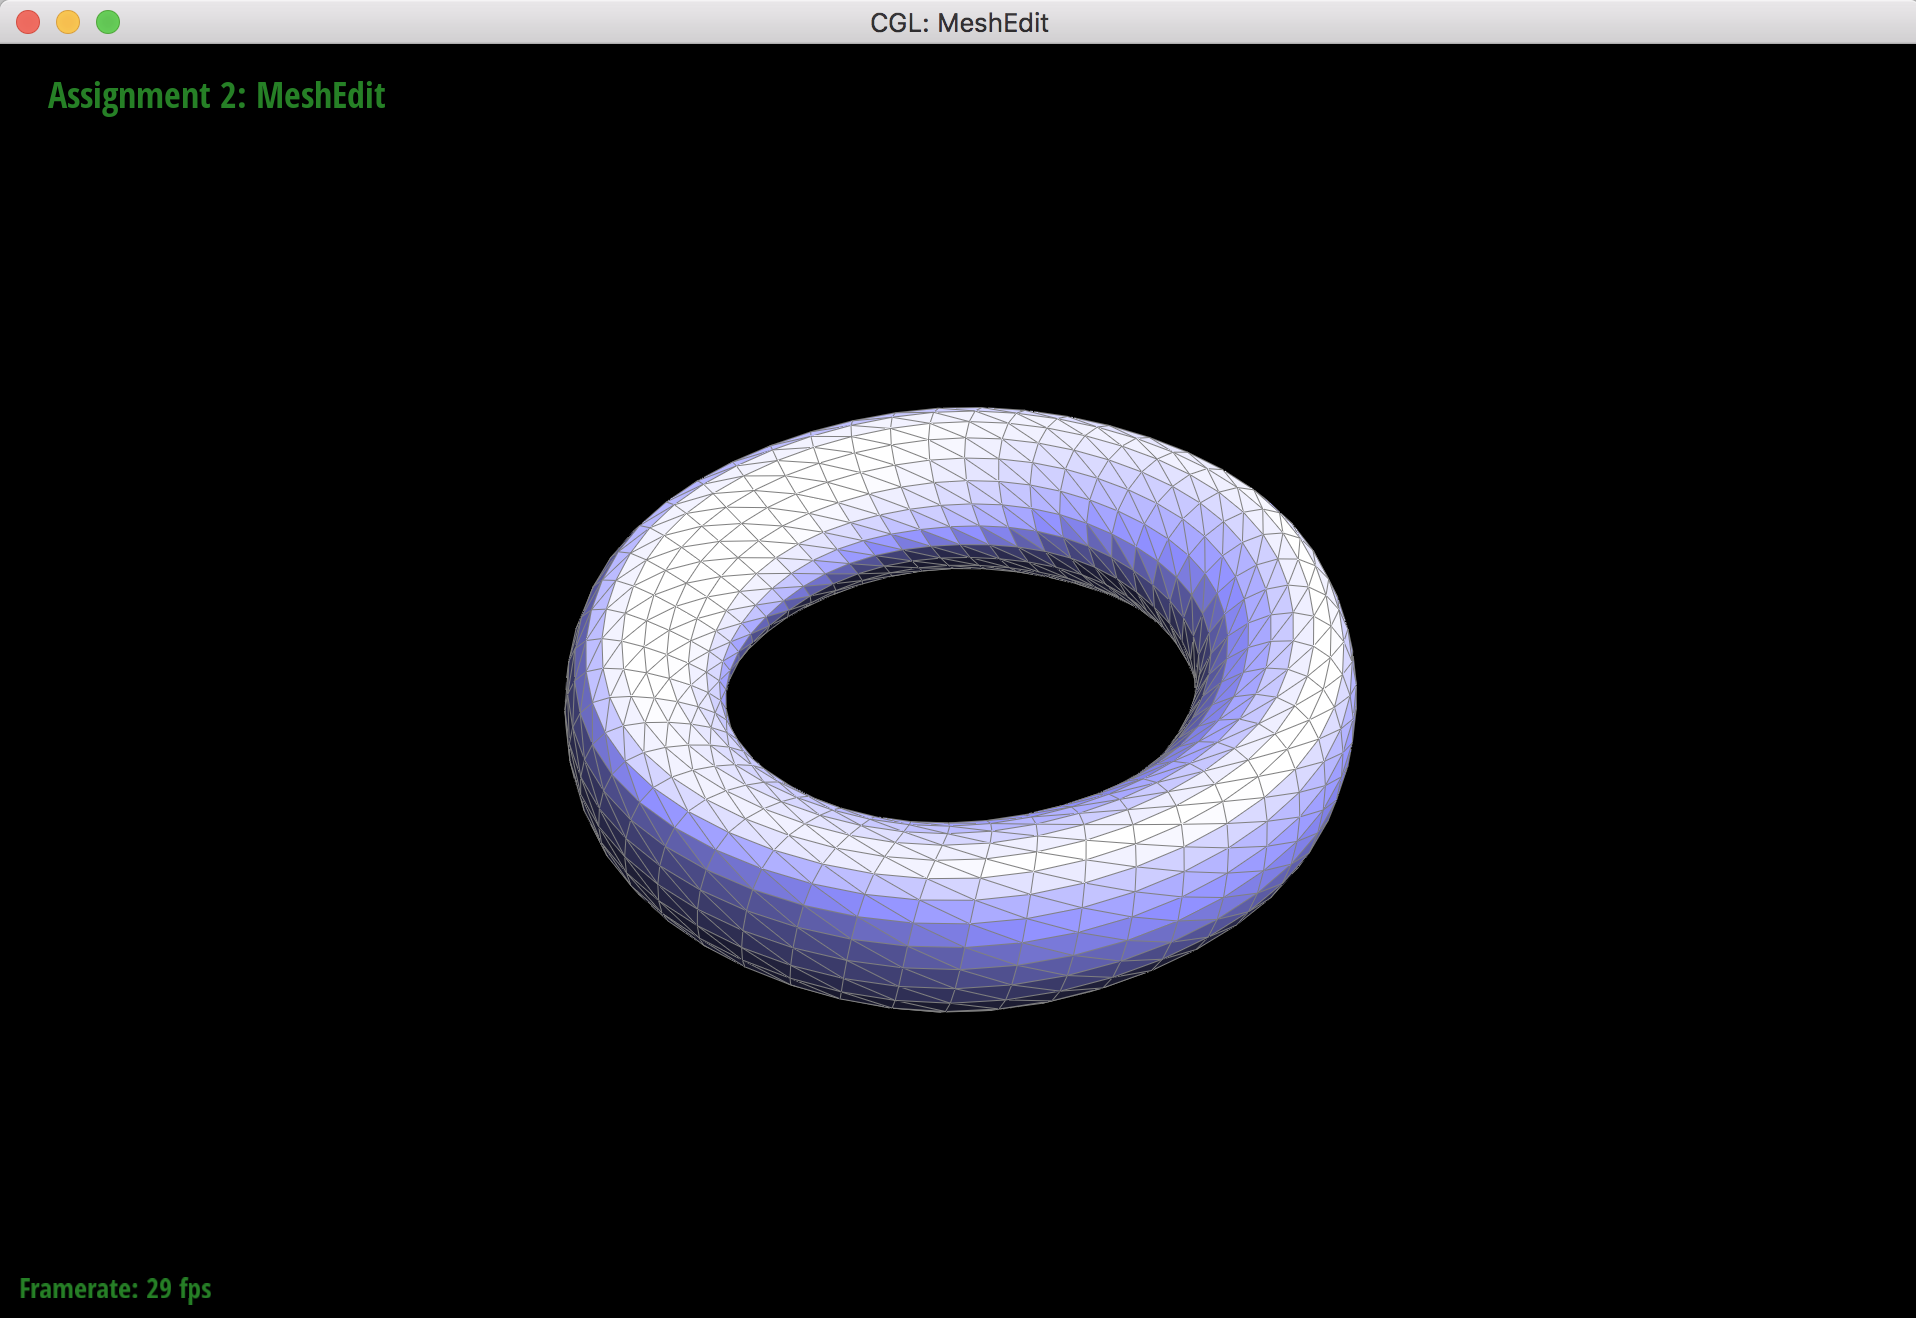
4 upsamples
When the torus mesh subdivides, it subdivides symmetrically and smoothly because all of the vertices have a degree of 6 in the orignal mesh. This means that there will not be any extraordinary points after upsampling. Extraordinary points lead to asymmetrical meshes and "sharper" artifacts that still remain in the mesh after upsampling since the extraordinary points only lead to C1 continuity. Pre-splitting edges around vertices that have non 6 degrees helps reduce the effect of asymmetry from sharp corners and edges.
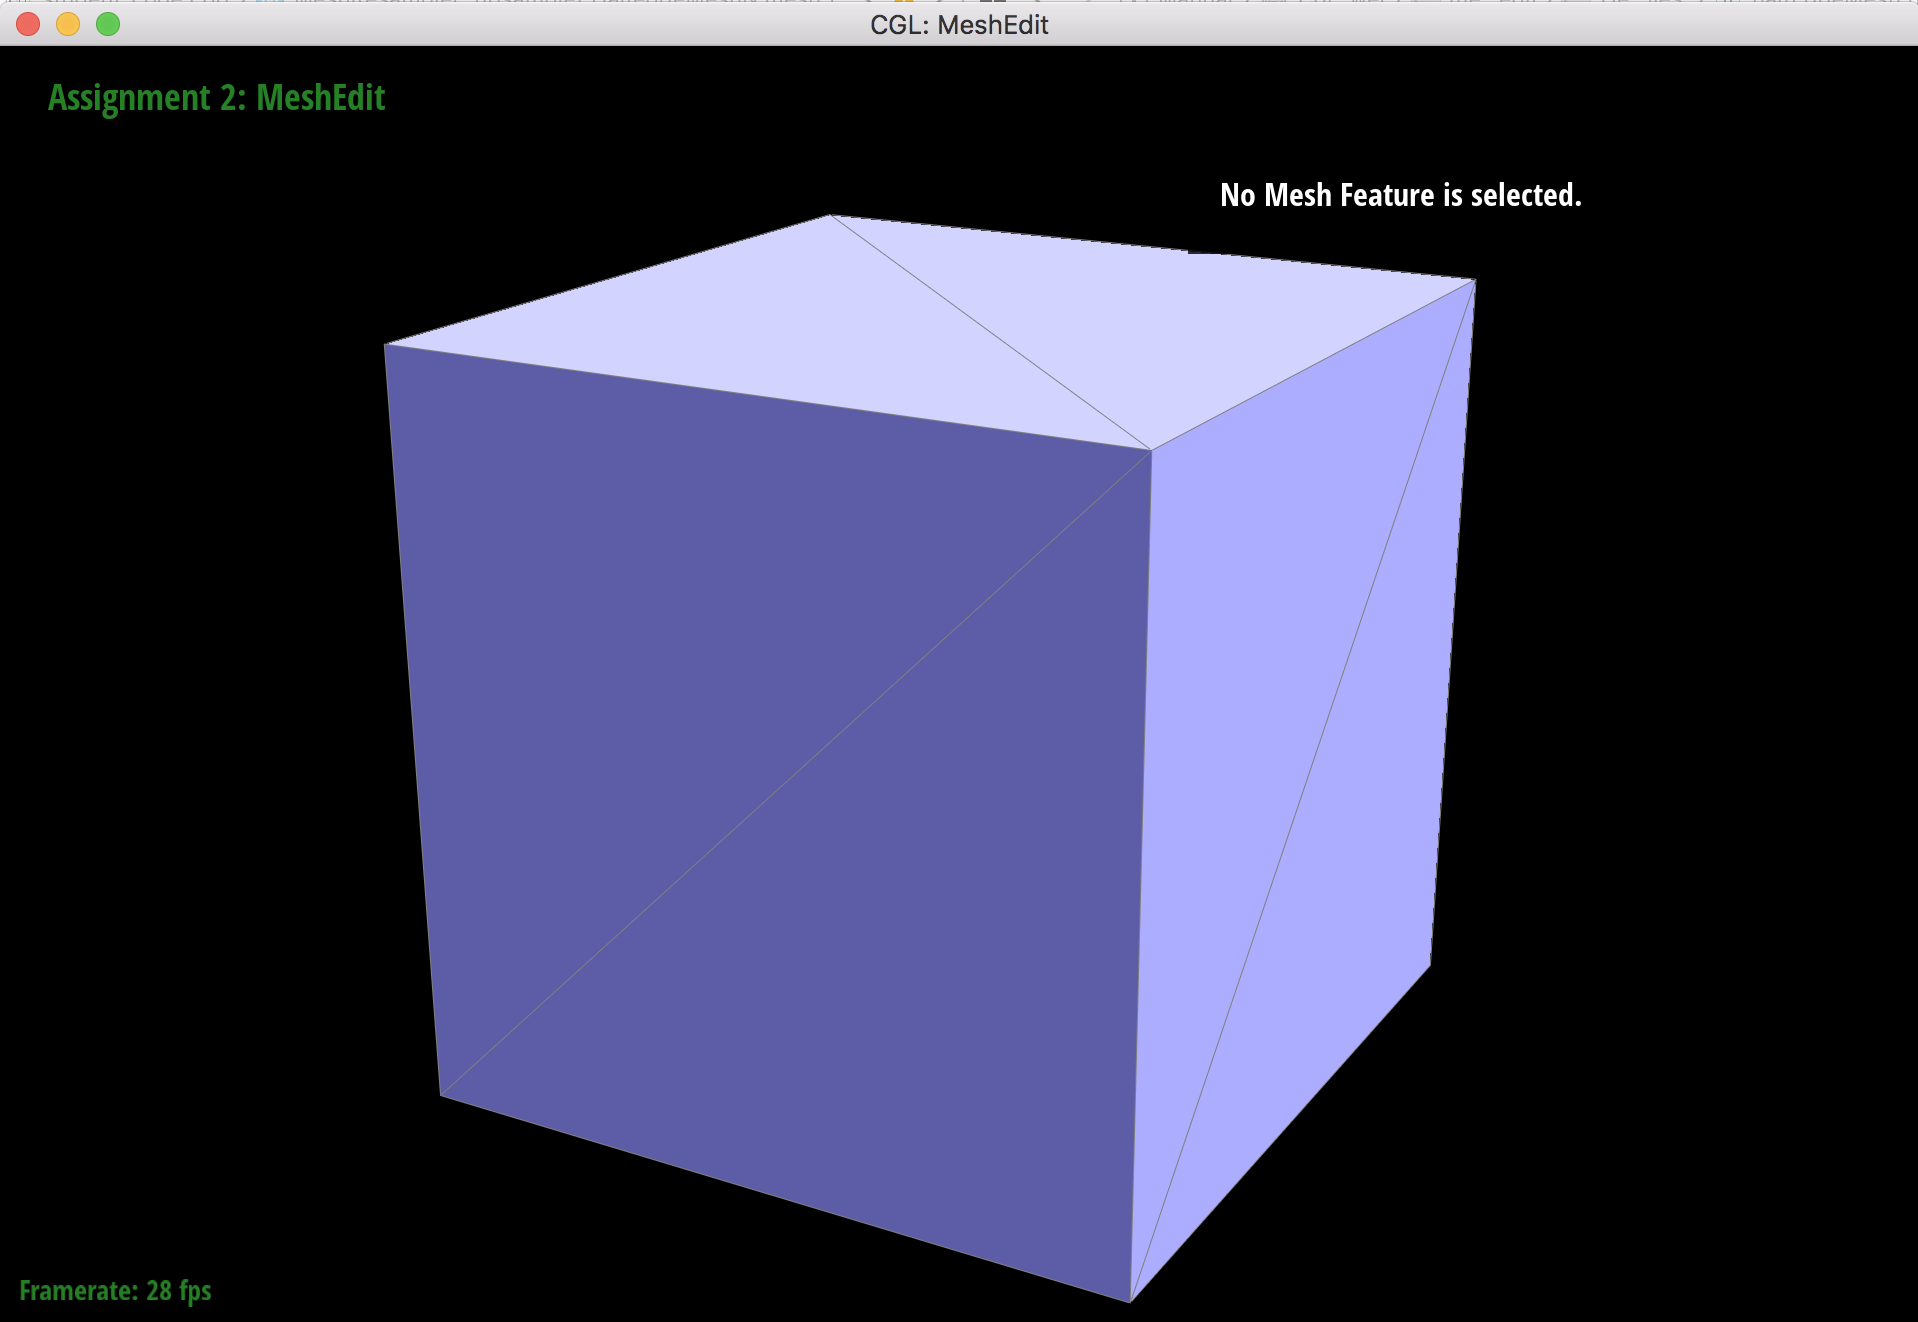
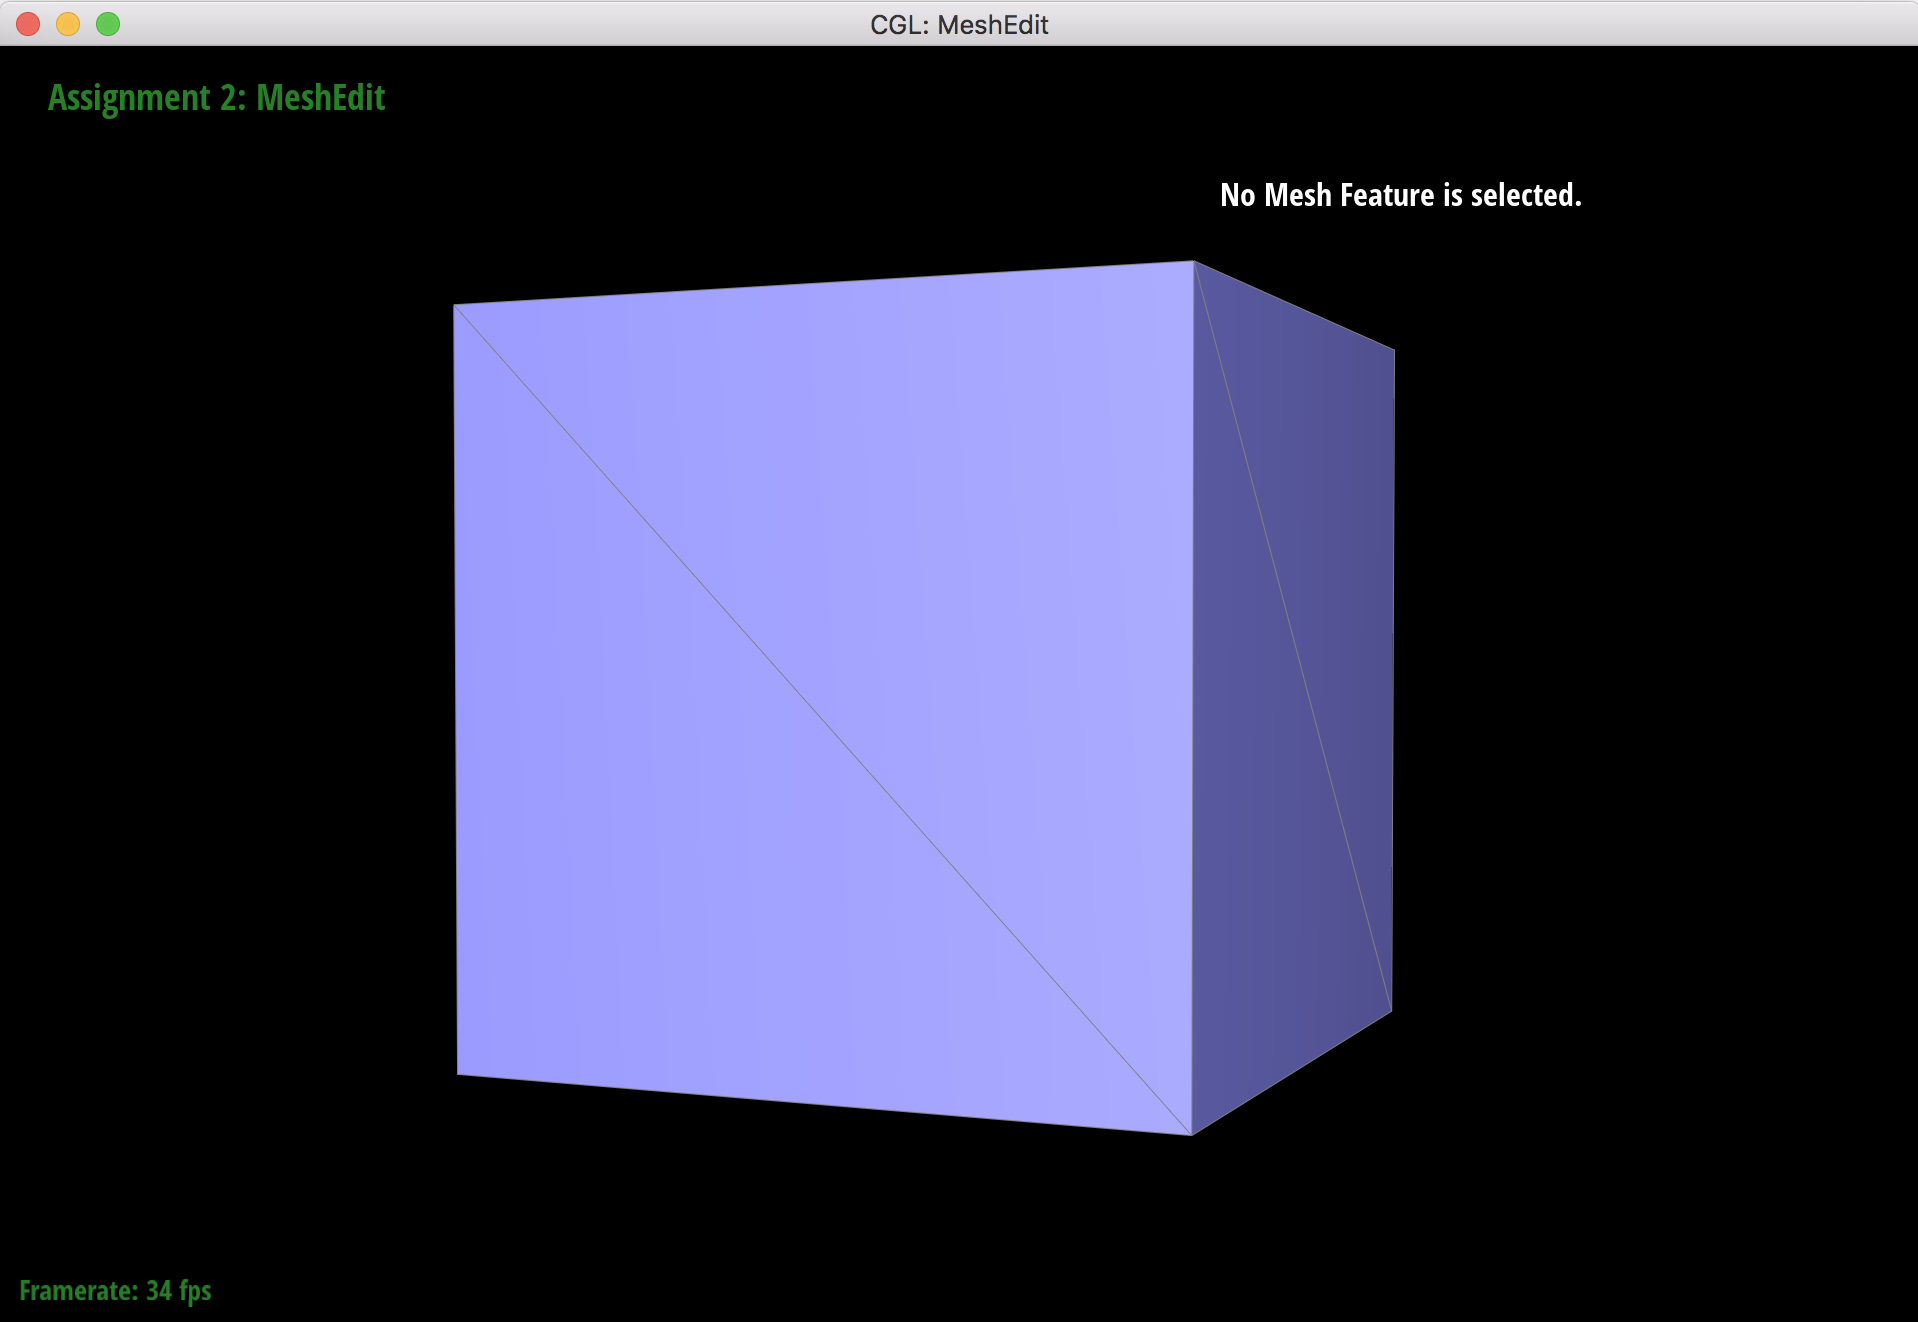
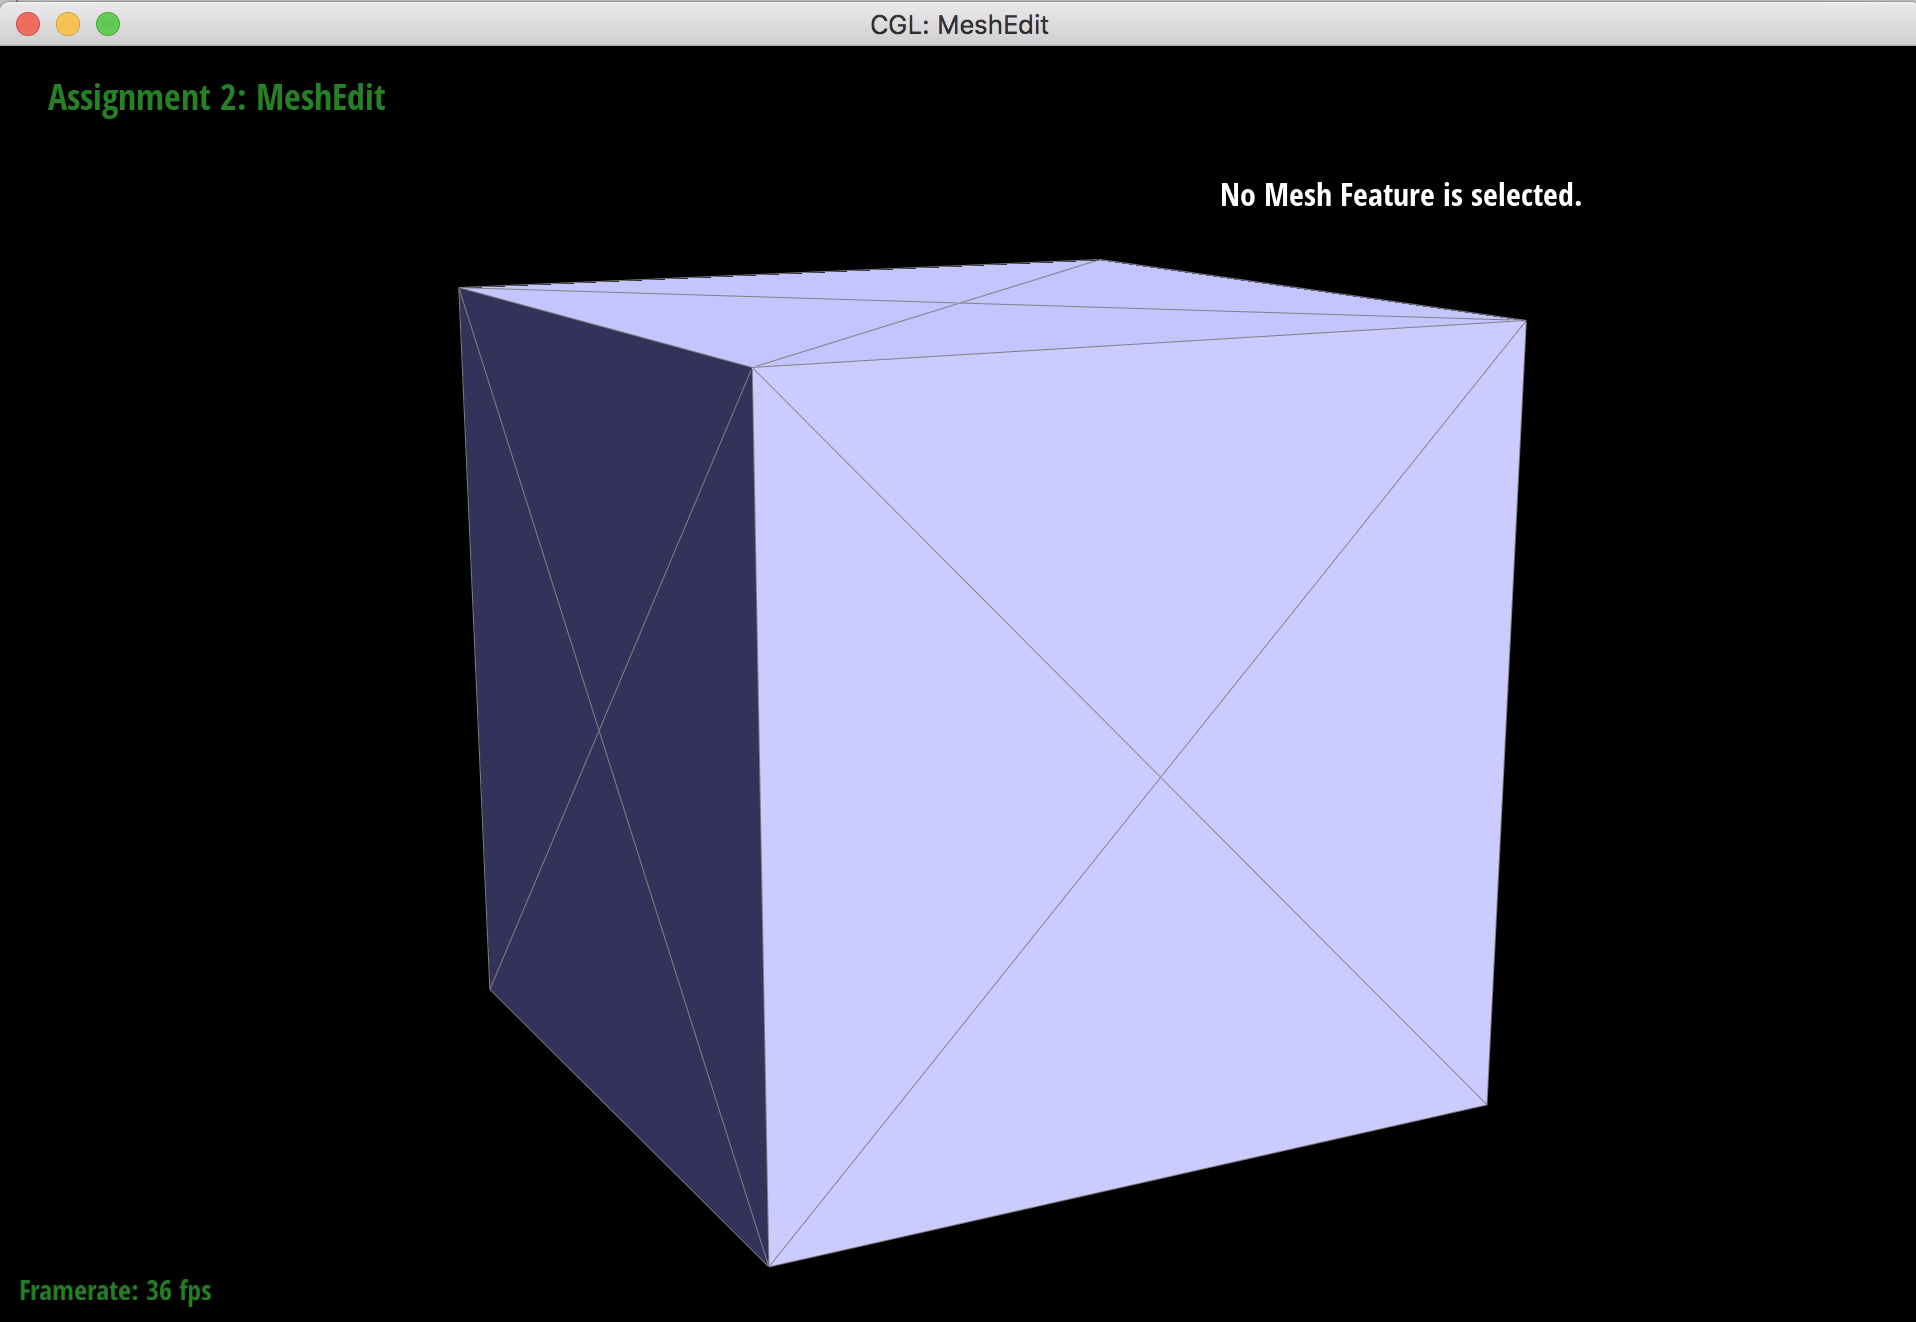
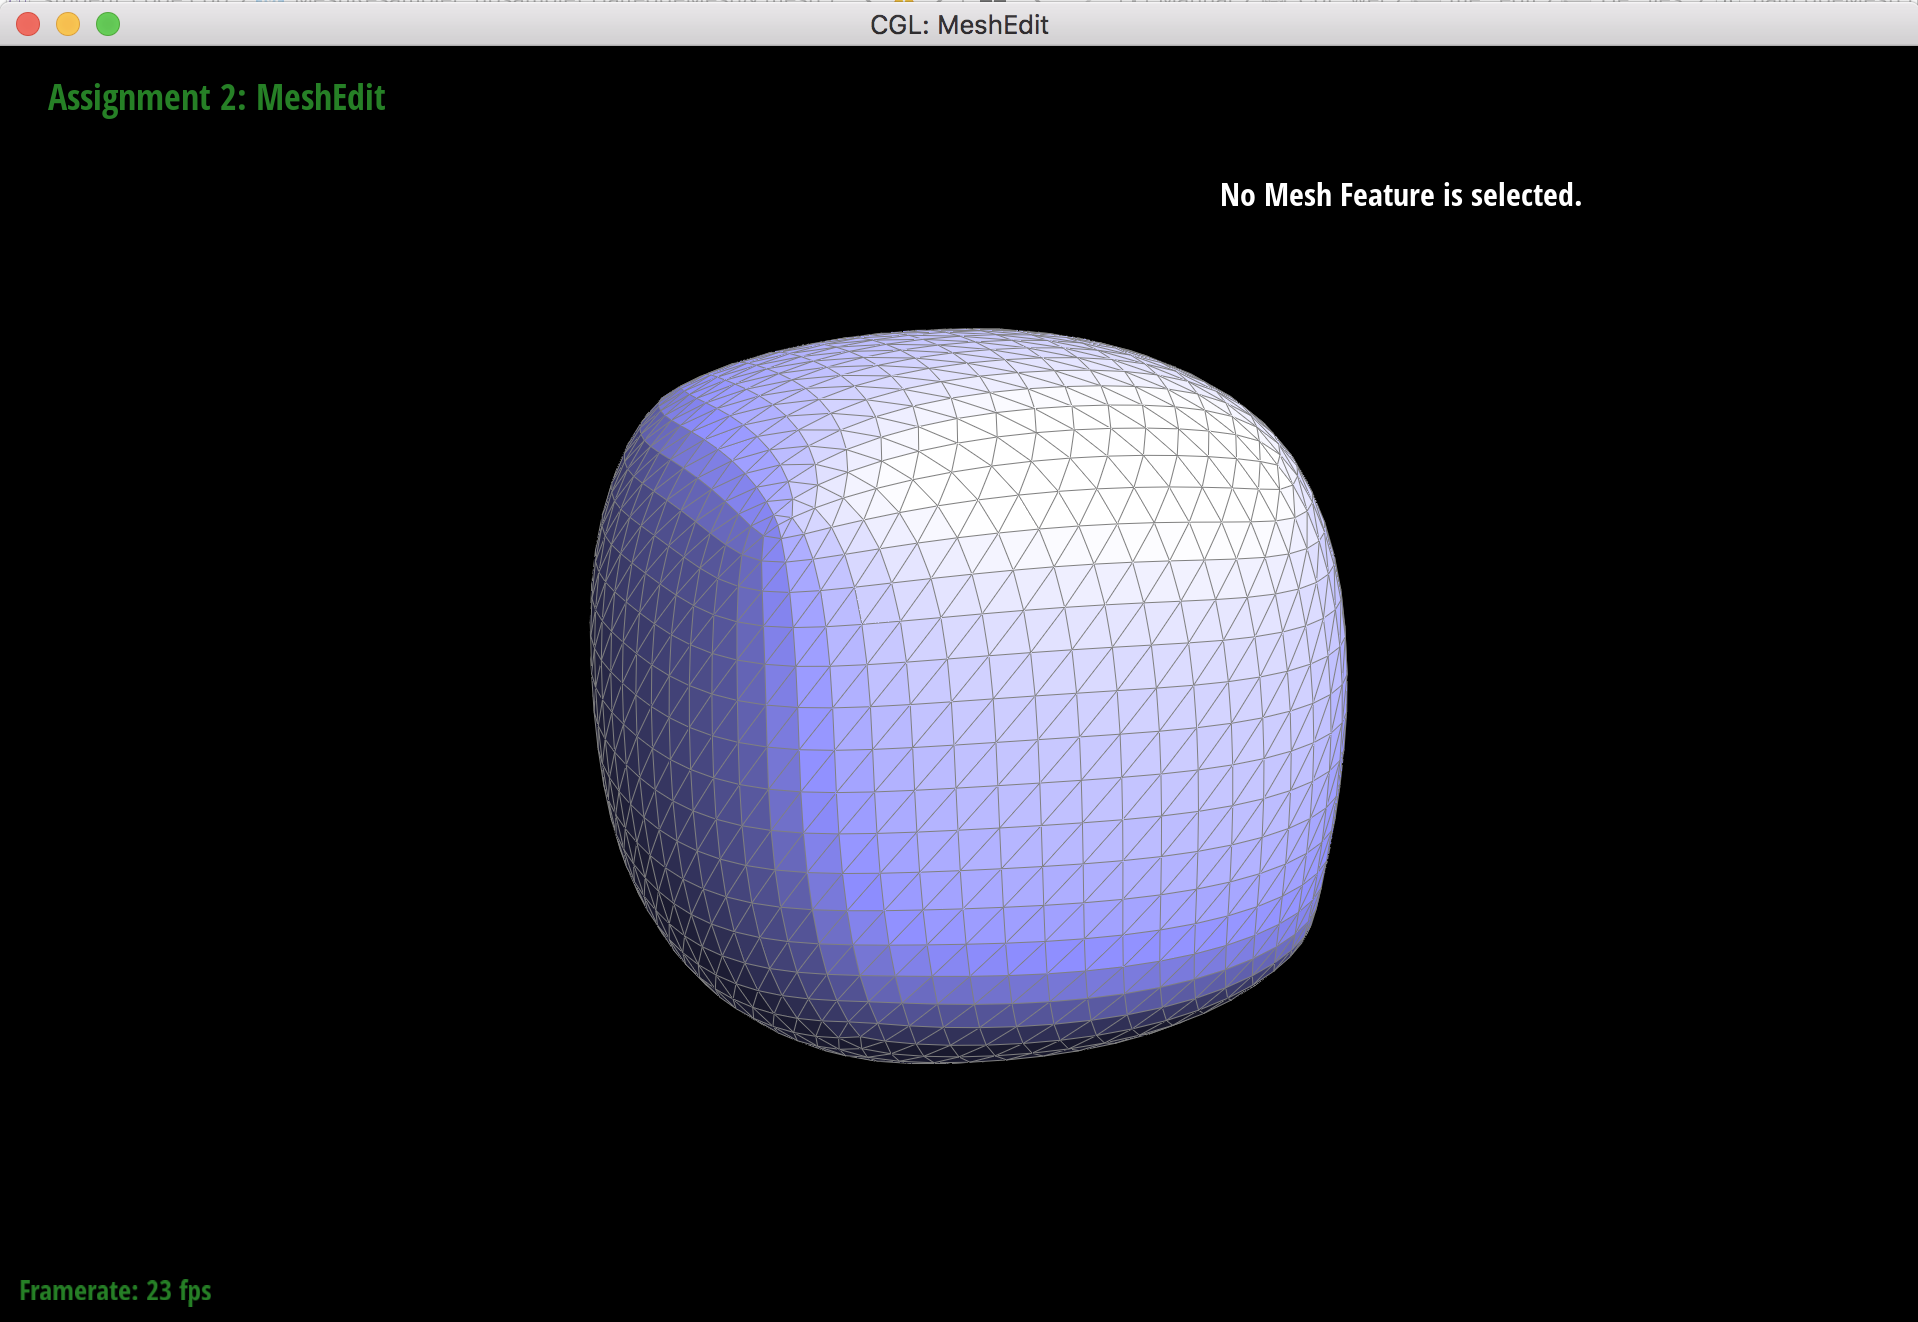
Original cube mesh.
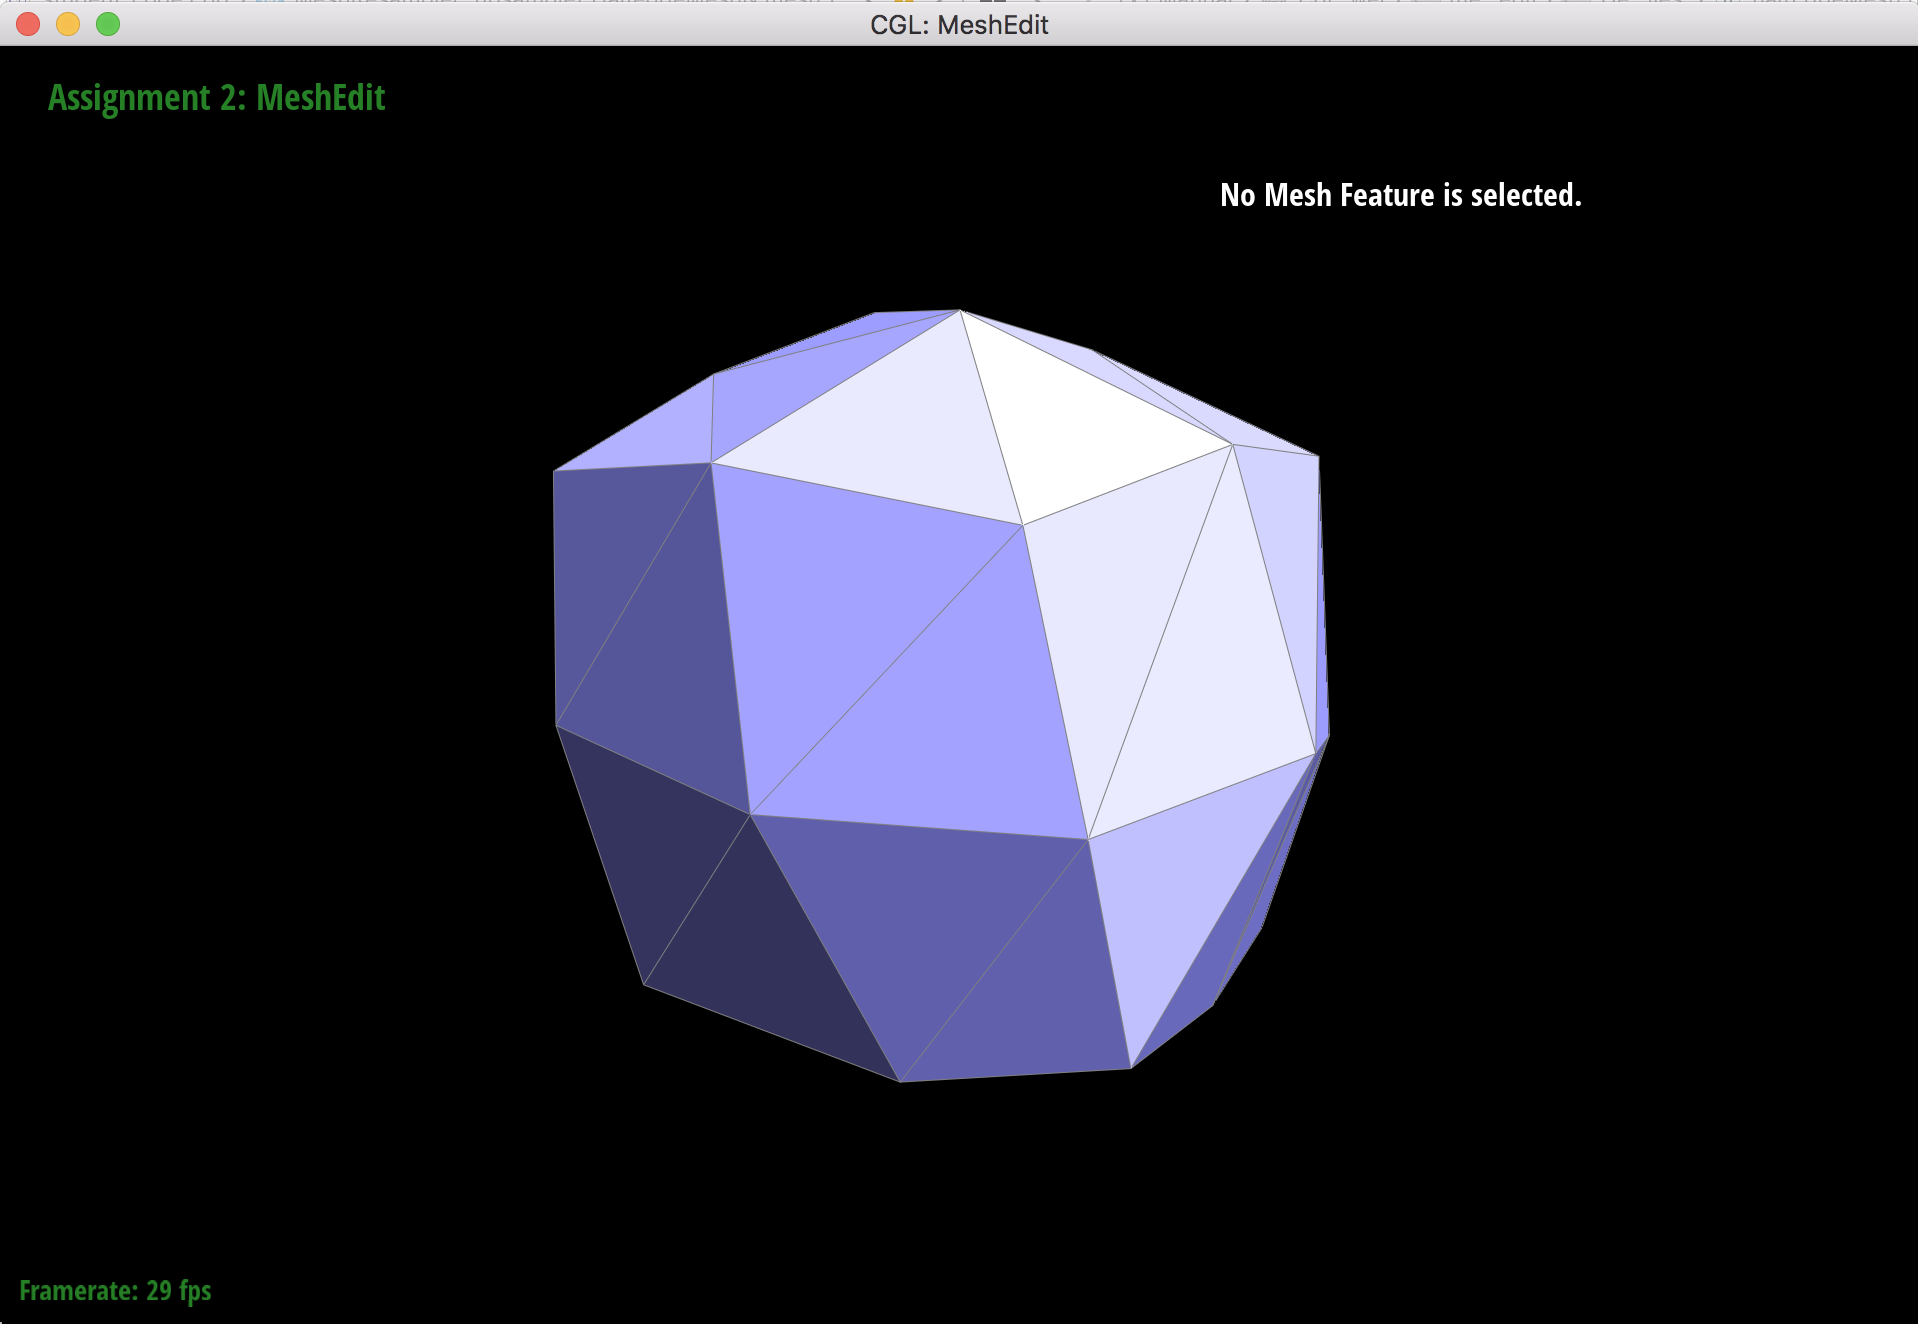
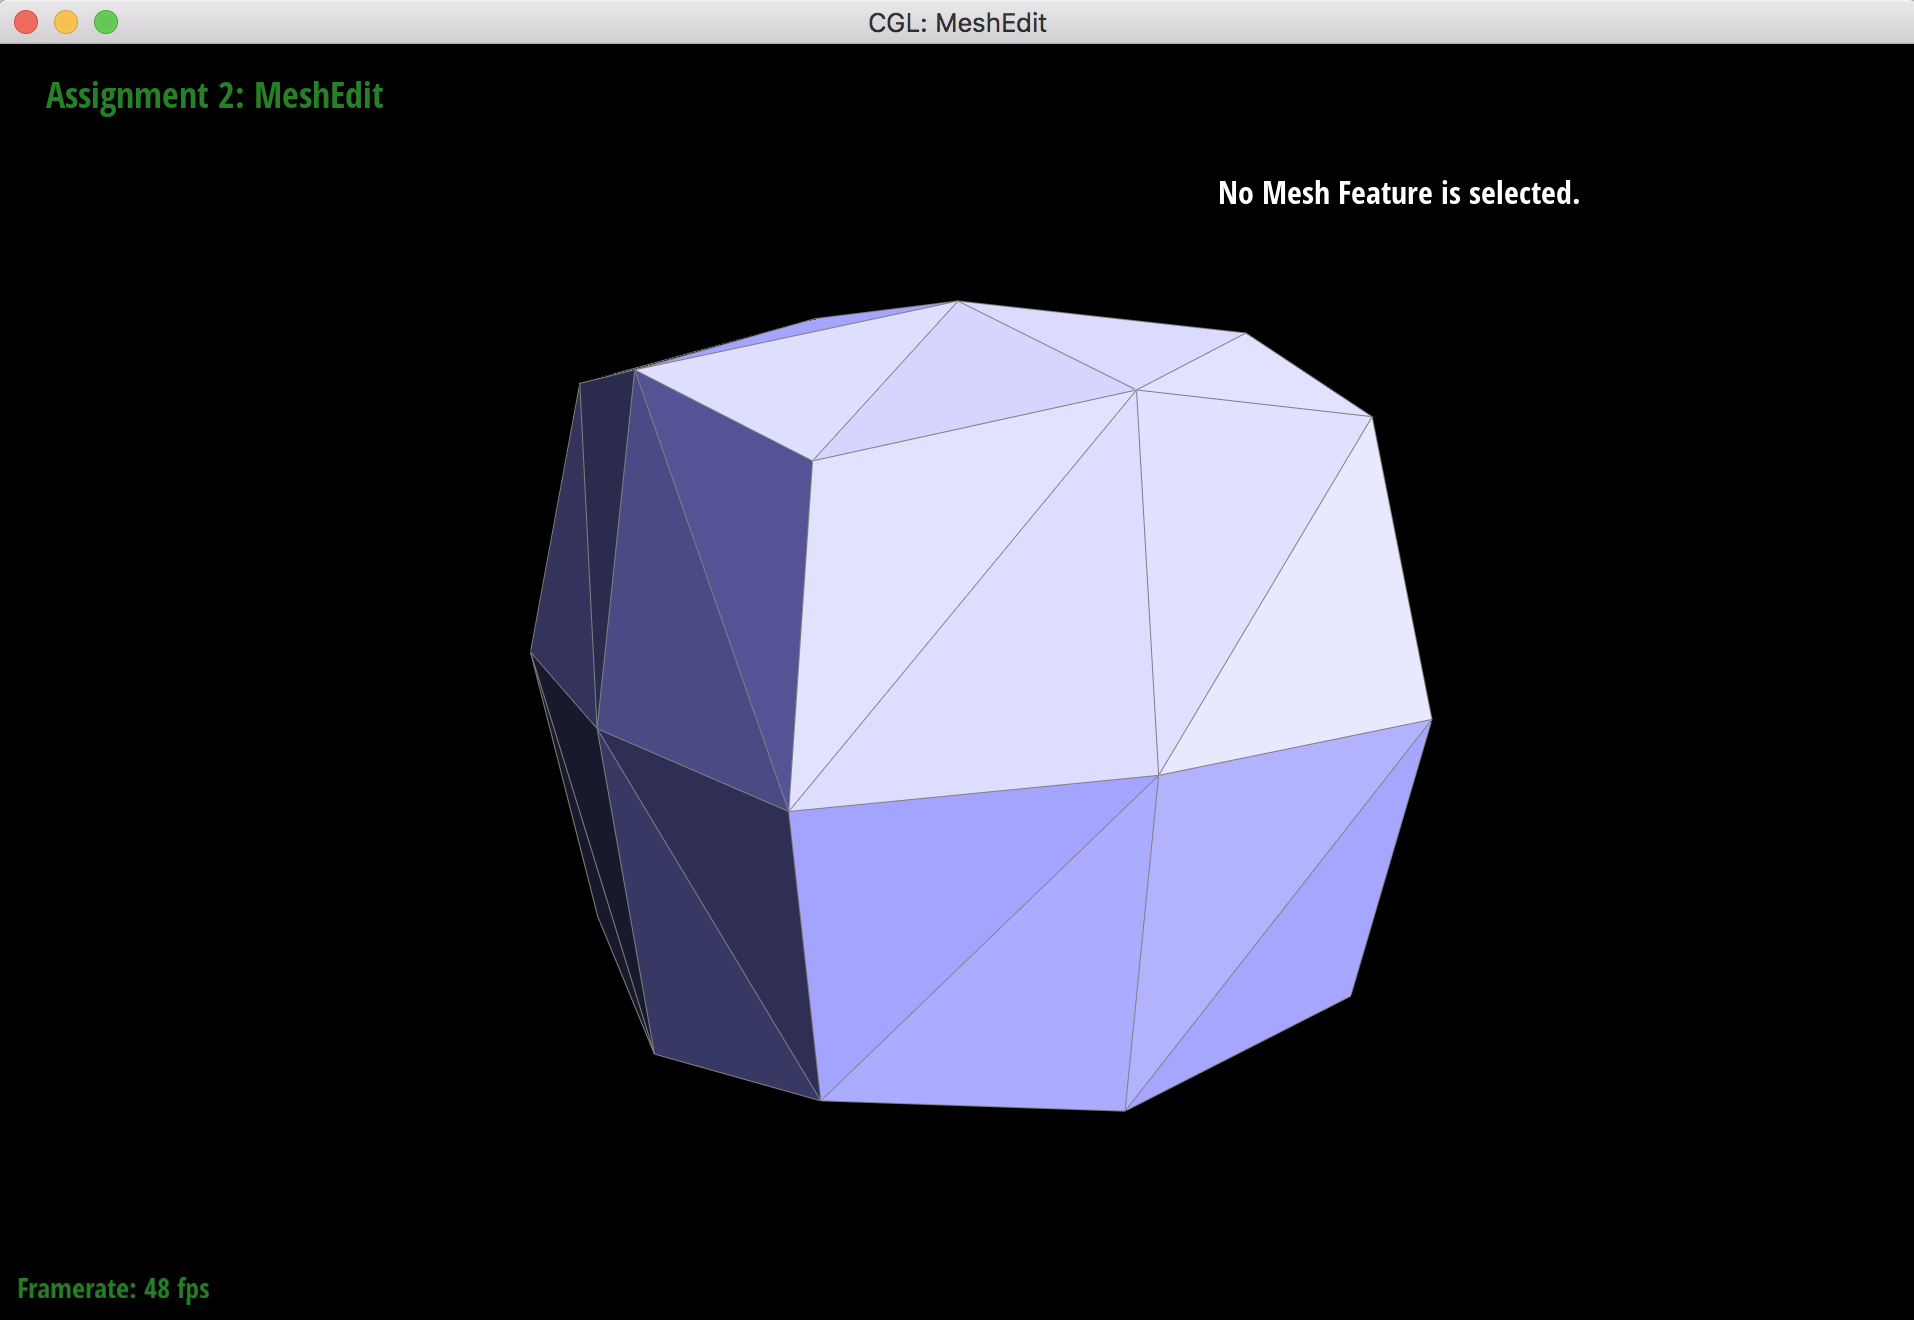
1 upsample
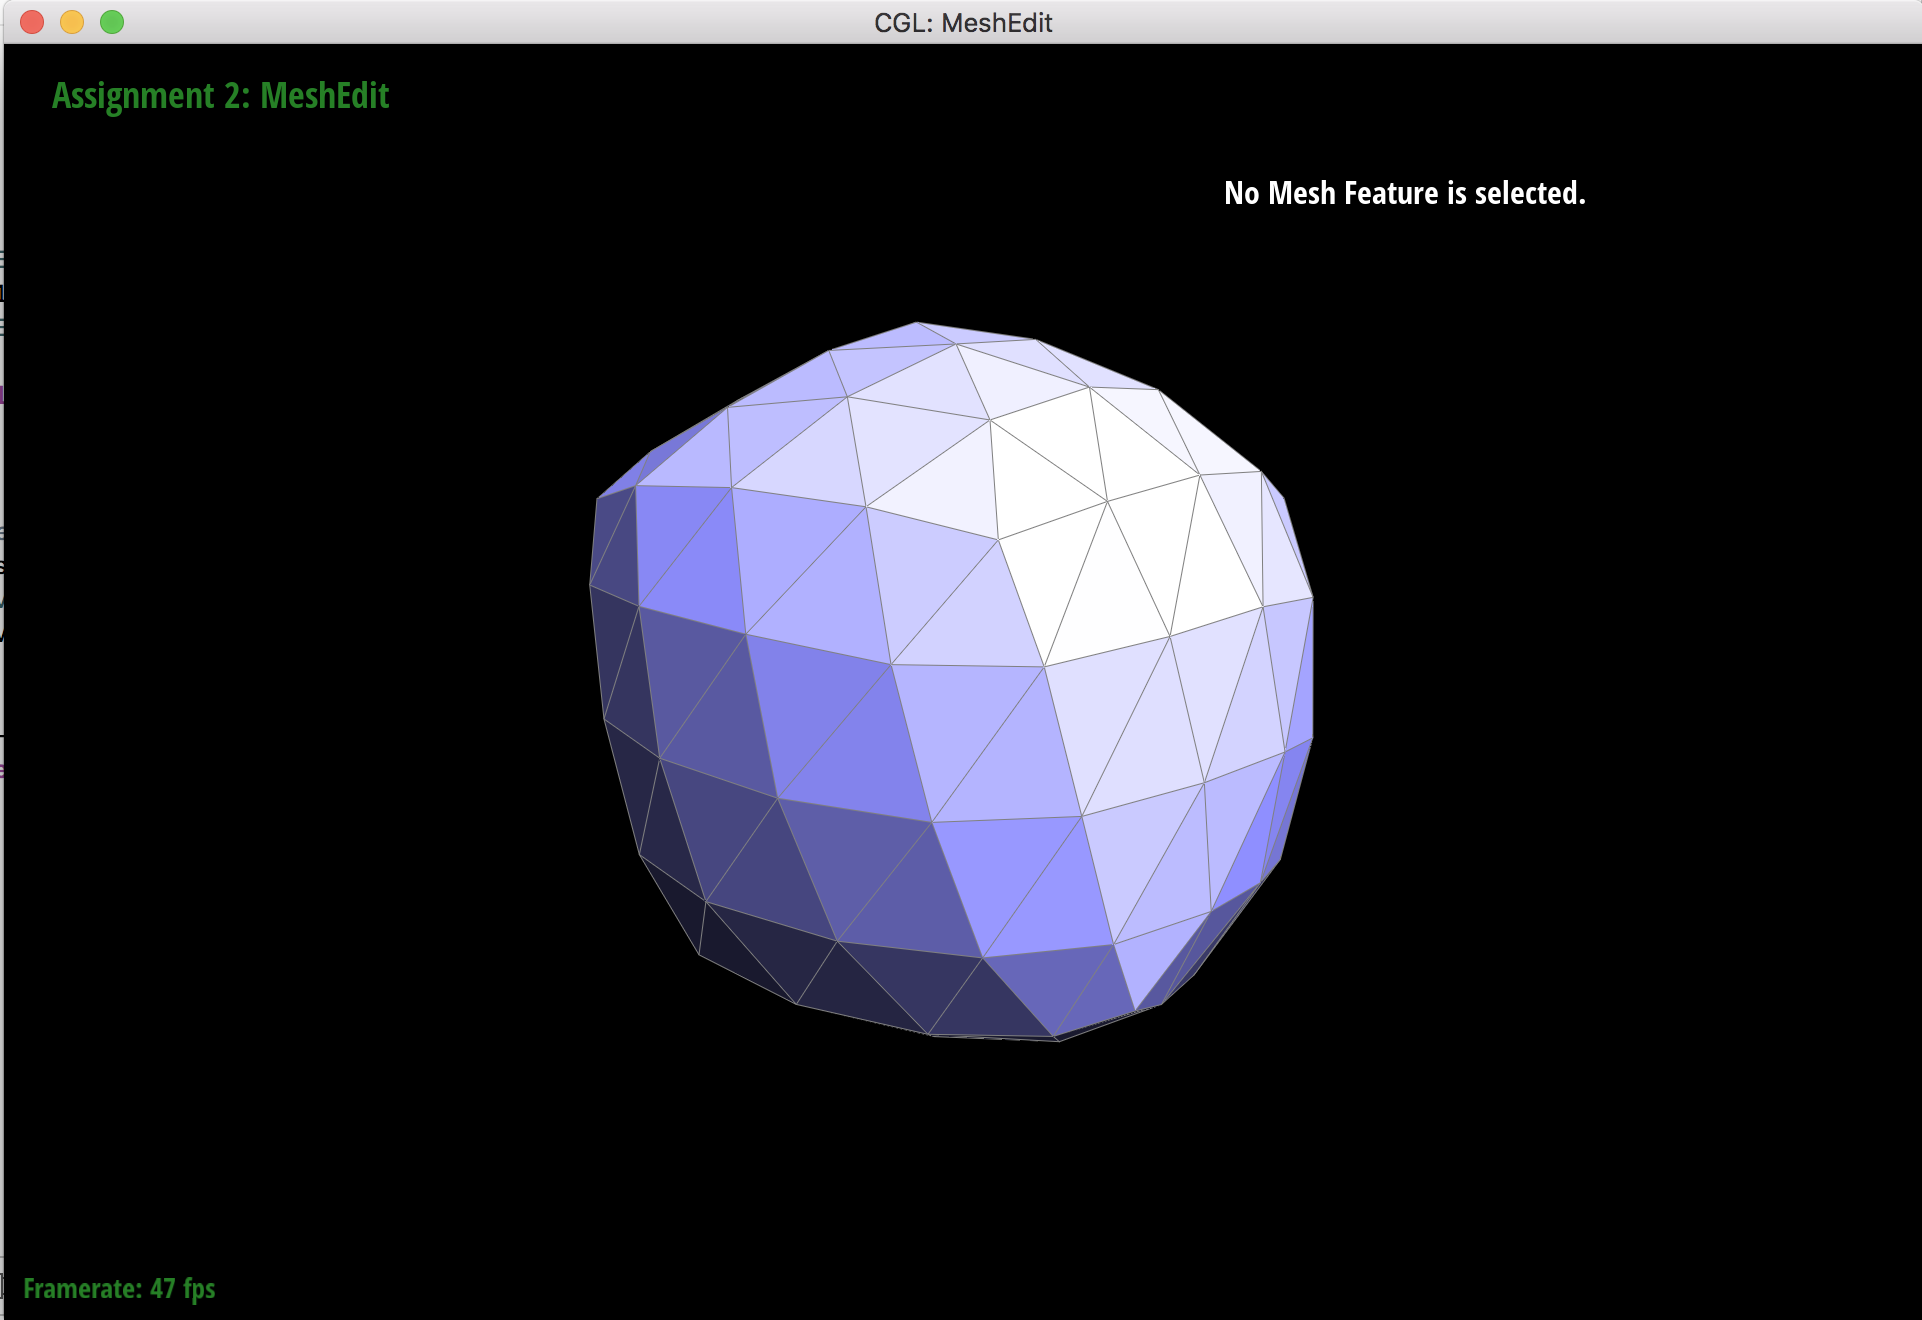
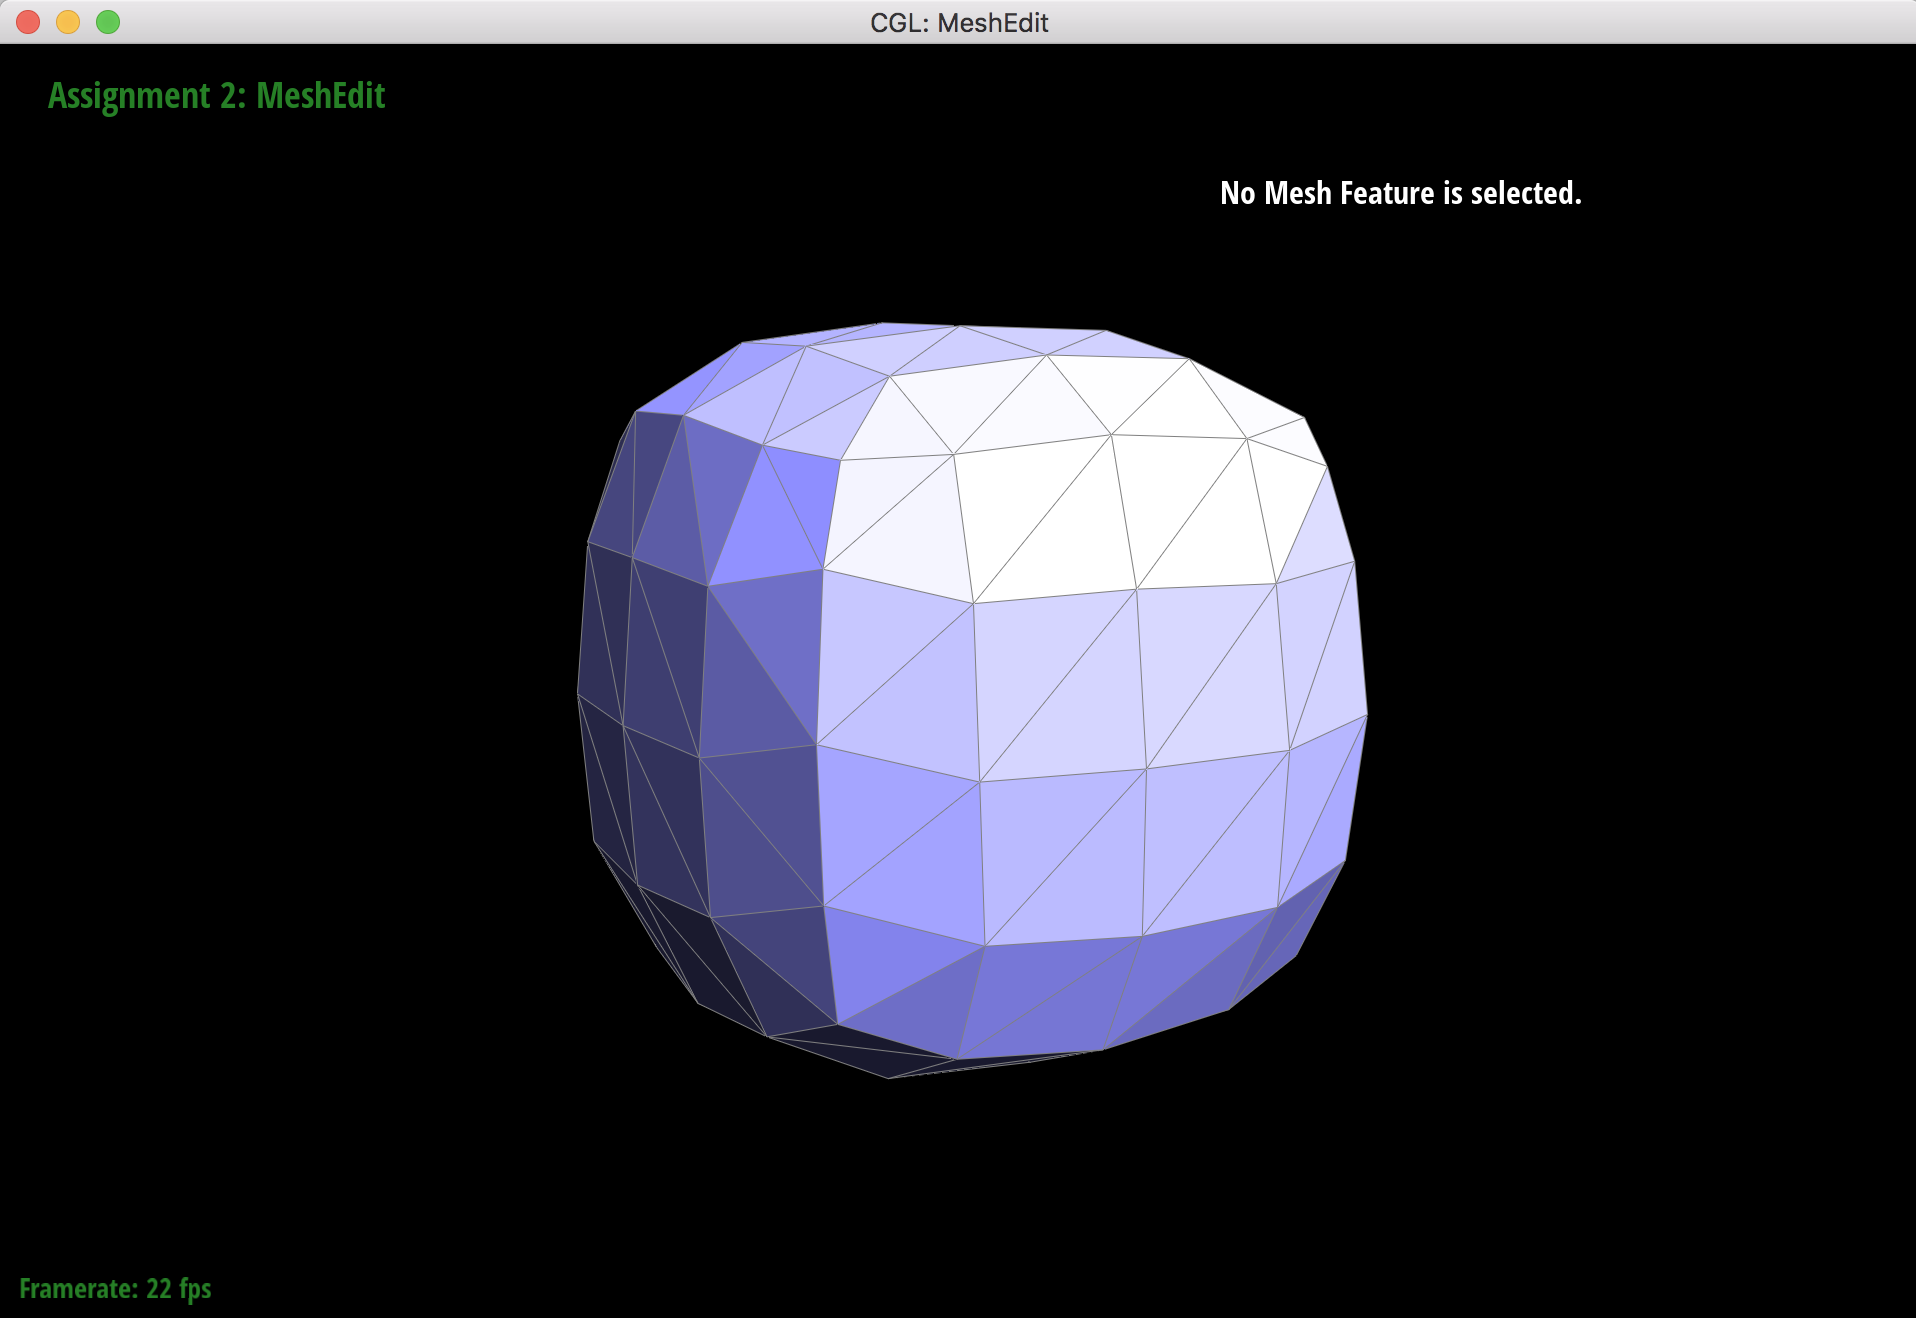
2 upsamples
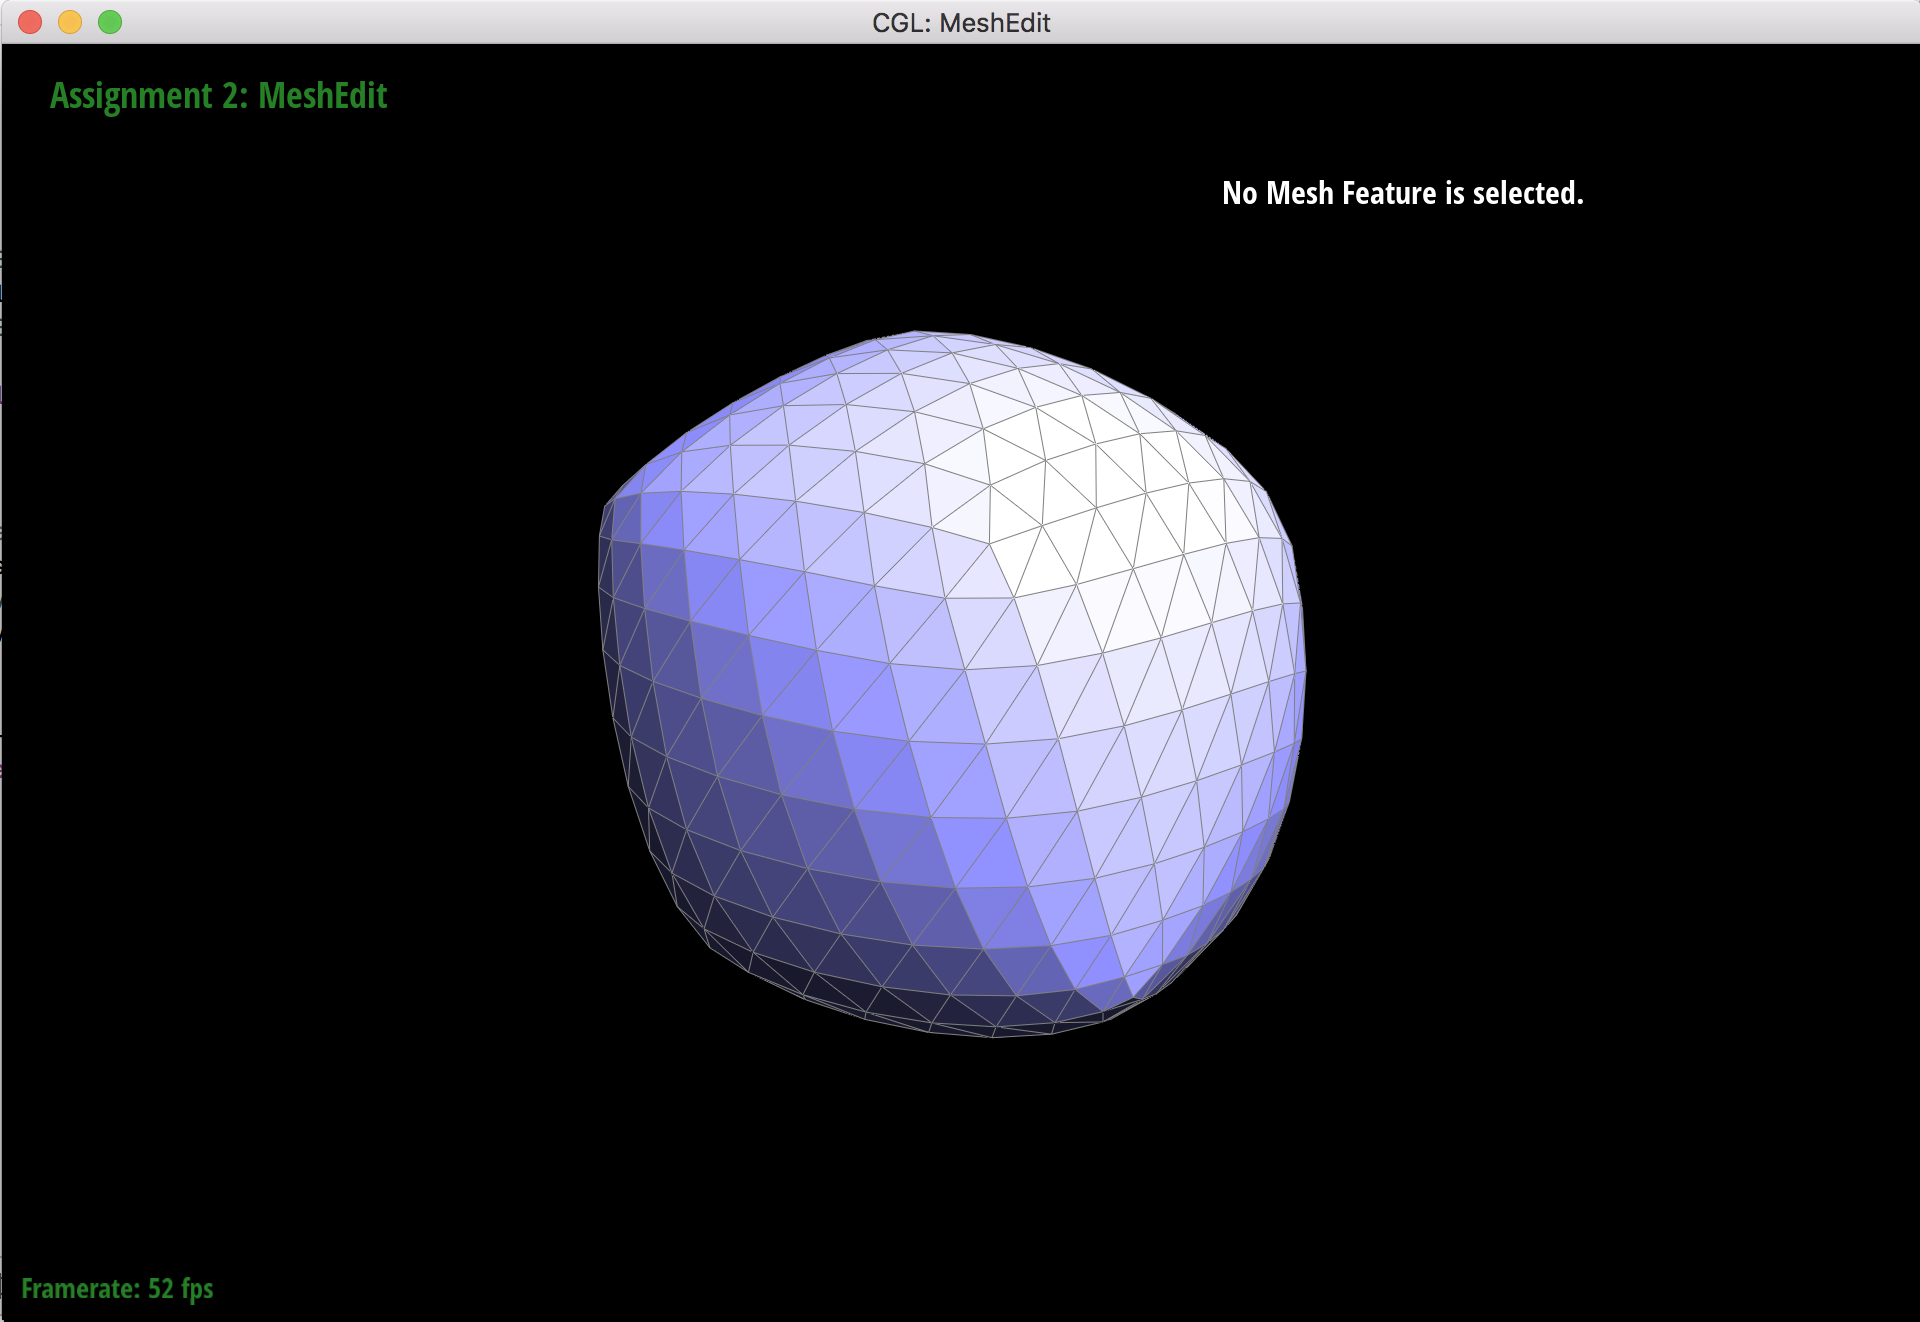
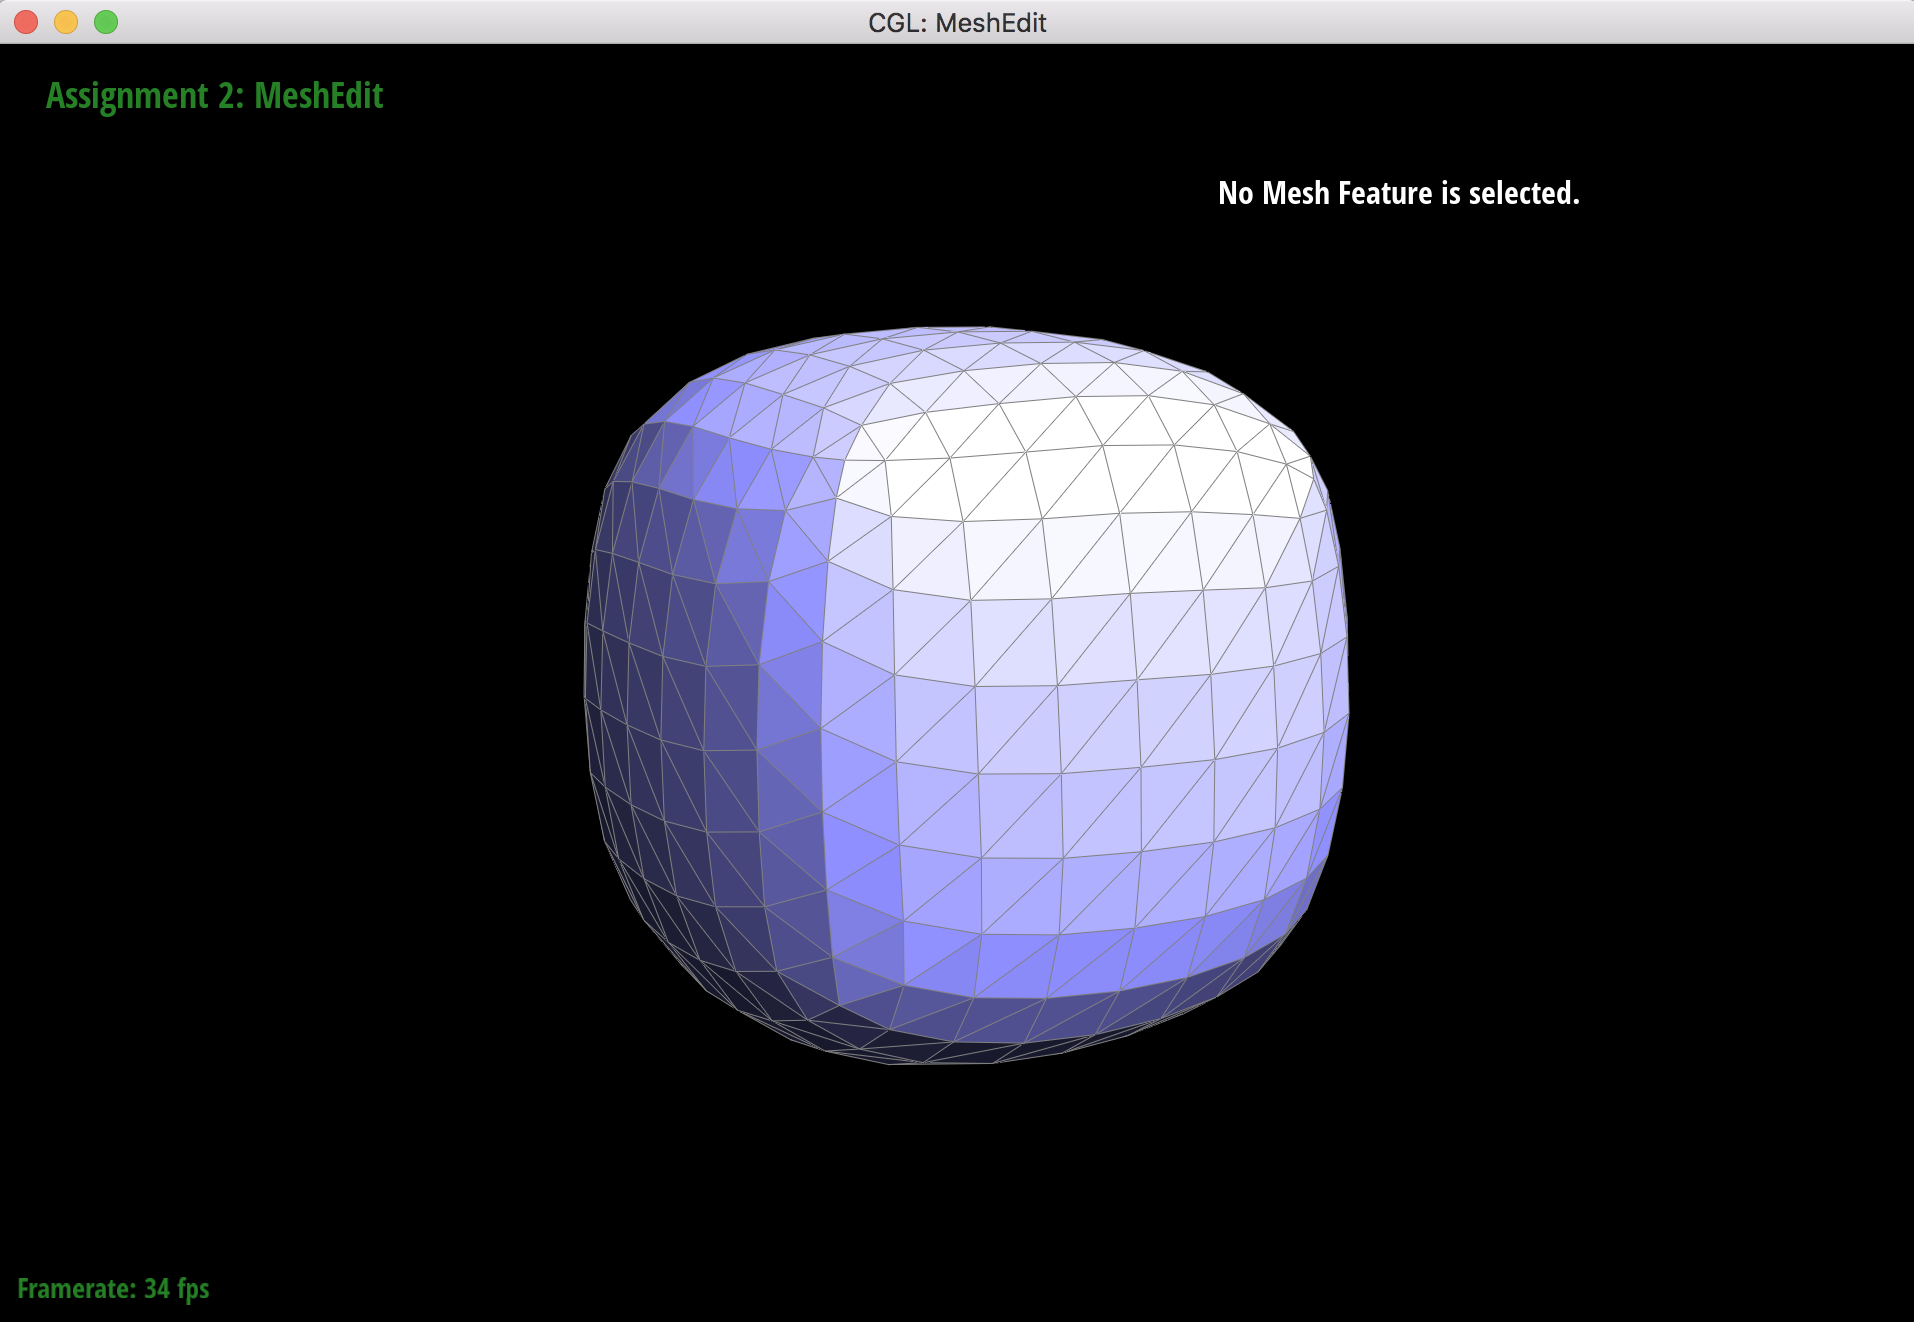
3 upsamples

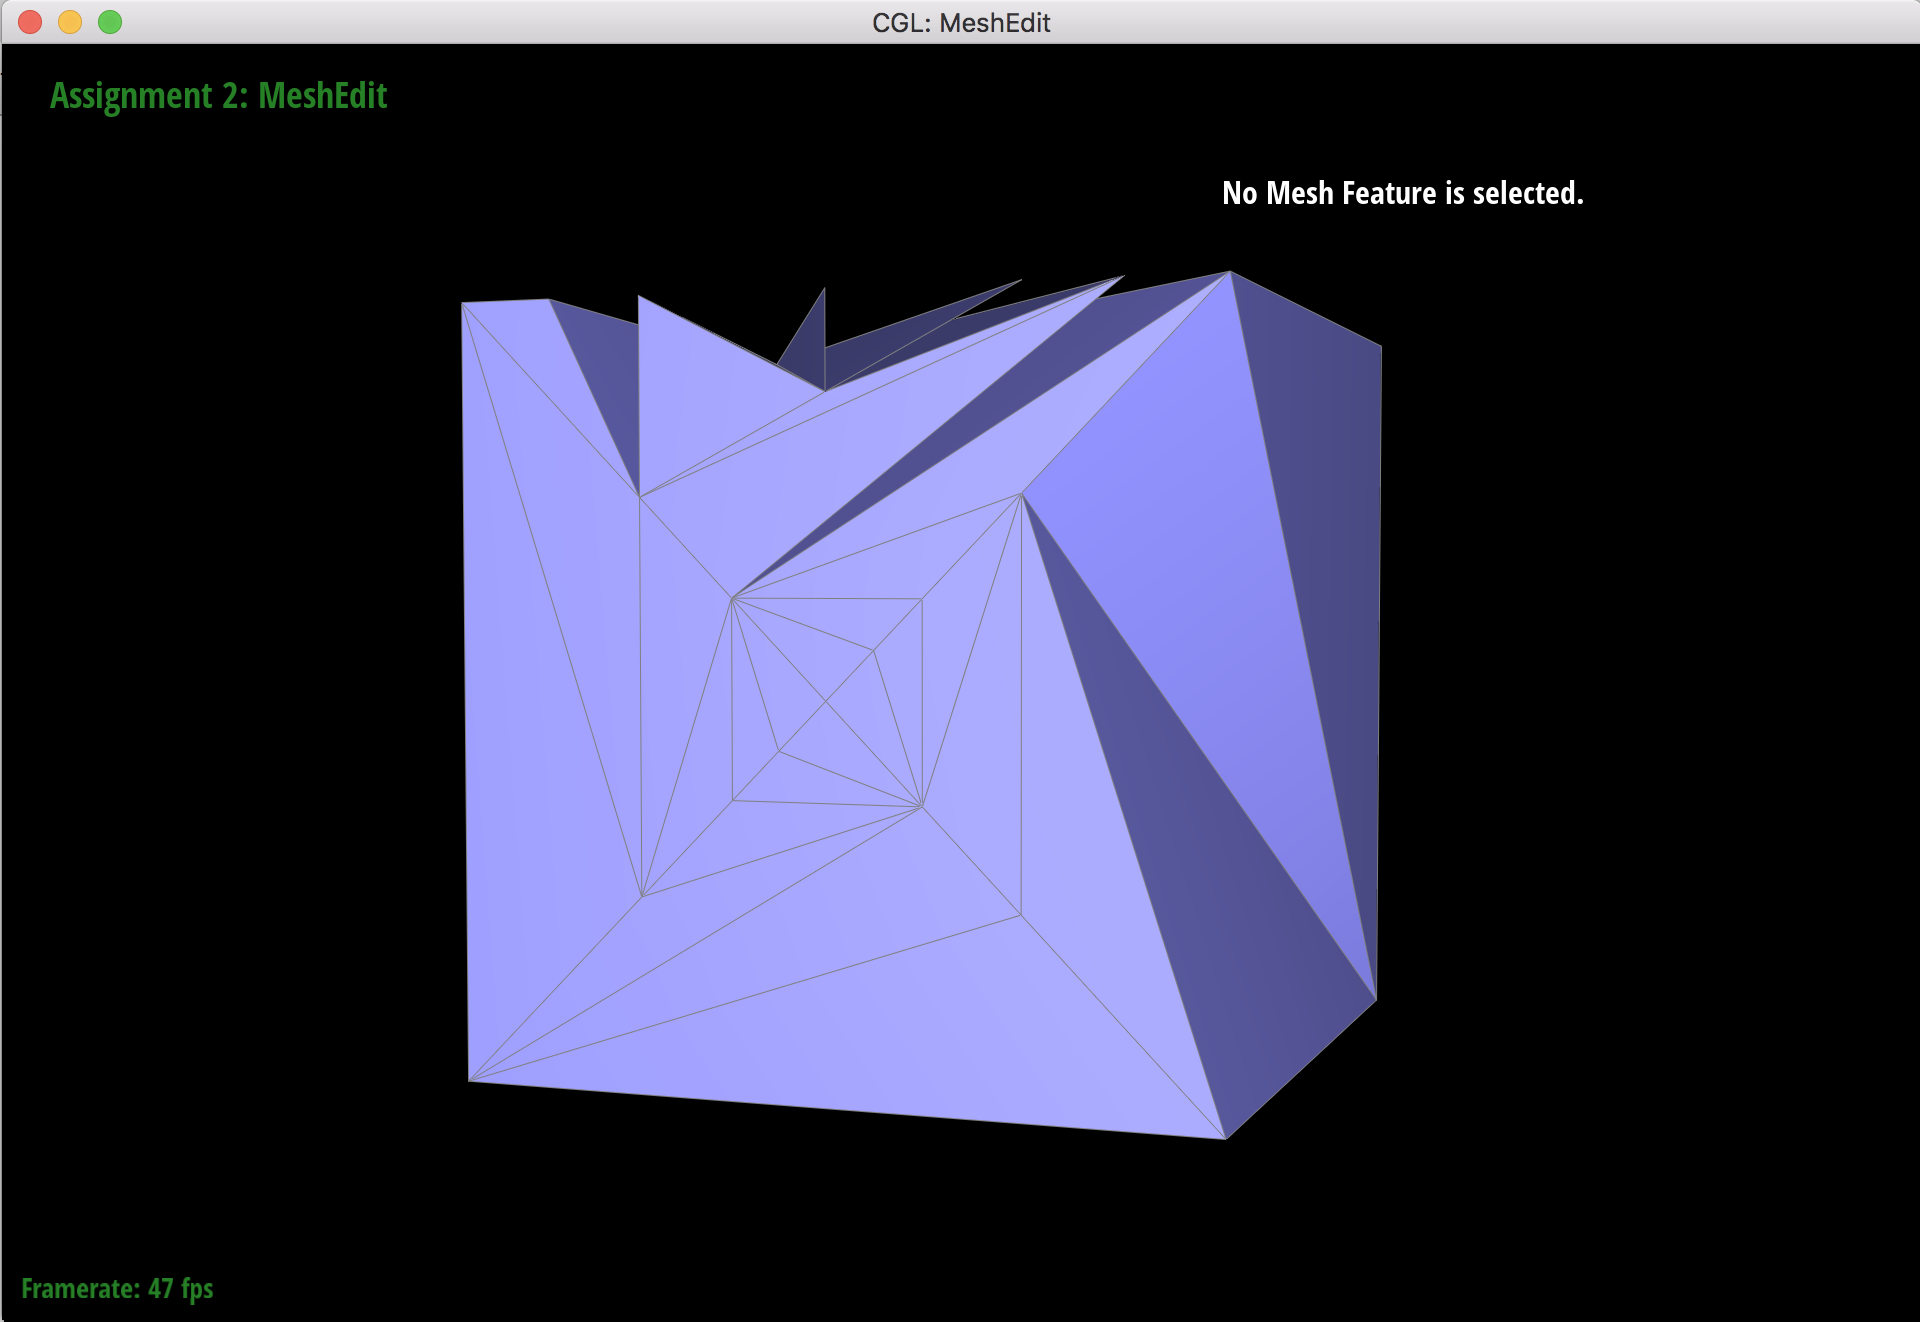
4 upsamples

Another angle of asymmetry after fourth upsample.
When subdividing the original cube mesh, the sharp corners and edges soften along with the rest of the cube, but they still retain some of their "pointy" shape. This makes the cube look asymmetrical because the softened corners still stick out where there are extraordinary points.
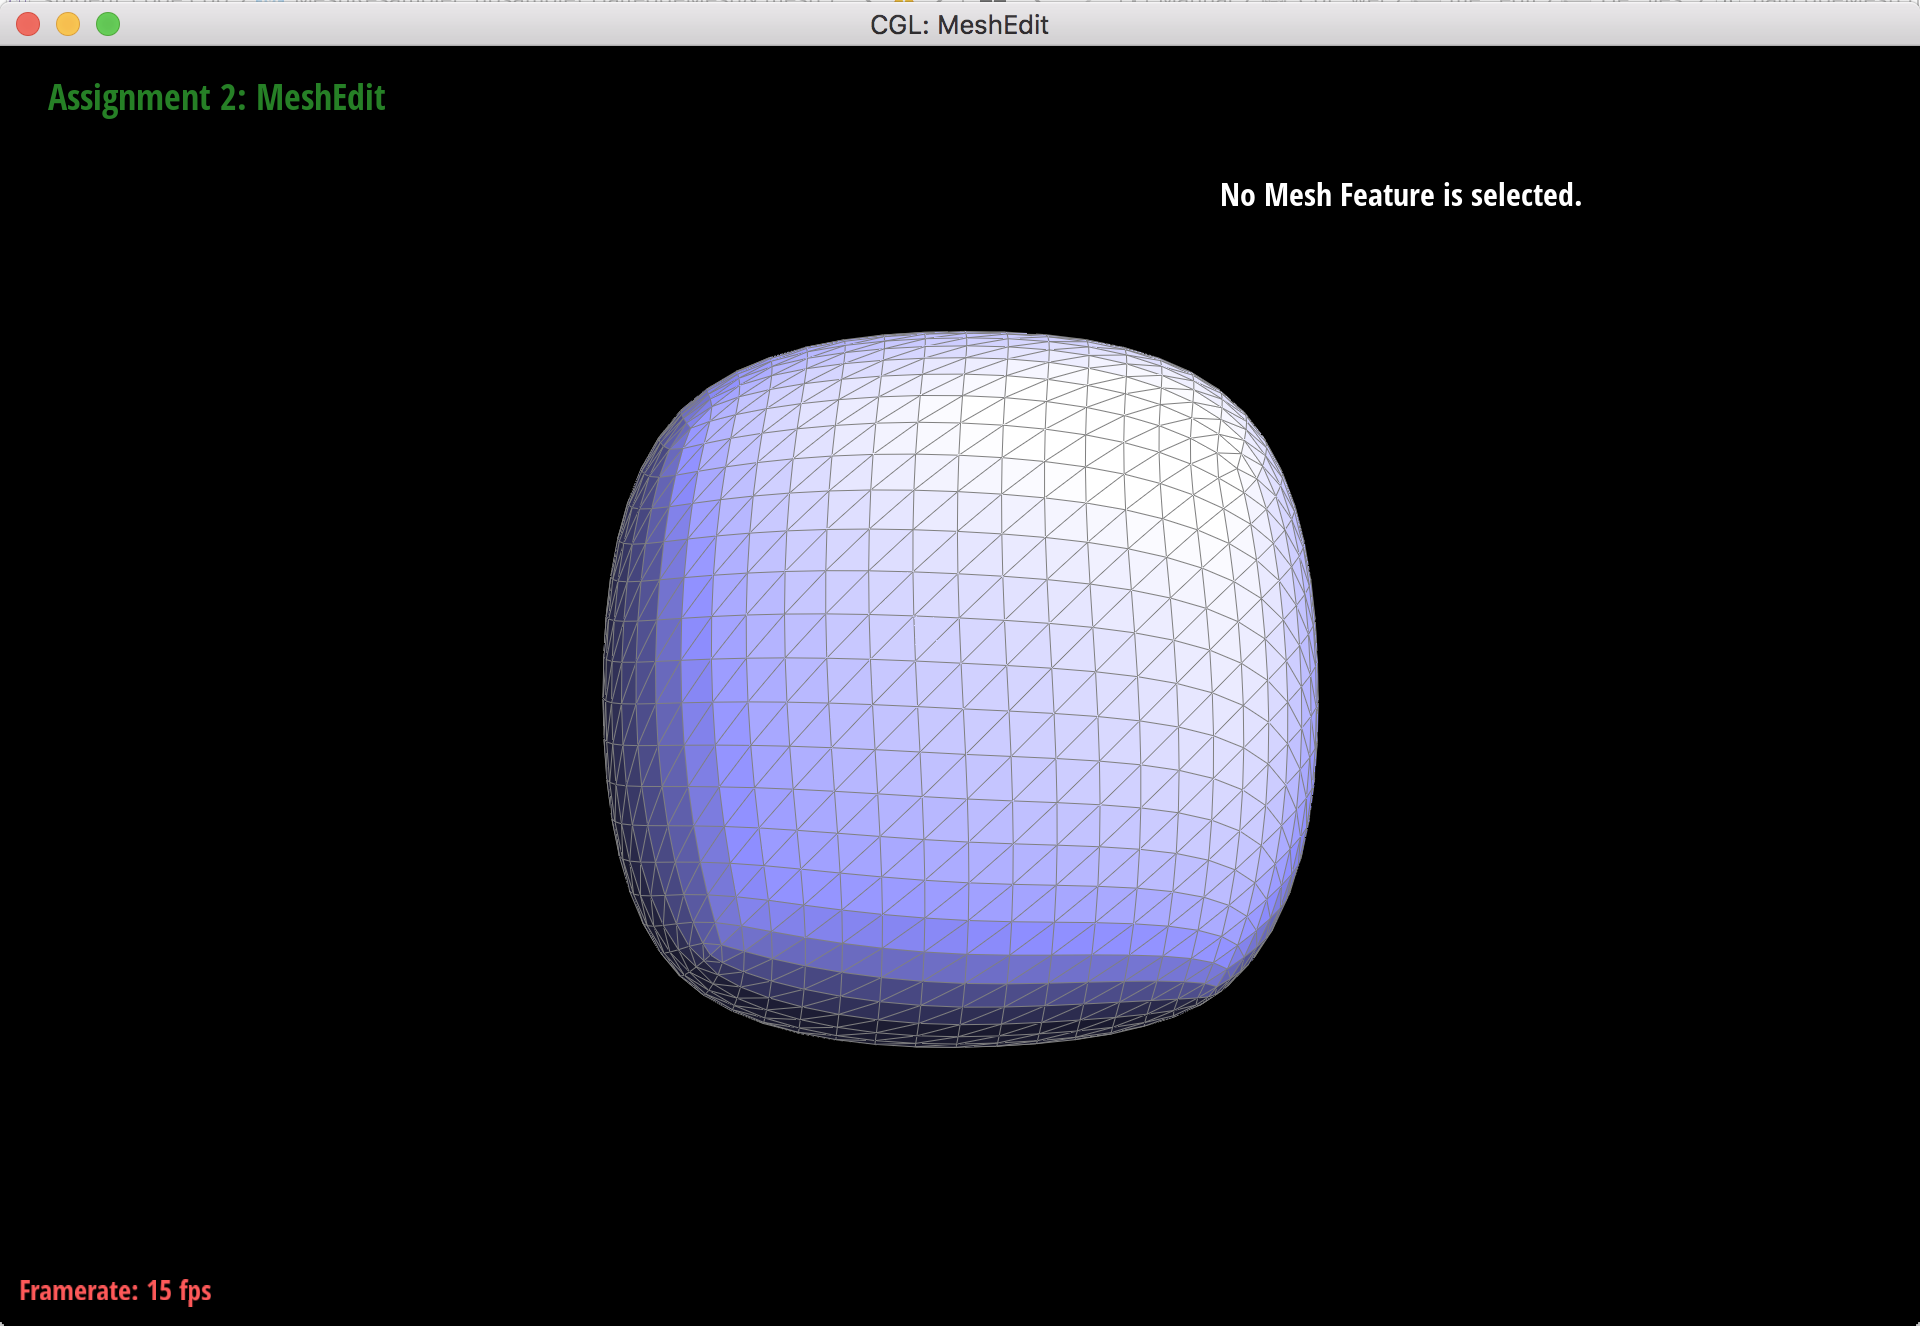
Original cube mesh but the edges across each face have been pre-split.
1 upsample
2 upsamples
3 upsamples
4 upsamples
Another angle after fourth upsample.
After pre-splitting the diagonal edges that cross that each face of the cube, the cube upsamples more symmetrically than before. This is because the cube starts out less triangulated than the original, and the corner vertices have higher degrees. When the corners that become extraordinary points during upsampling, the added edges will split in a way that reduces the sharpness.

